Platform Portal Overview
This guide provides information for Platform Portal users about features of the portal.
Getting Started
Main Menu
When you log in, you will see a vertical menu bar located on the left hand side of the page. This is referred to as the Main Menu. The Main Menu provides you with access to the various sections of the Platform Portal that are available to you (Depending on your setup, not all sections shown may be available). These are what we refer to as Modules.
Dashboard
Audit+
Compliance+
Configuration
CRM
Payments
Processing
Recovery
Risk
Sales
User Menu
The user menu can be accessed by clicking on the circle with your initials at the top right-hand corner of the page.
The User Menu in the Merchant Portal provides you with the following options:
User Profile - where you can go to edit your user profile or change your password.
Profituity Academy - where you can go to access our knowledgebase.
Log Out - click this option will log you out of the application.
Search Bar
The search bar is always available at the top left-hand side of the page, next to the logo. Refer to: How-to: Search.

Screenshot: Search Bar
Notifications
Beside the user menu there is a bell symbol. This is where the user notifications are located. Clicking on the bell will bring up a section on the right side that houses all notifications.
Grid Functionality
Many of the sections within the merchant portal make use of data grids (columns and rows of information) that have several elements which complement the data being viewed.
Export
Most of the grids include an export function to allow you to export the data in the grid to a variety of formats. Click the Export button located above the grid to start a download of the grid.

Screenshot: Grid Export Button
Sorting and Filtering
The information displayed in the grids can be sorted by clicking on the column headers. If your cursor changes to a hand icon, then that means the column header is sortable. When clicked, a sorting arrow will appear to show whether it is displaying the results in ascending or descending order.
Please note that not all columns support sorting. For example, the Actions column (where the action button appears), does not support sorting.
Most grids include a filter row. If available, the filter row will appear directly below the header row. The filter row allows you to filter data in the grid by entering text within the cell or by selecting a value from a dropdown list.
Grouping
Some of the grids allow you to apply grouping by certain columns. If grouping is supported for a given grid, then you will see the text “Drag a column header here to group by that column” above the header row. This is referred to as the Group Panel. To apply grouping, drag a column header to the Group Panel.
Please note that some columns do not support grouping (for example, Action columns are not movable).
Re-arrange Columns
Most of the grids support the ability to rearrange the grid columns using drag-and-drop. To move a column, drag the column’s header to the desired position. The location in which the dragged column will be inserted after you release the left mouse button is visually indicated by two arrows.
Please note that some columns do not support re-arranging (for example, Action columns are not movable).
Customize Columns
The column chooser allows you to hide/show available columns. When you click the Customize Columns button, a Column Chooser window will appear. To hide a grid column, drag the column header to the Column Chooser window. To show a hidden column, drag the column header from the Column Chooser window to the position you want in the grid.
Paging
Most grids include paging options, which are represented by arrow buttons and page numbers at the bottom of the grid. In addition to this, most grids also include a page size selector. This allows you to change the maximum number of records you currently want to be displayed.
MyView Menu
Most grids include a MyView Menu. This allows you to save custom grid configurations that you can view at any time. Refer to: MyViews.
Audit+ Module
Audit Templates
You can manage your Audit Templates in the Audit+ module. Audit Templates allow you to create the individual requirements for each audit.
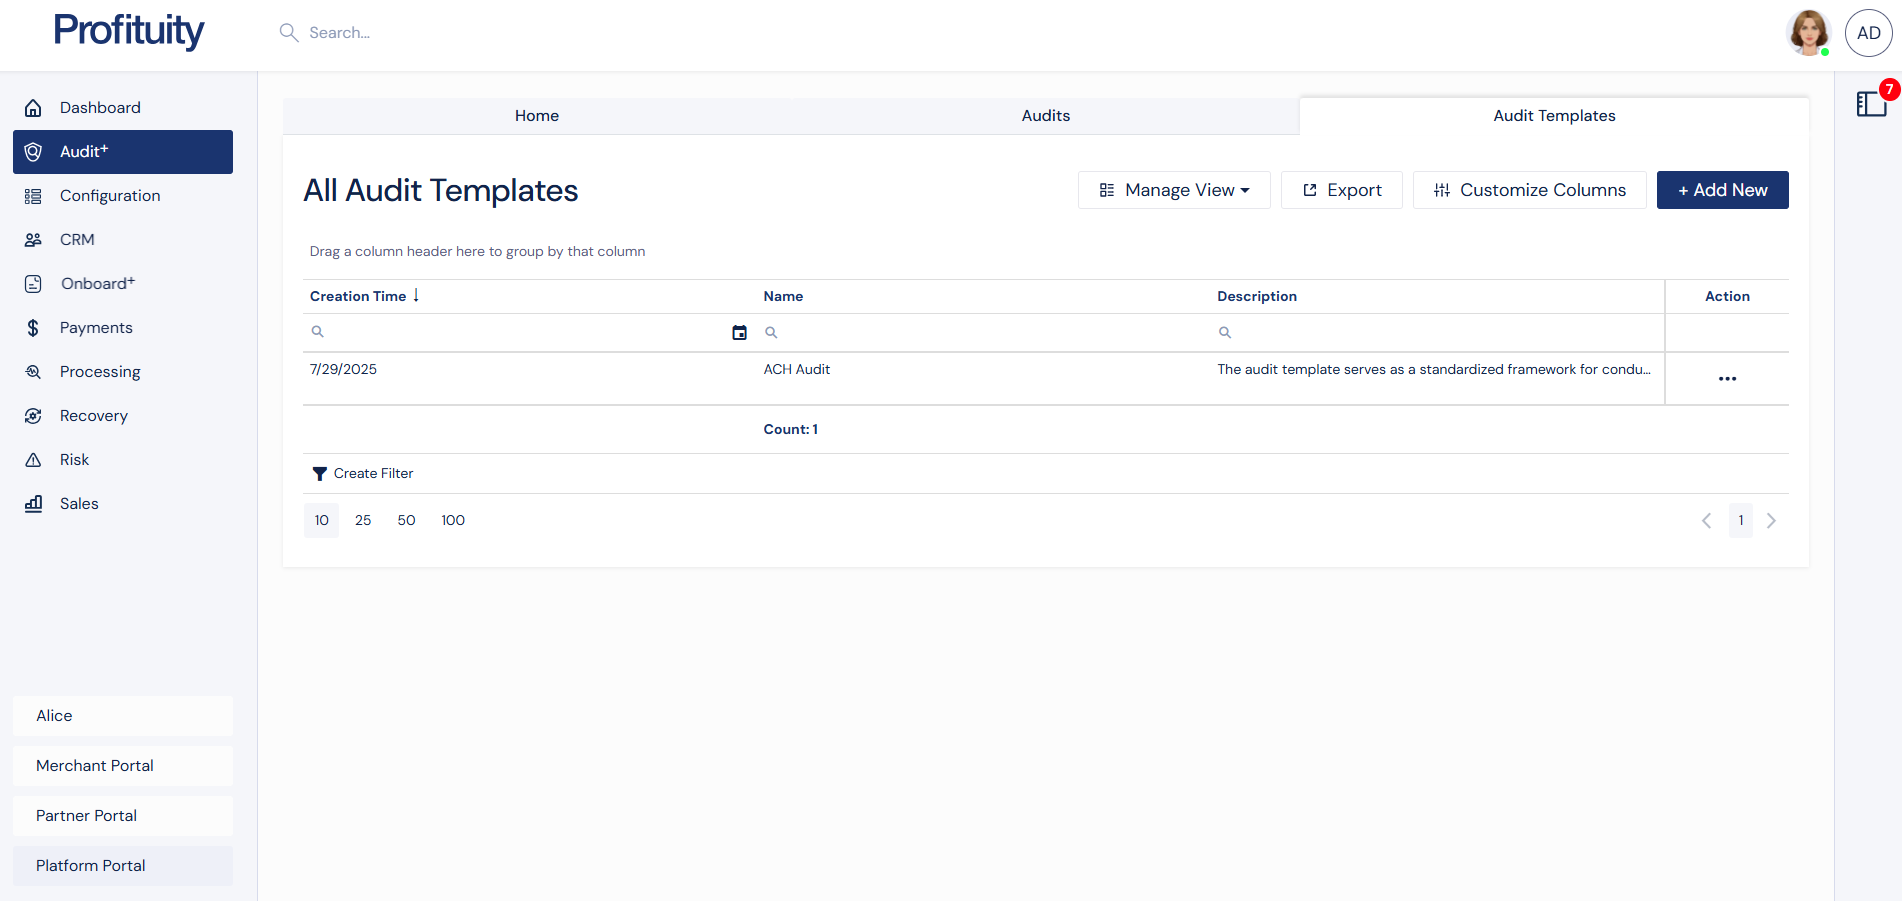
Audit Templates Screenshot
Audit
The Audit section in the Audit+ Module lets you manage audits in any status — from not started to complete. You can create audits from templates, invite users to participate, and oversee each audit through every stage.
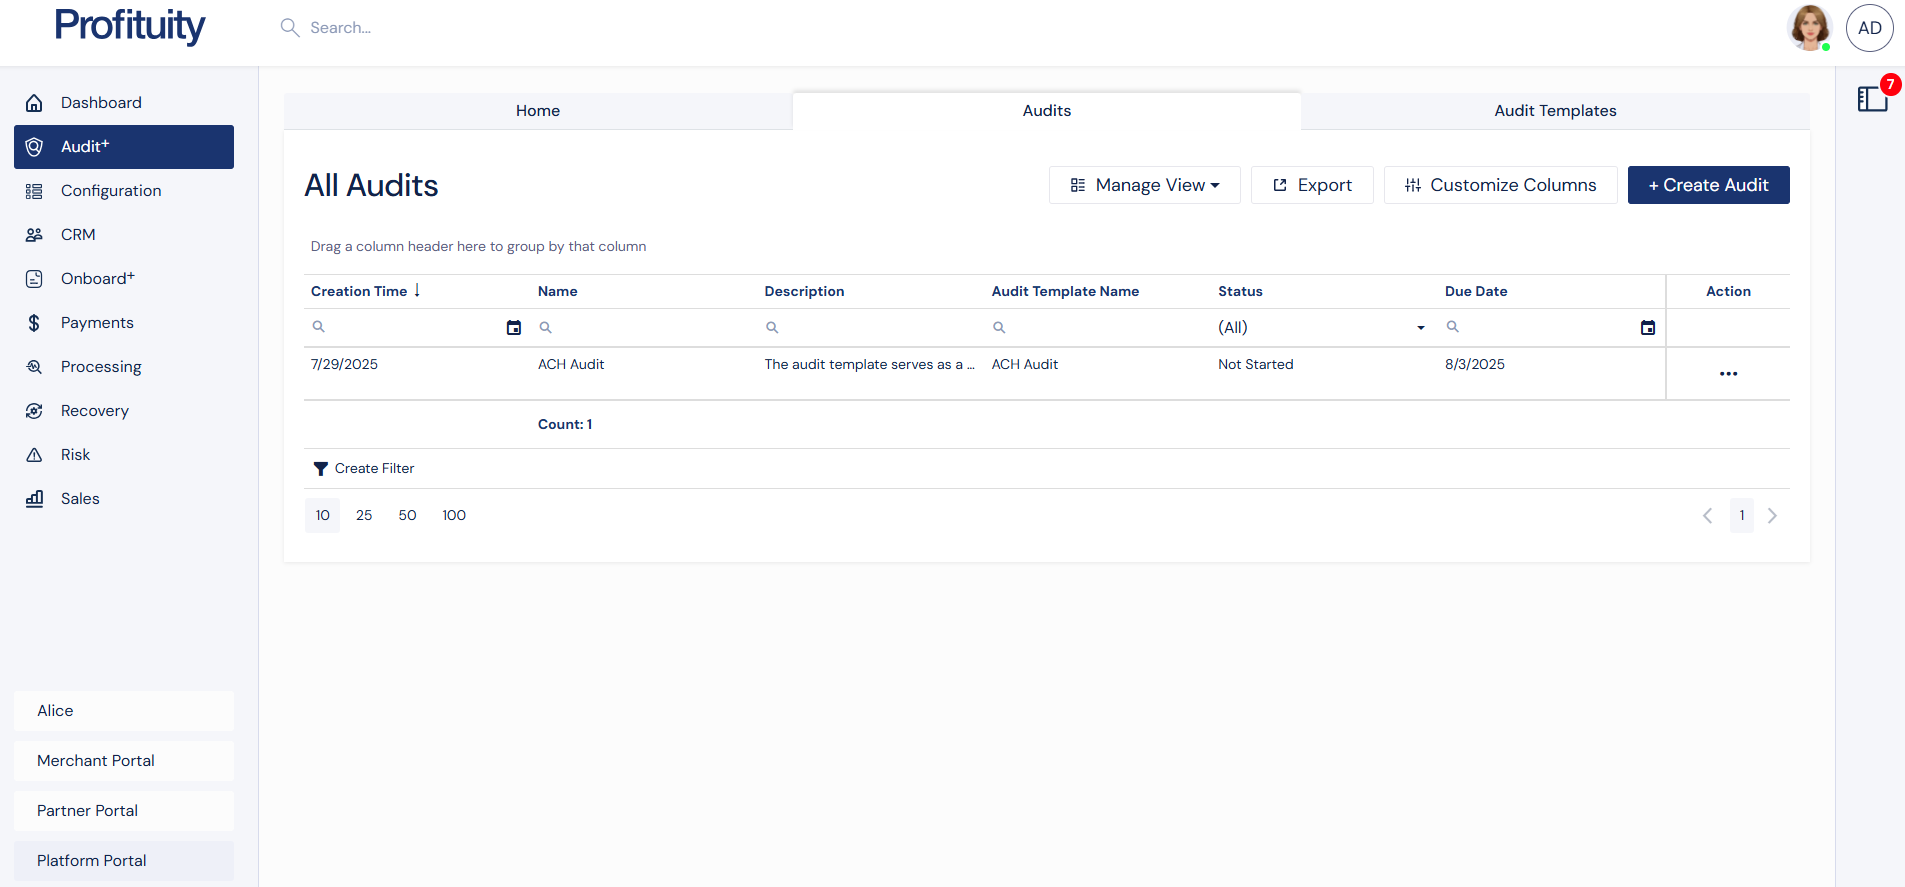
Audits Screenshot
Compliance+ Module
Controls
You can manage your Controls in the Compliance+ module. Controls are the specific measures used to mitigate risks. From here you can link documents, set testing intervals, and track effectiveness.
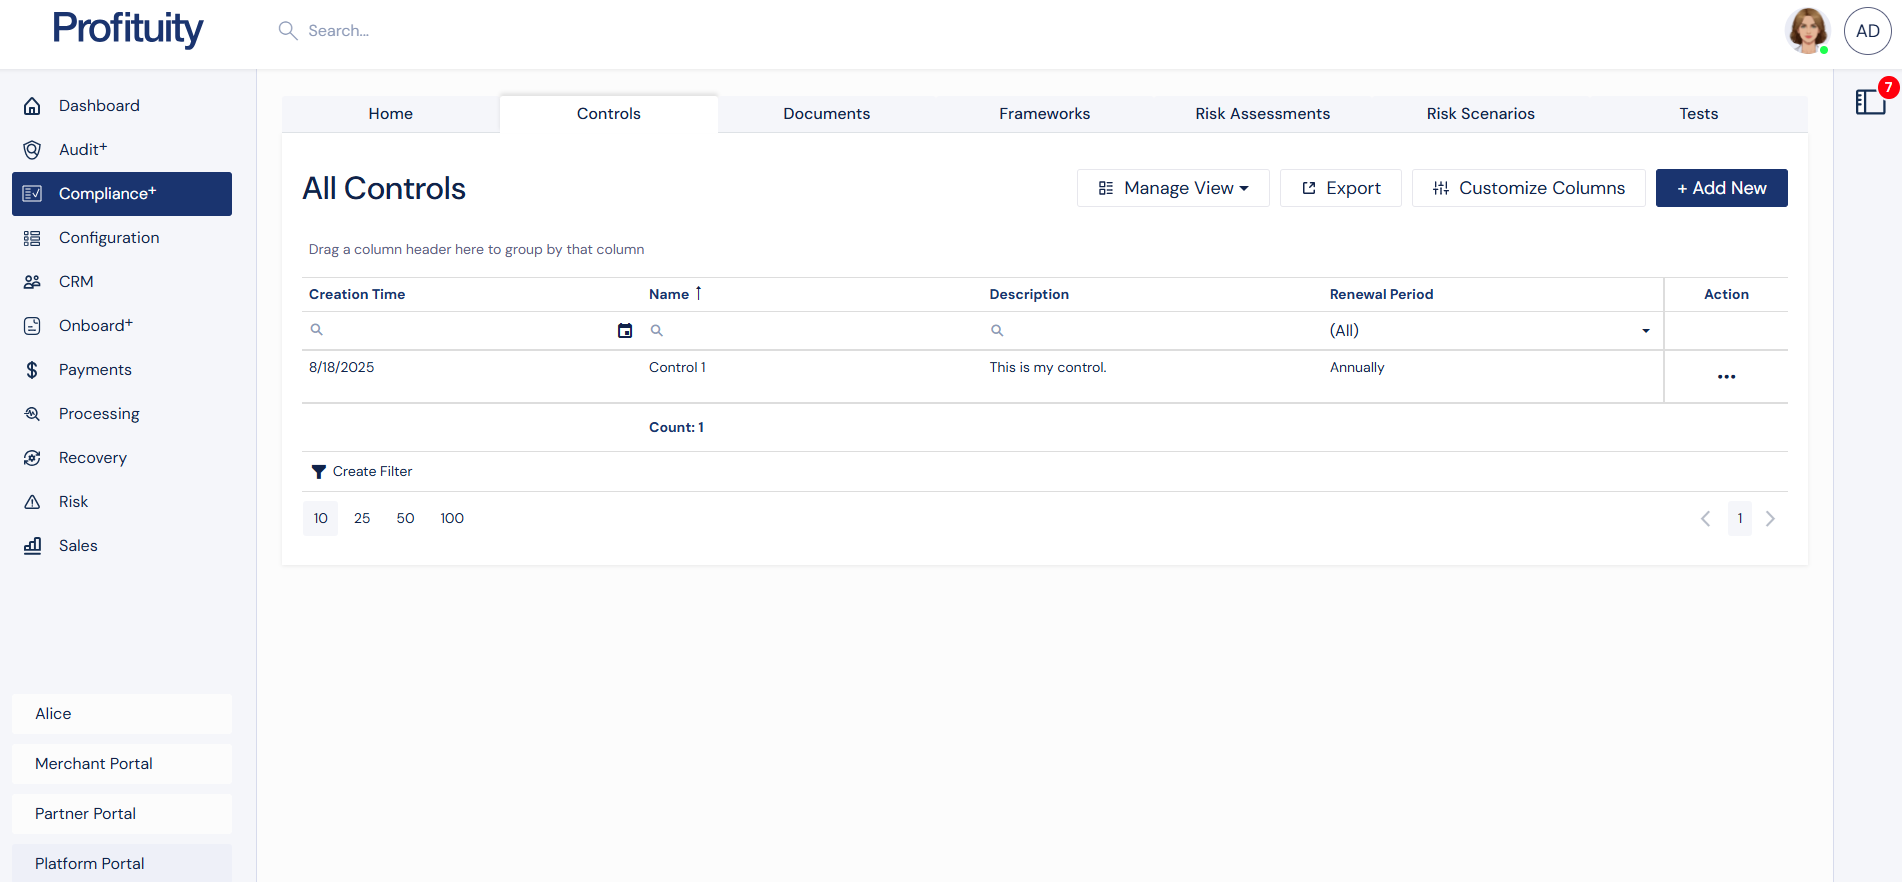
Controls Screenshot
Documents
The Documents section in Compliance+ serves as your central repository for policies, procedures, agreements, and contracts. Upload, update, and link them to controls, frameworks, and scenarios to keep compliance materials organized and current.
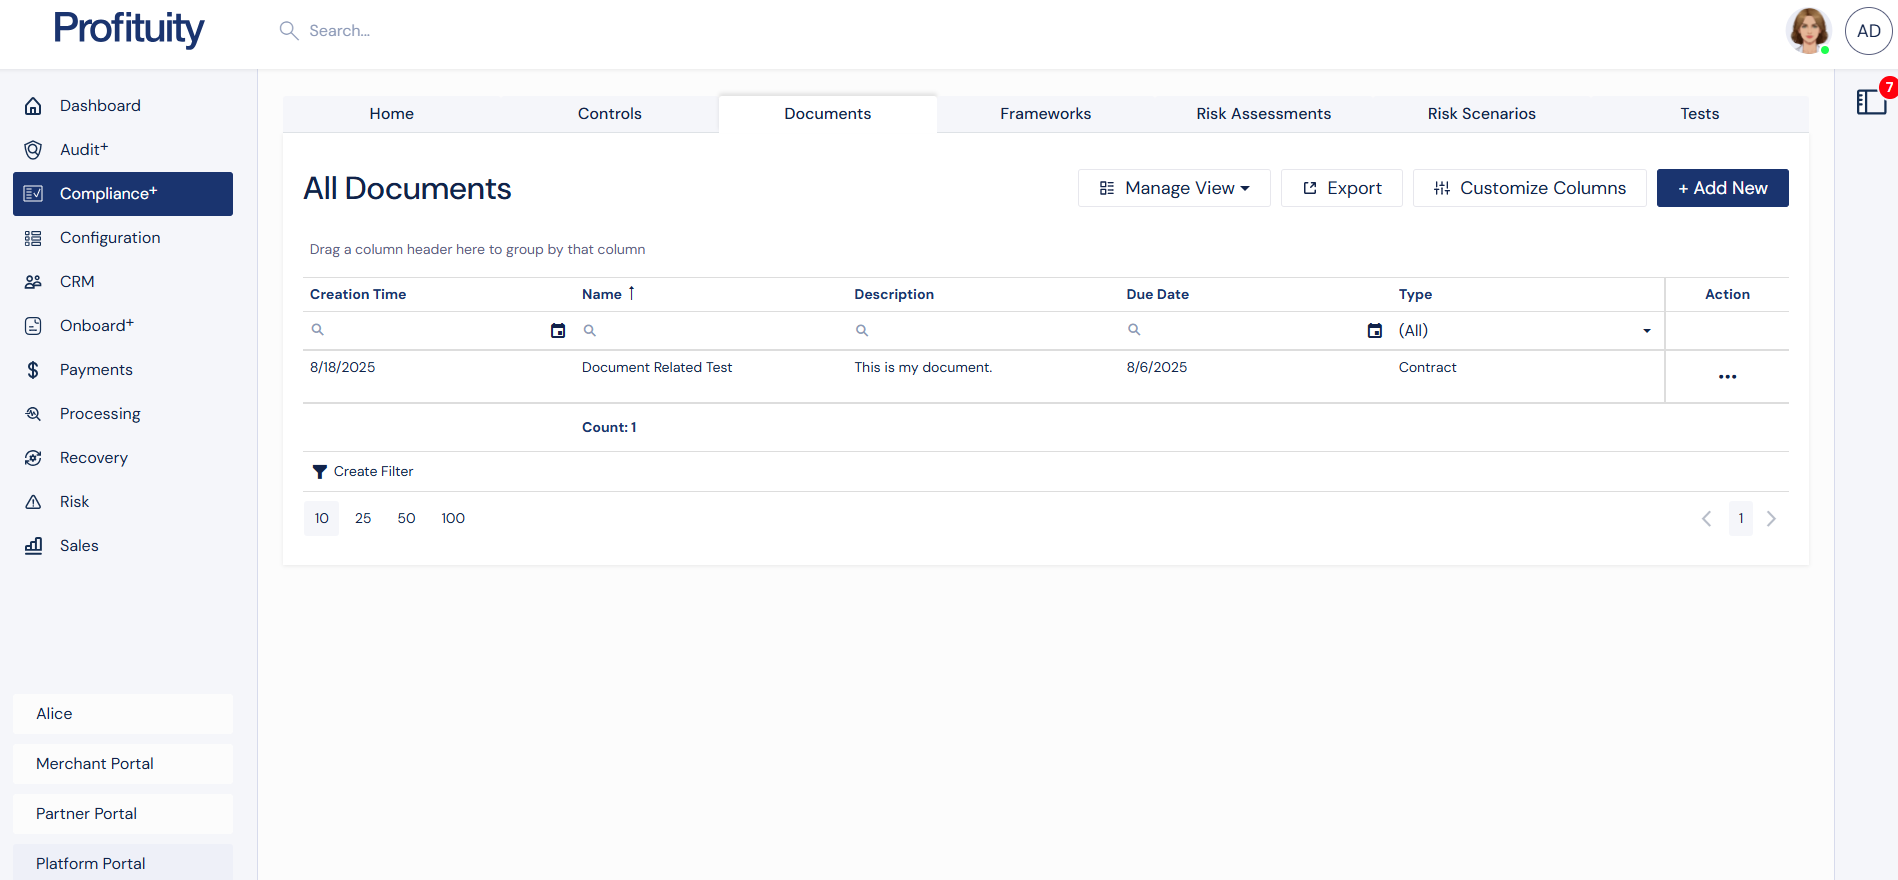
Documents Screenshot
Frameworks
Frameworks form the foundation for risk assessments within Compliance+. They provide structure based on regulatory standards and best practices, helping you connect risk scenarios, controls, and policies under a consistent model.
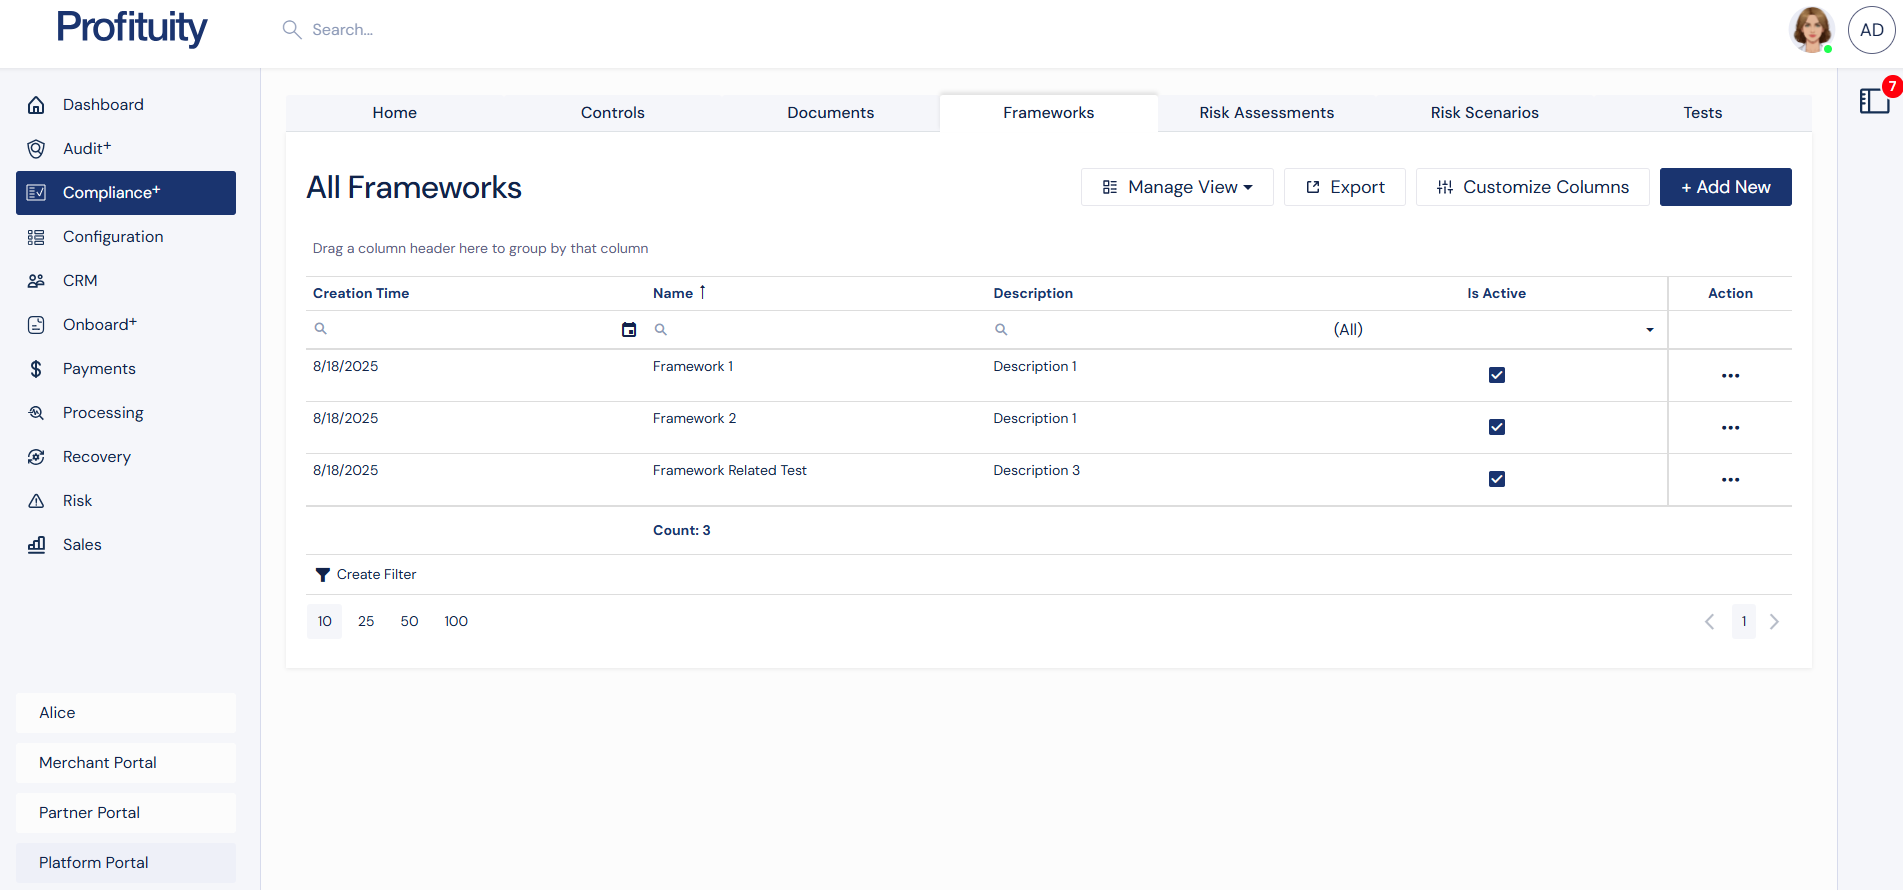
Frameworks Screenshot
Risk Assessments
Risk Assessments bring everything together in Compliance+. They offer a structured evaluation of risks across your business areas by linking frameworks, scenarios, controls, and documents into a comprehensive profile.
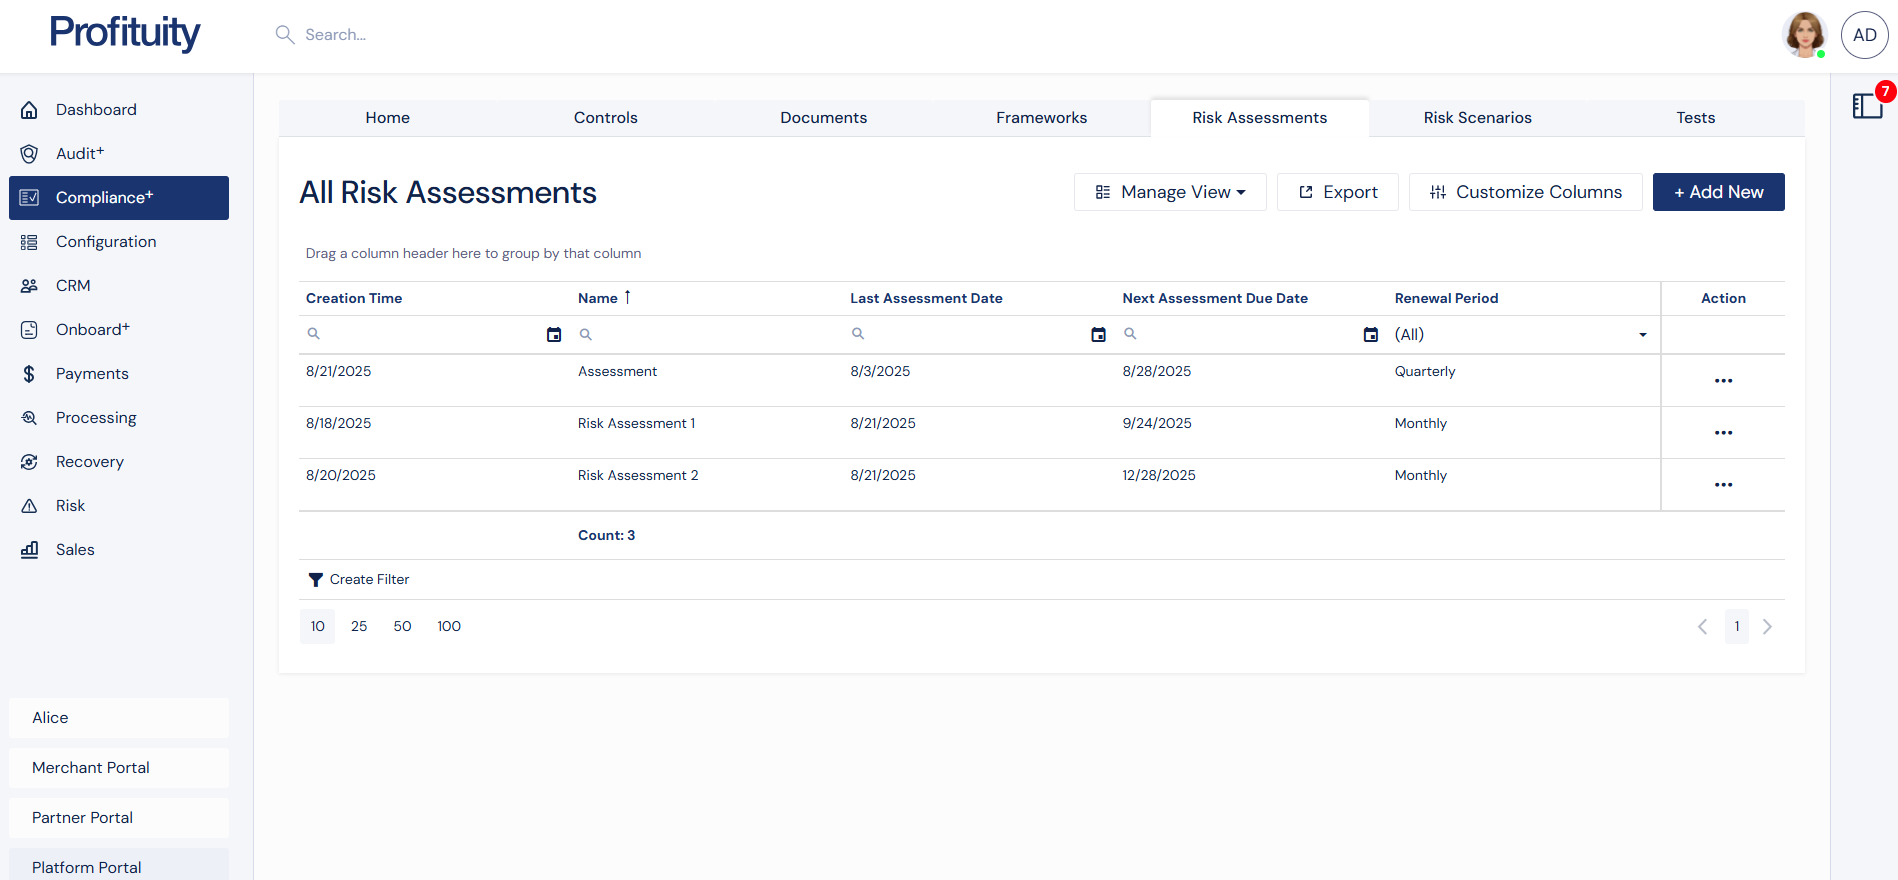
Risk Assessments Screenshot
Risk Scenarios
Risk Scenarios define the “what if” situations that could impact your organization. In Compliance+, you can rate their likelihood and impact, link them to frameworks and controls, and monitor residual risk over time.
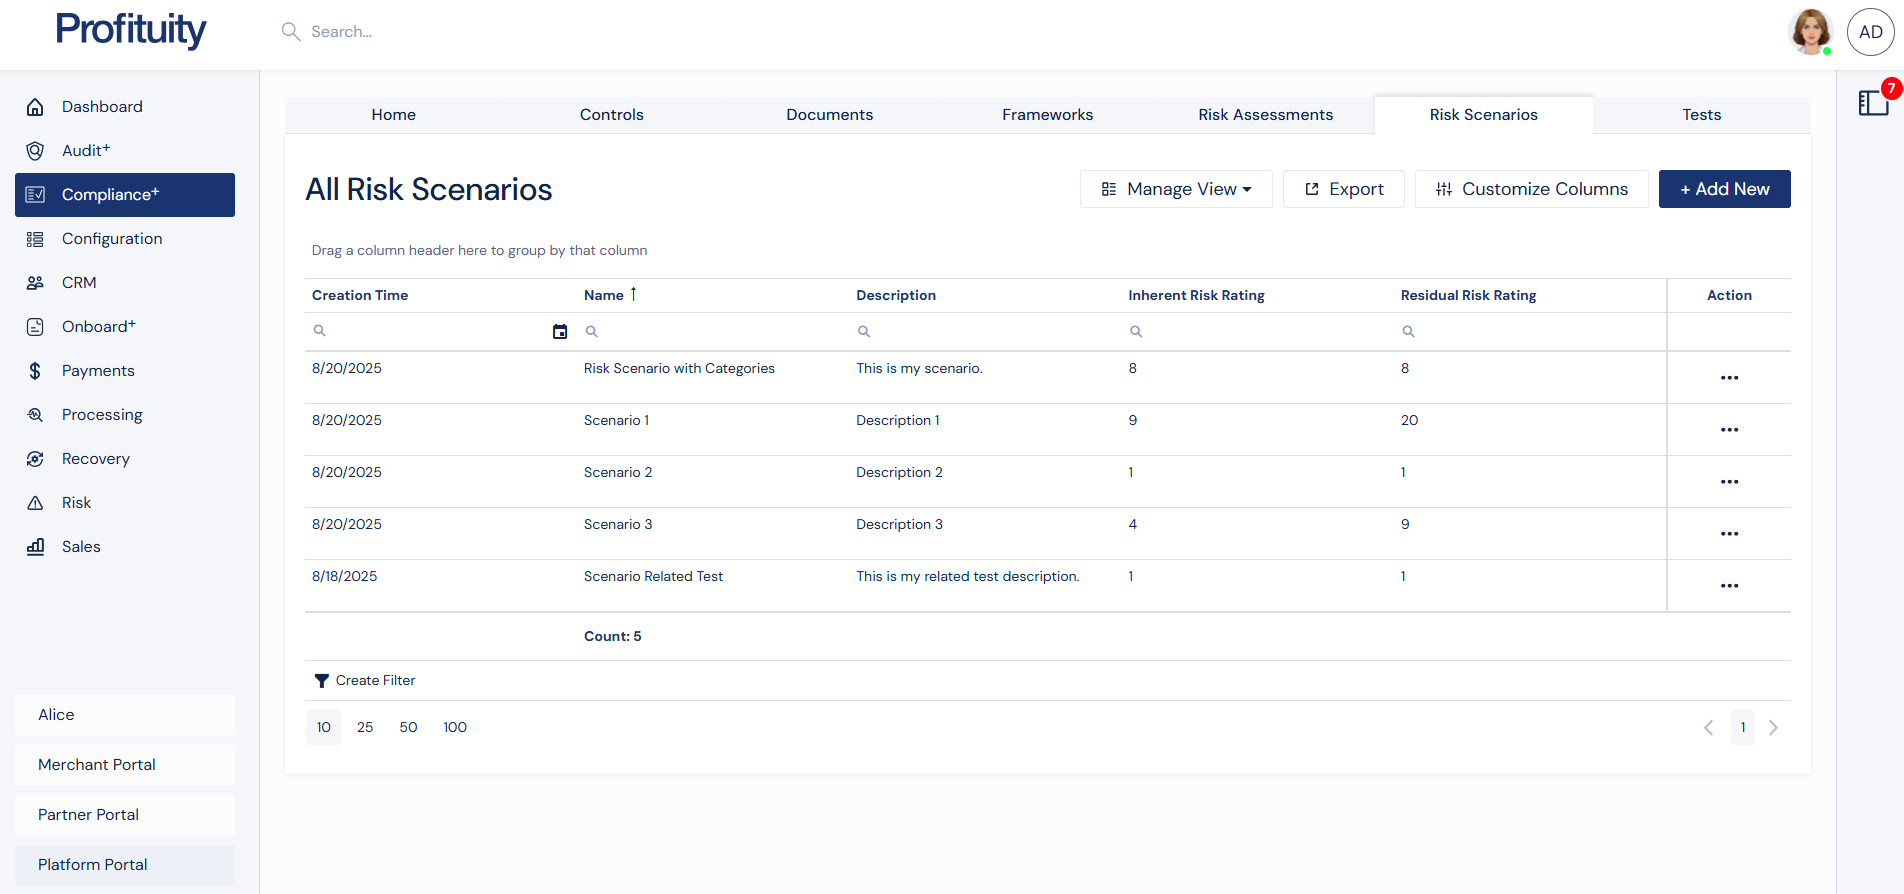
Risk Scenarios Screenshot
Tests
In Compliance+, Tests are used to verify whether controls are effective and properly implemented. Capture evidence, record results, and maintain a history of past test runs to ensure compliance is continuously validated.
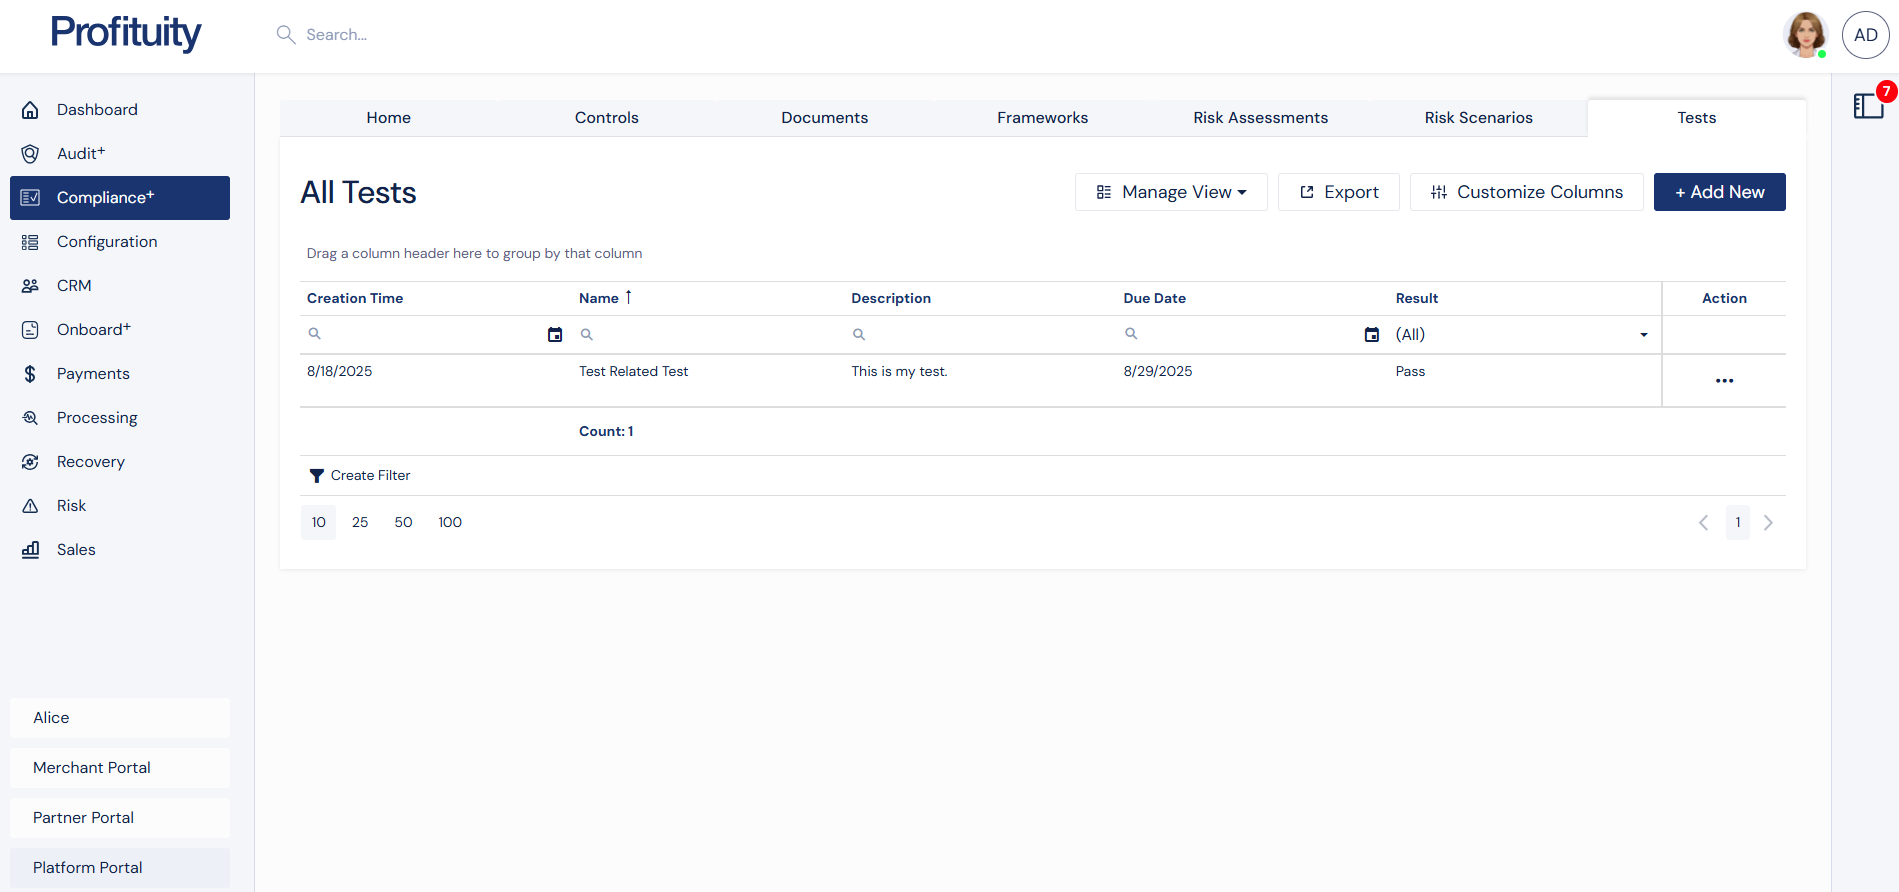
Tests Screenshot
Configuration Module
Core
Branding Template
You can manage your Branding Template from the Configuration > Core area. The Branding Template is where you go to control the look of PlatformNext. From here you can configure the color scheme or add a logo or favicon.
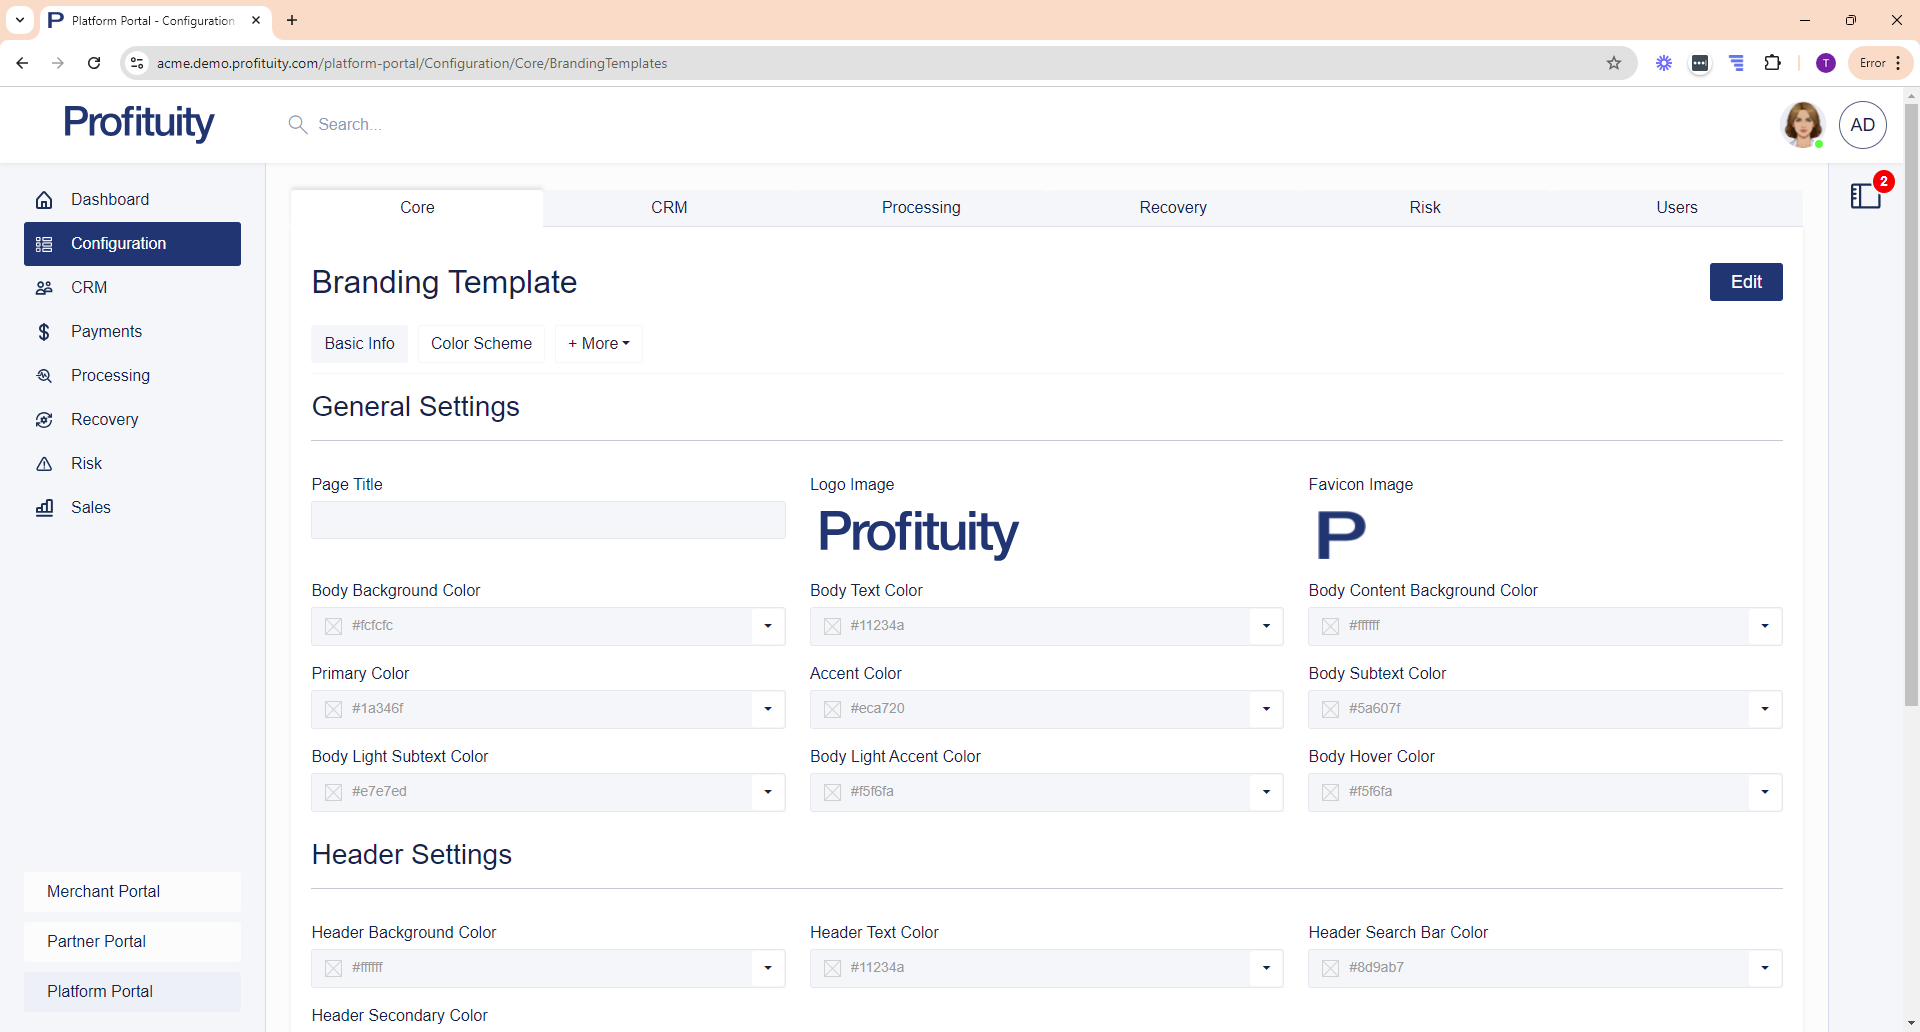
Screenshot: Branding Template
Company
You can manage your Company Information from the Configuration > Core area. From here you can edit information such as your Company’s legal name, DBA name, website, etc.
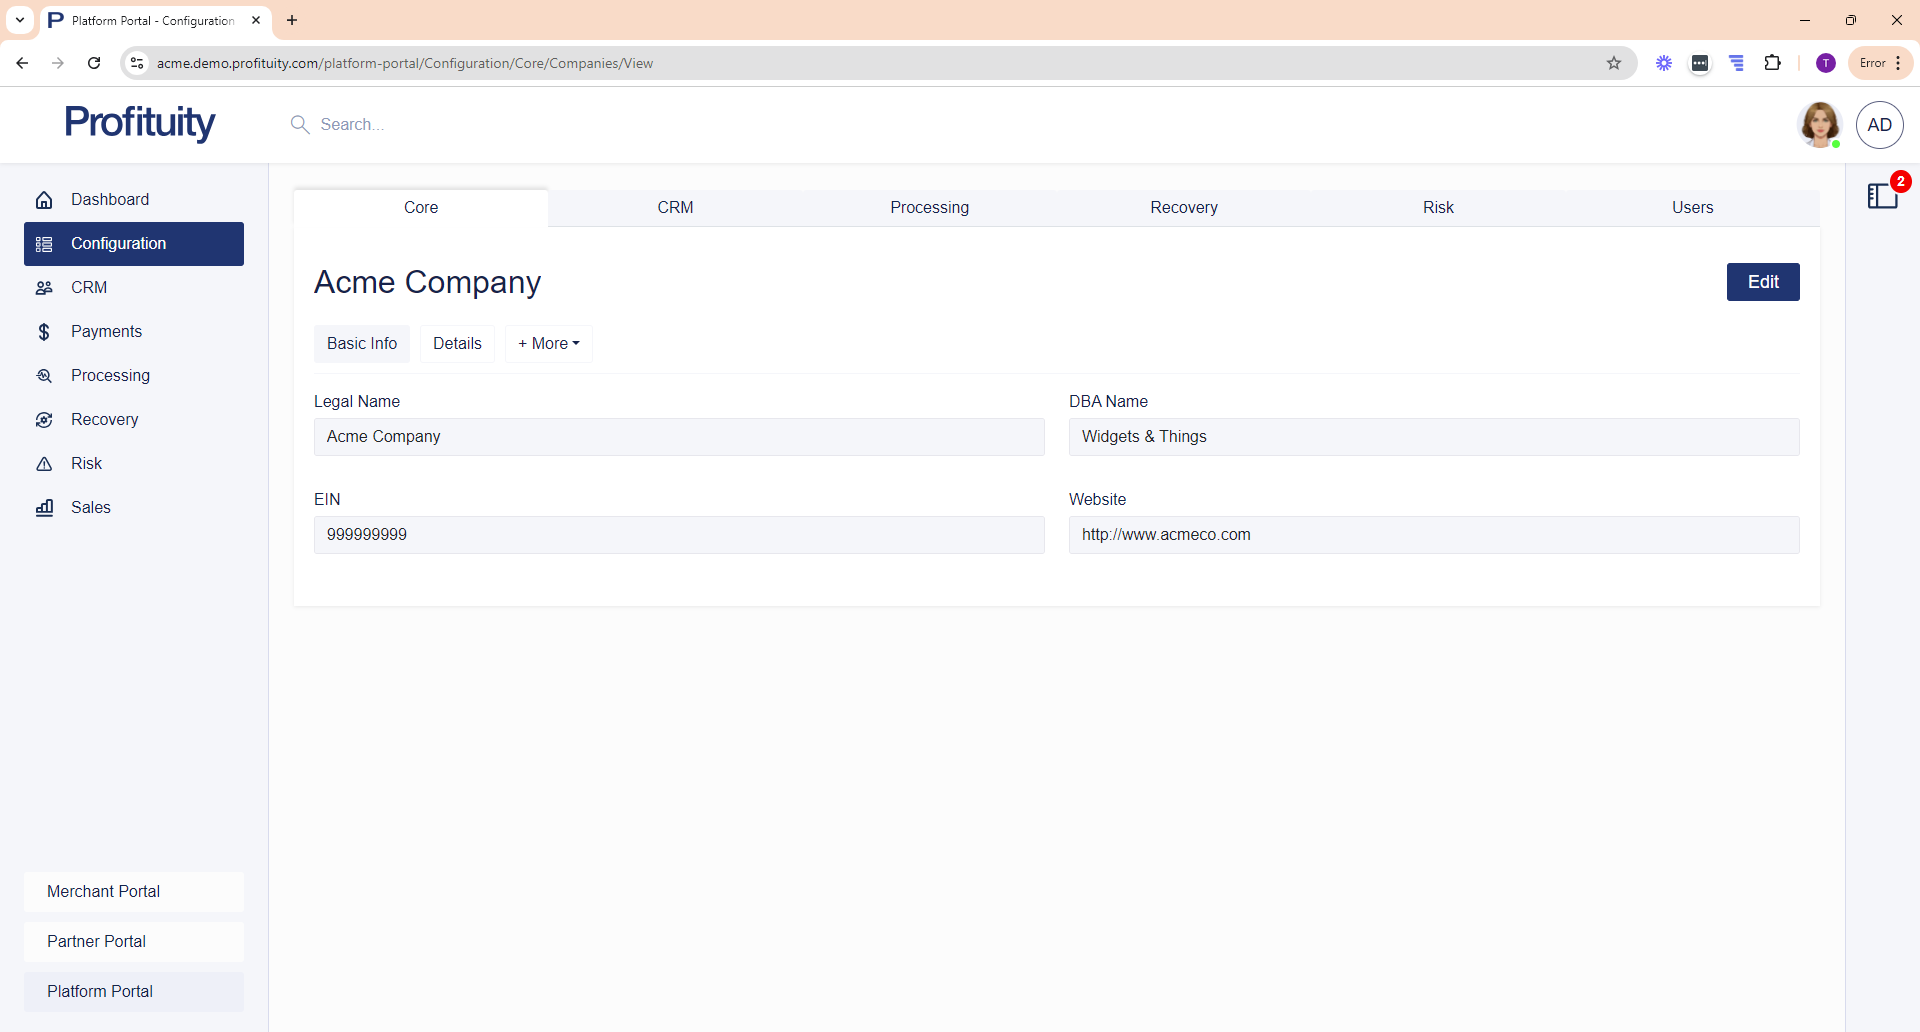
Screenshot: Company
Countries
You can view your Countries list from the Configuration > Core area. This list is used to populate the Country field that you see in various address sections (e.g. the address section on a Merchant record).
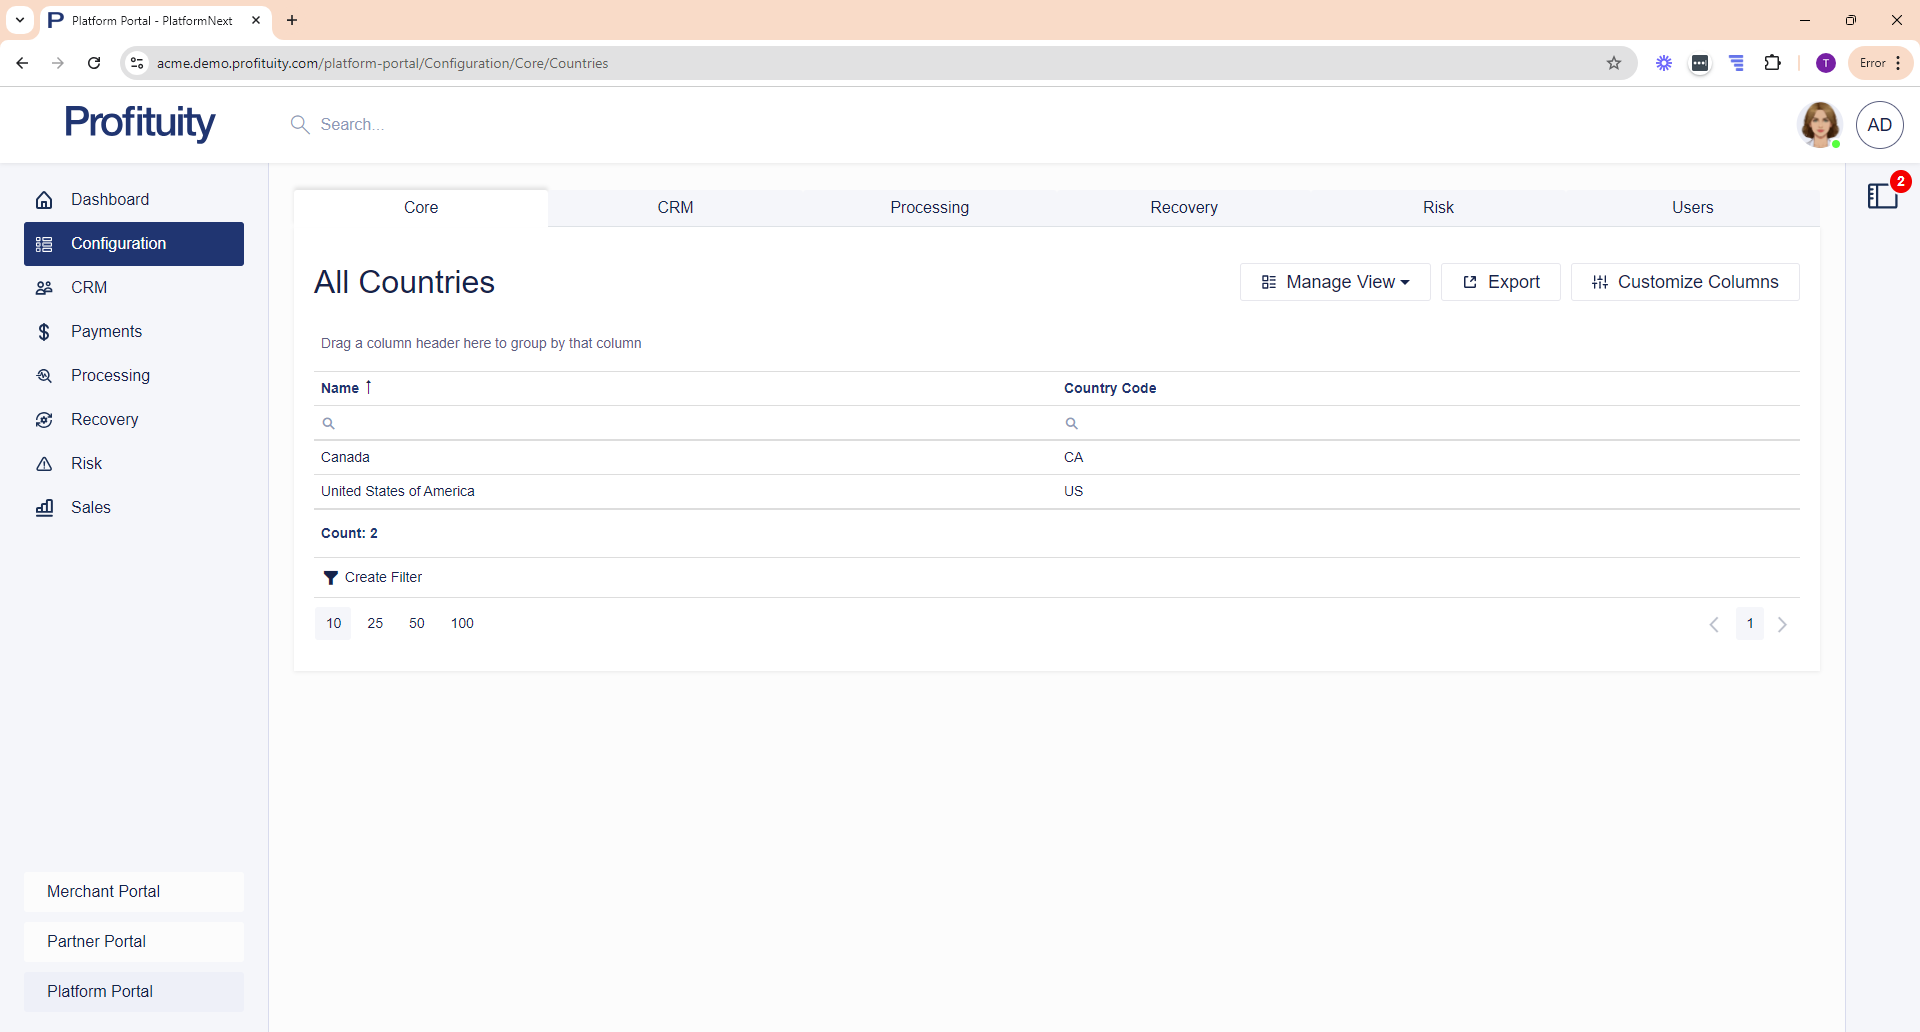
Screenshot: Countries
Custom Fields
You can manage your Custom Fields from the Configuration > Core area. Custom fields can be added to specific records (Contact, Customer, Merchant, Merchant Group, Partner, Payment, Recovery Item and Sales Rep) and can be used to capture additional information.
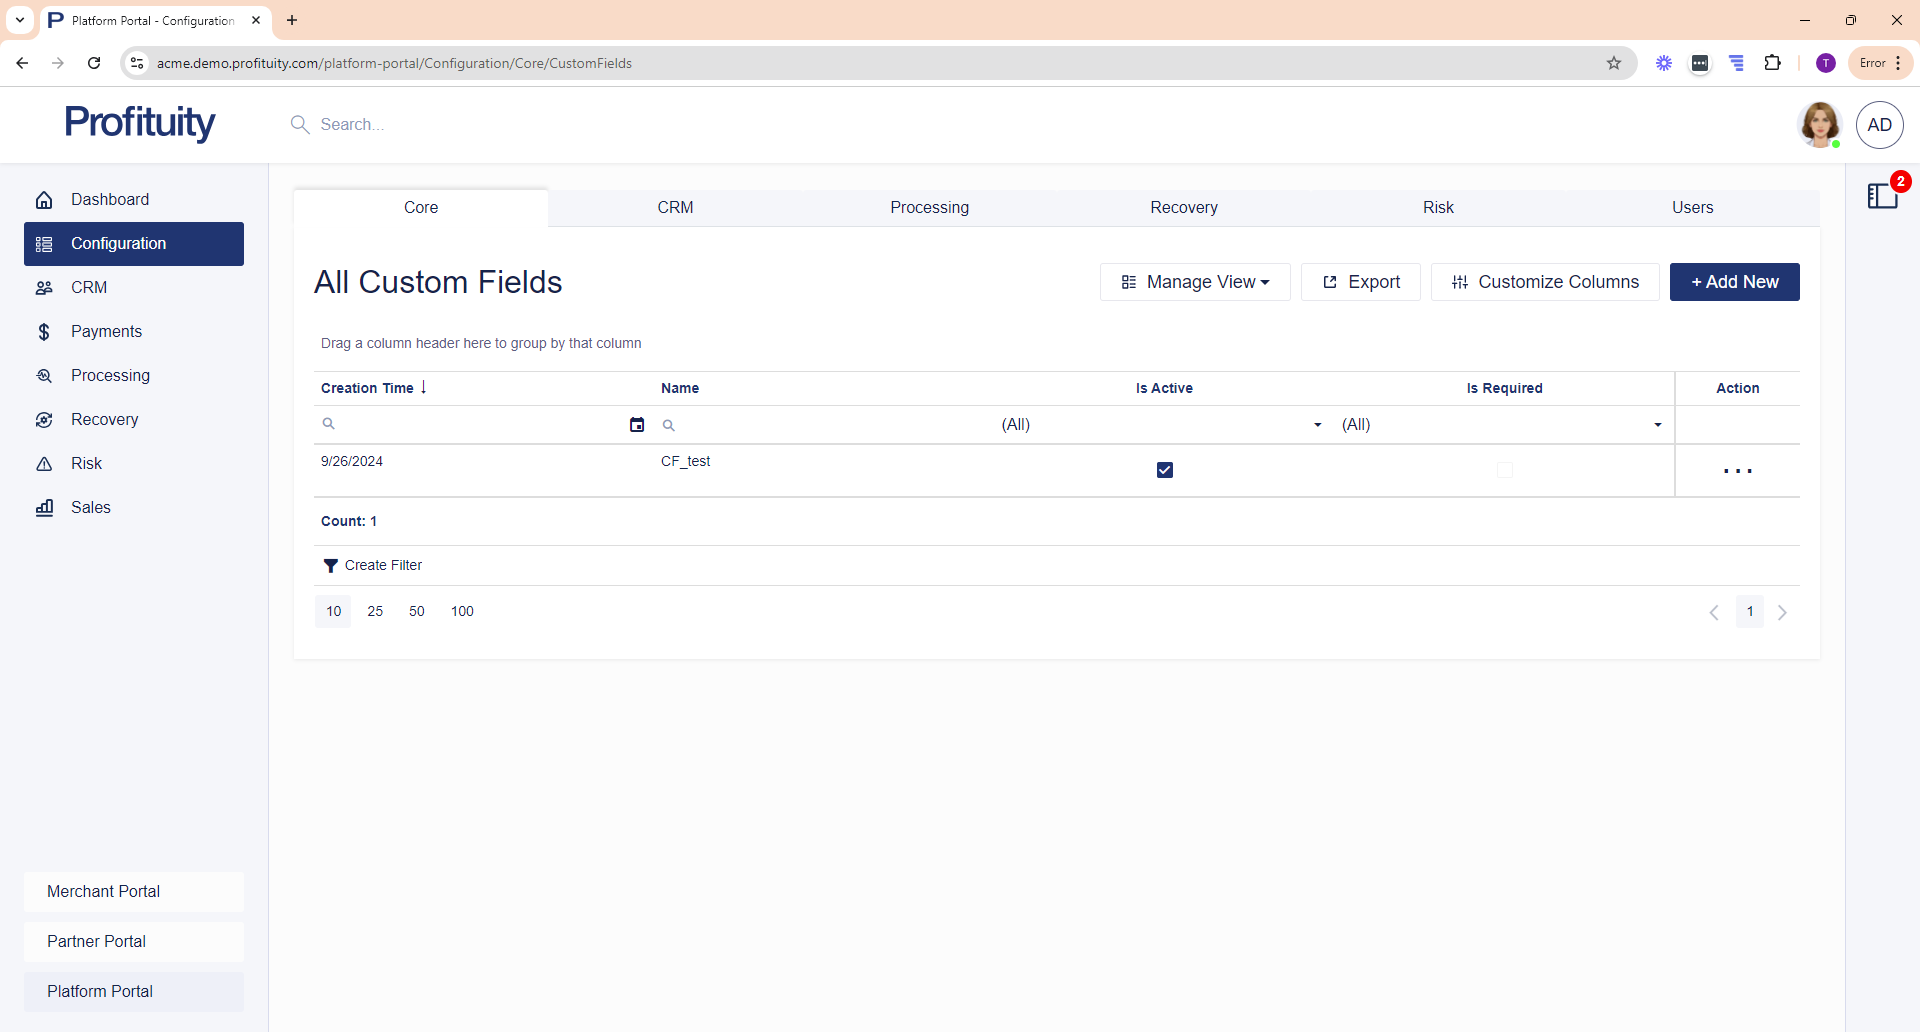
Screenshot: Custom Fields
Email Templates
You can manage your Email Templates from the Configuration > Core area. Email templates are used to specify email content that you would like to be sent are used in conjunction with Scheduled Jobs and Notification Schemes.
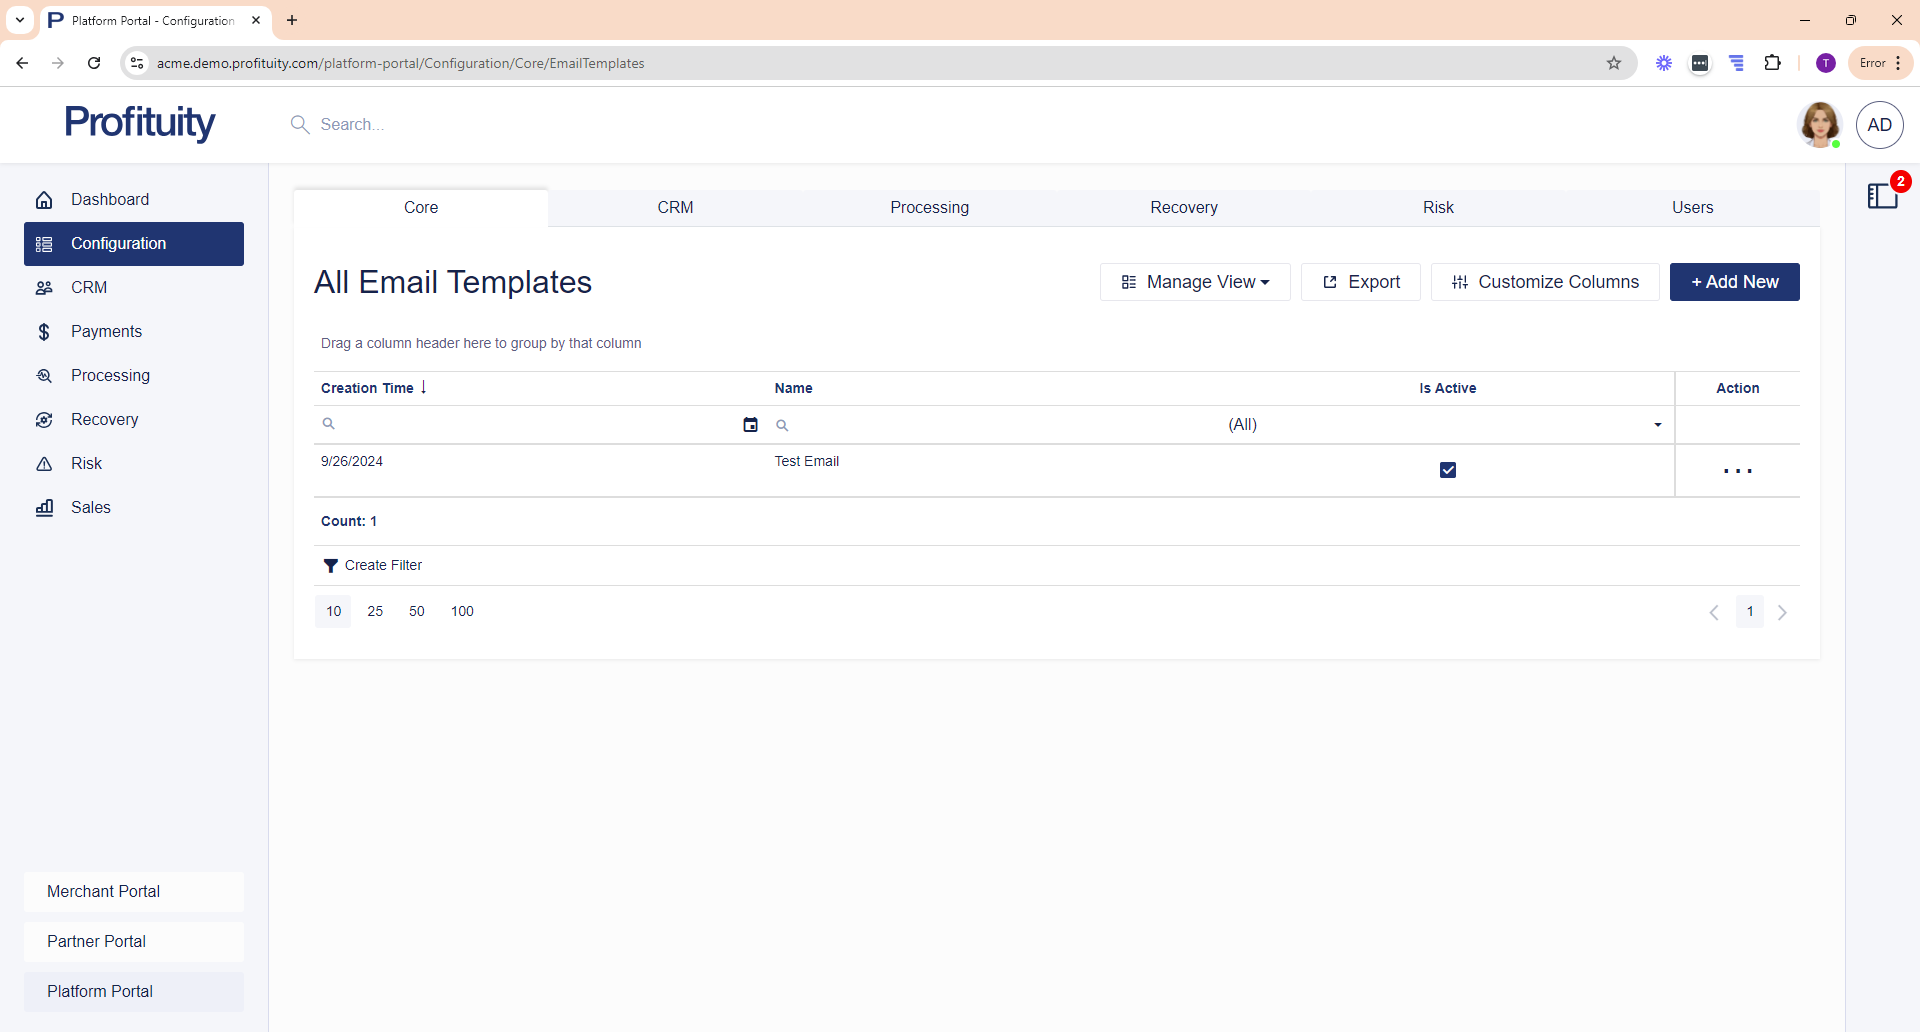
Screenshot: Email Templates
Field Mapping Configurations
You can manage your Field Mapping Configurations from the Configuration > Core area. Field Mapping Configurations allow you to specify fields in your system (Map From Name) and what they should be mapped to in our system (Map To Name). A field mapping configuration can contain one or more mapped fields.
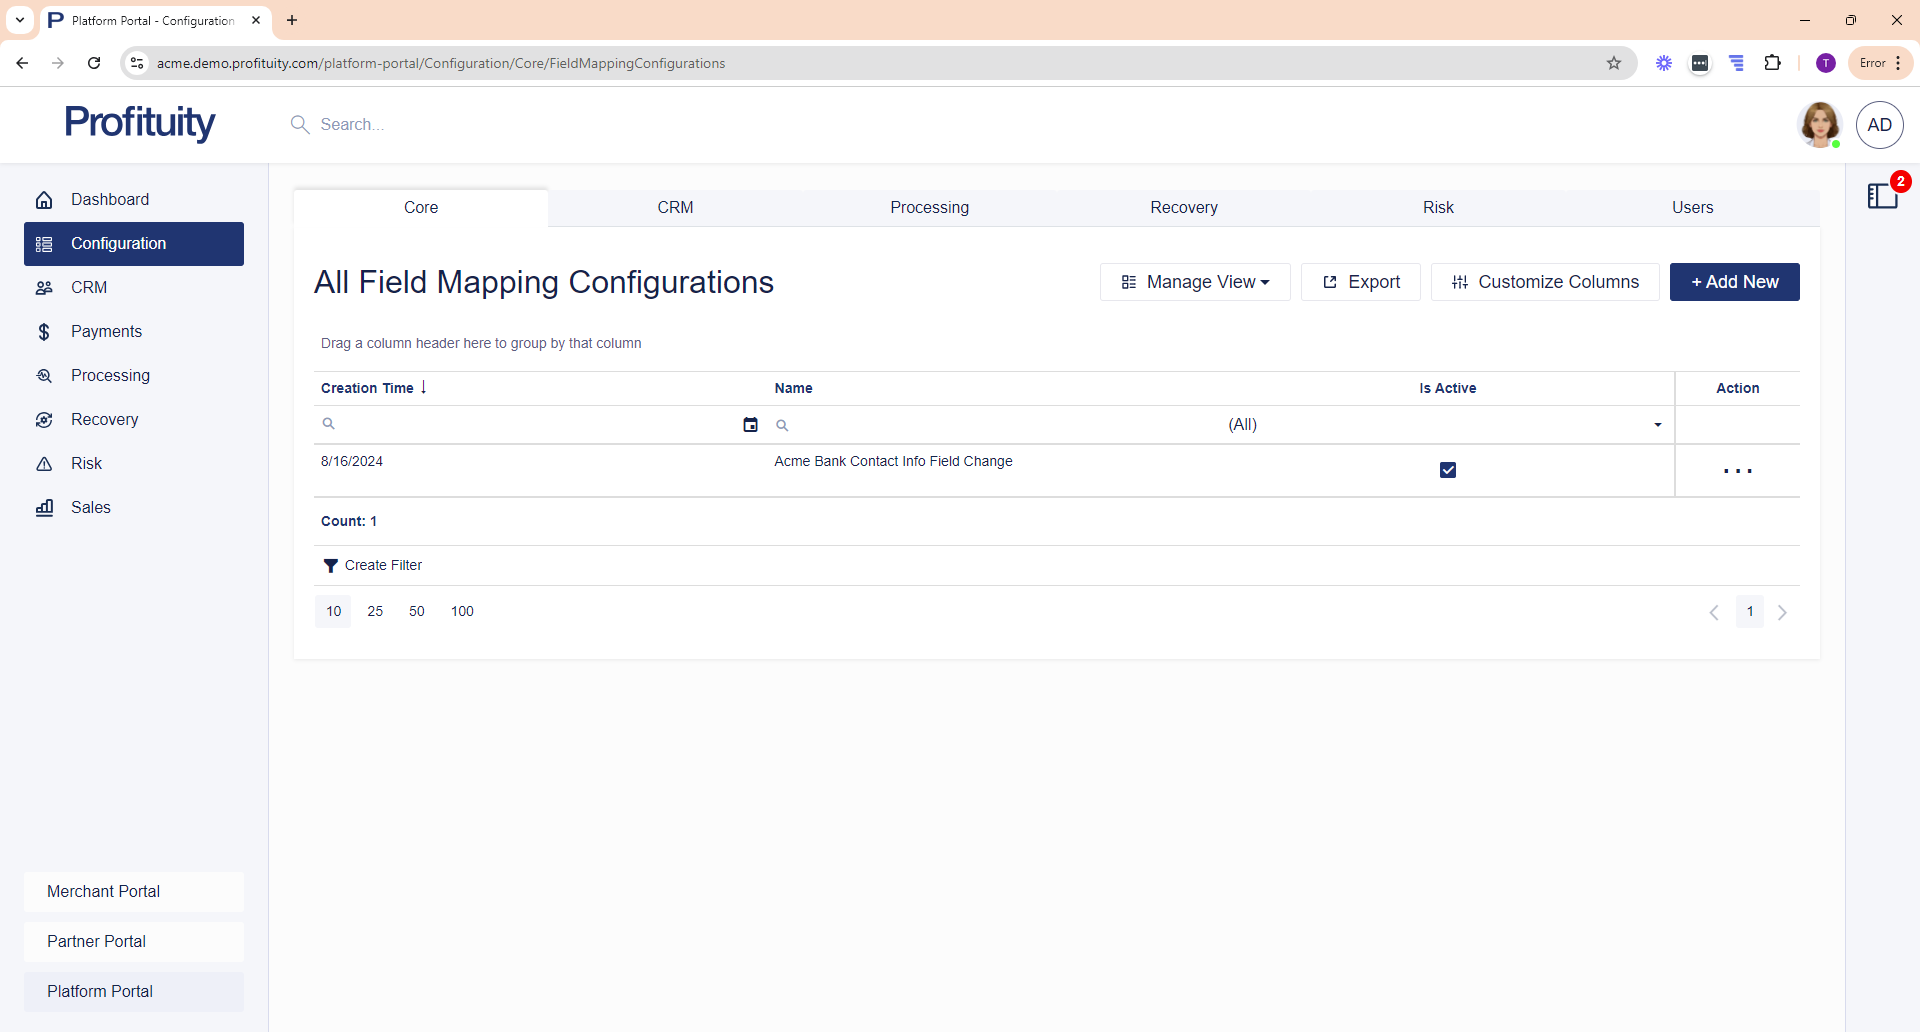
Screenshot: Field Mapping Configurations
File Delivery Configurations
You can manage your File Delivery Configurations from the Configuration > Core area. A file delivery configuration is a configuration of how the system should send (i.e. File Send) or retrieve (i.e. File Retrieval) processing related files. There are two (2) types of file delivery profiles:
File Send – indicates how processing related files should be sent.
File Retrieval – indicates how processing related files should be retrieved.
File delivery configurations are assigned to Processing Configurations.
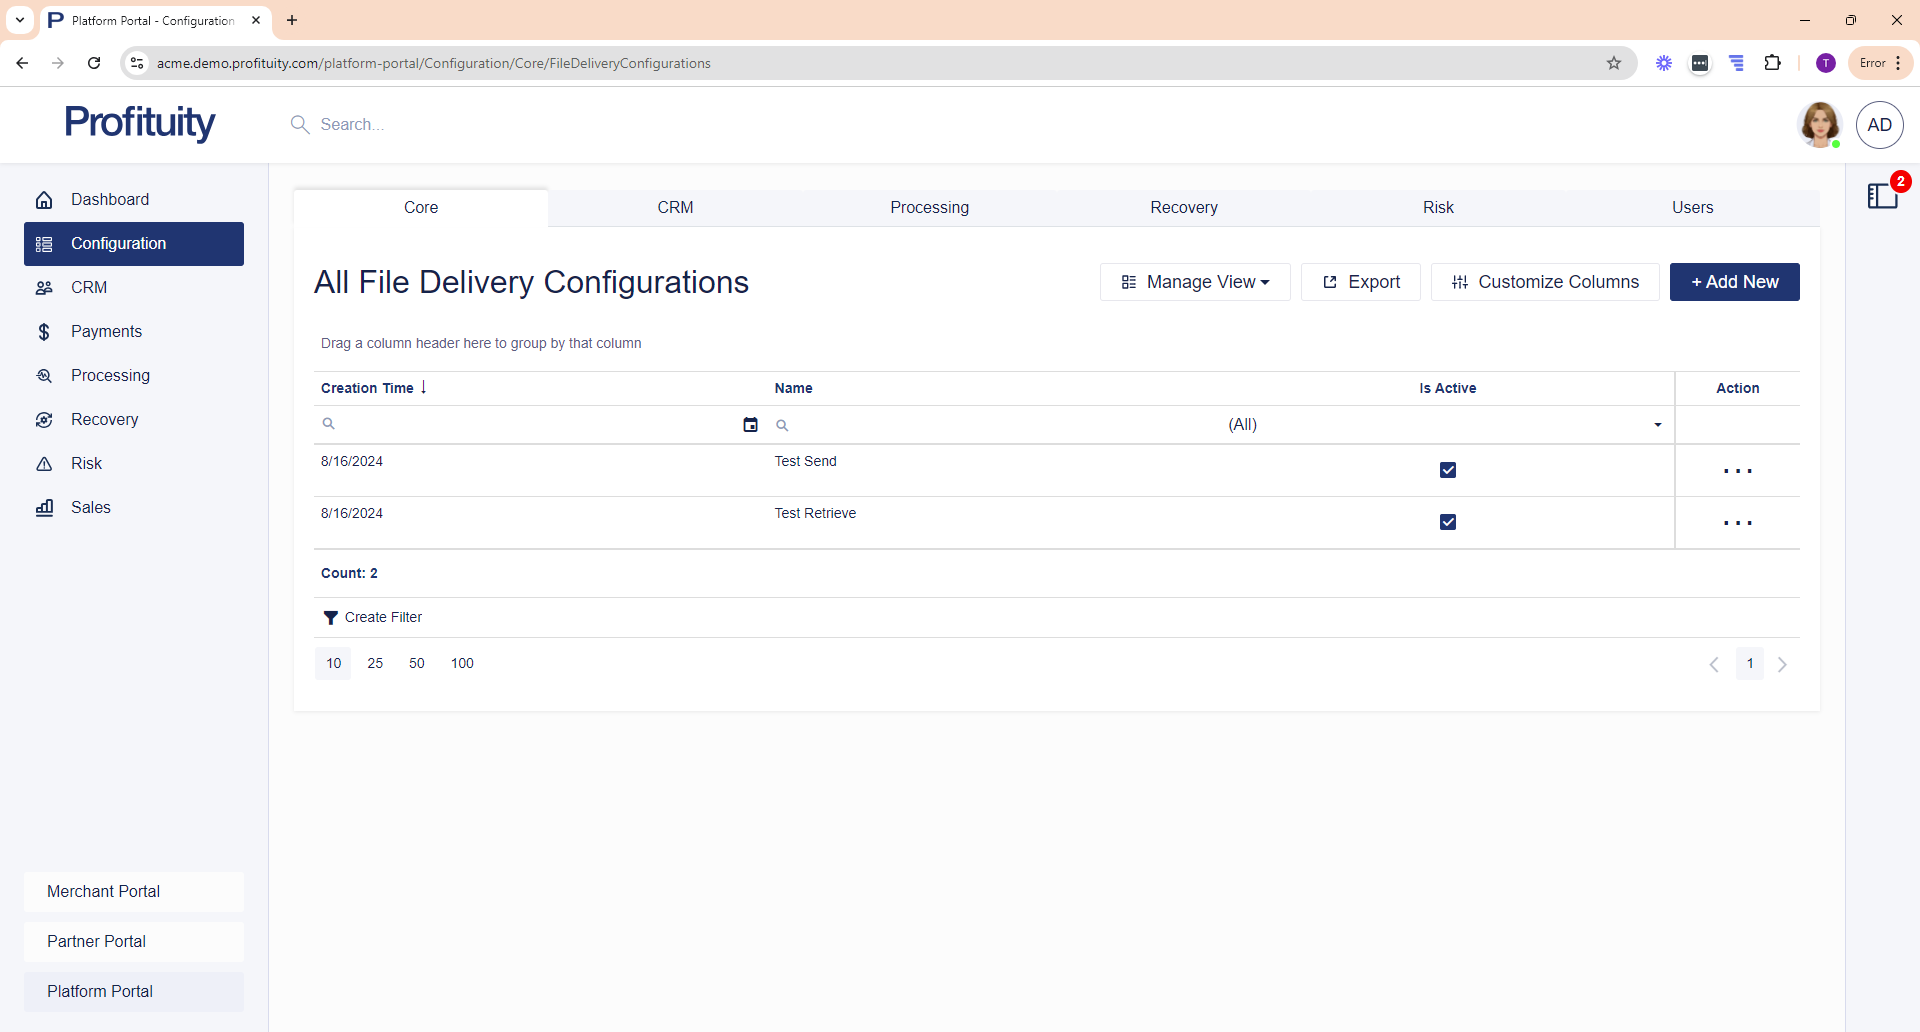
Screenshot: File Delivery Configurations
Note that if a file delivery profile is currently being used by a Processing Configuration, then you will not be able to change the profile type or mark it as inactive.
Messaging Preferences
You can manage your Messaging Preferences from the Configuration > Core area. This is where you go to configure how you want email and SMS messages to be sent.
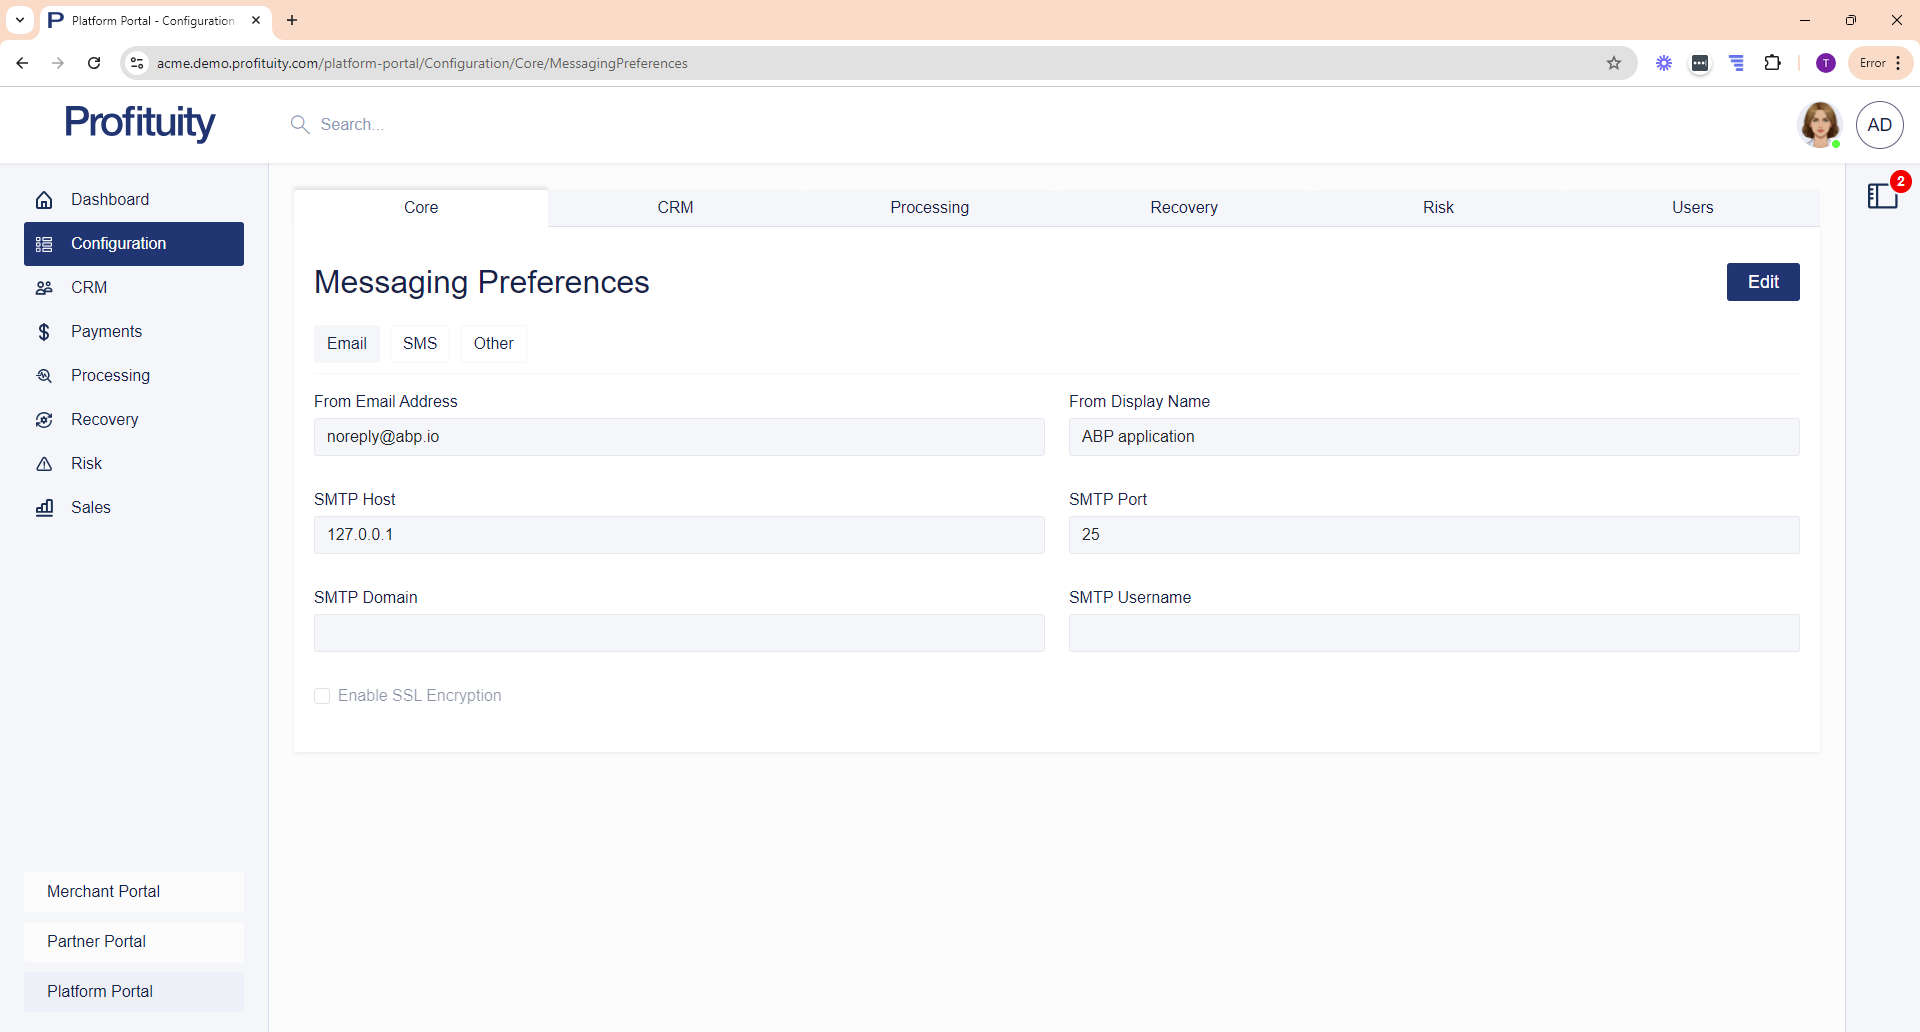
Screenshot: Messaging Preferences
Notification Schemes
You can manage your Notification Schemes from the Configuration > Core area. Notification Schemes allow you to define multiple events and communications that should be triggered when those events occur.
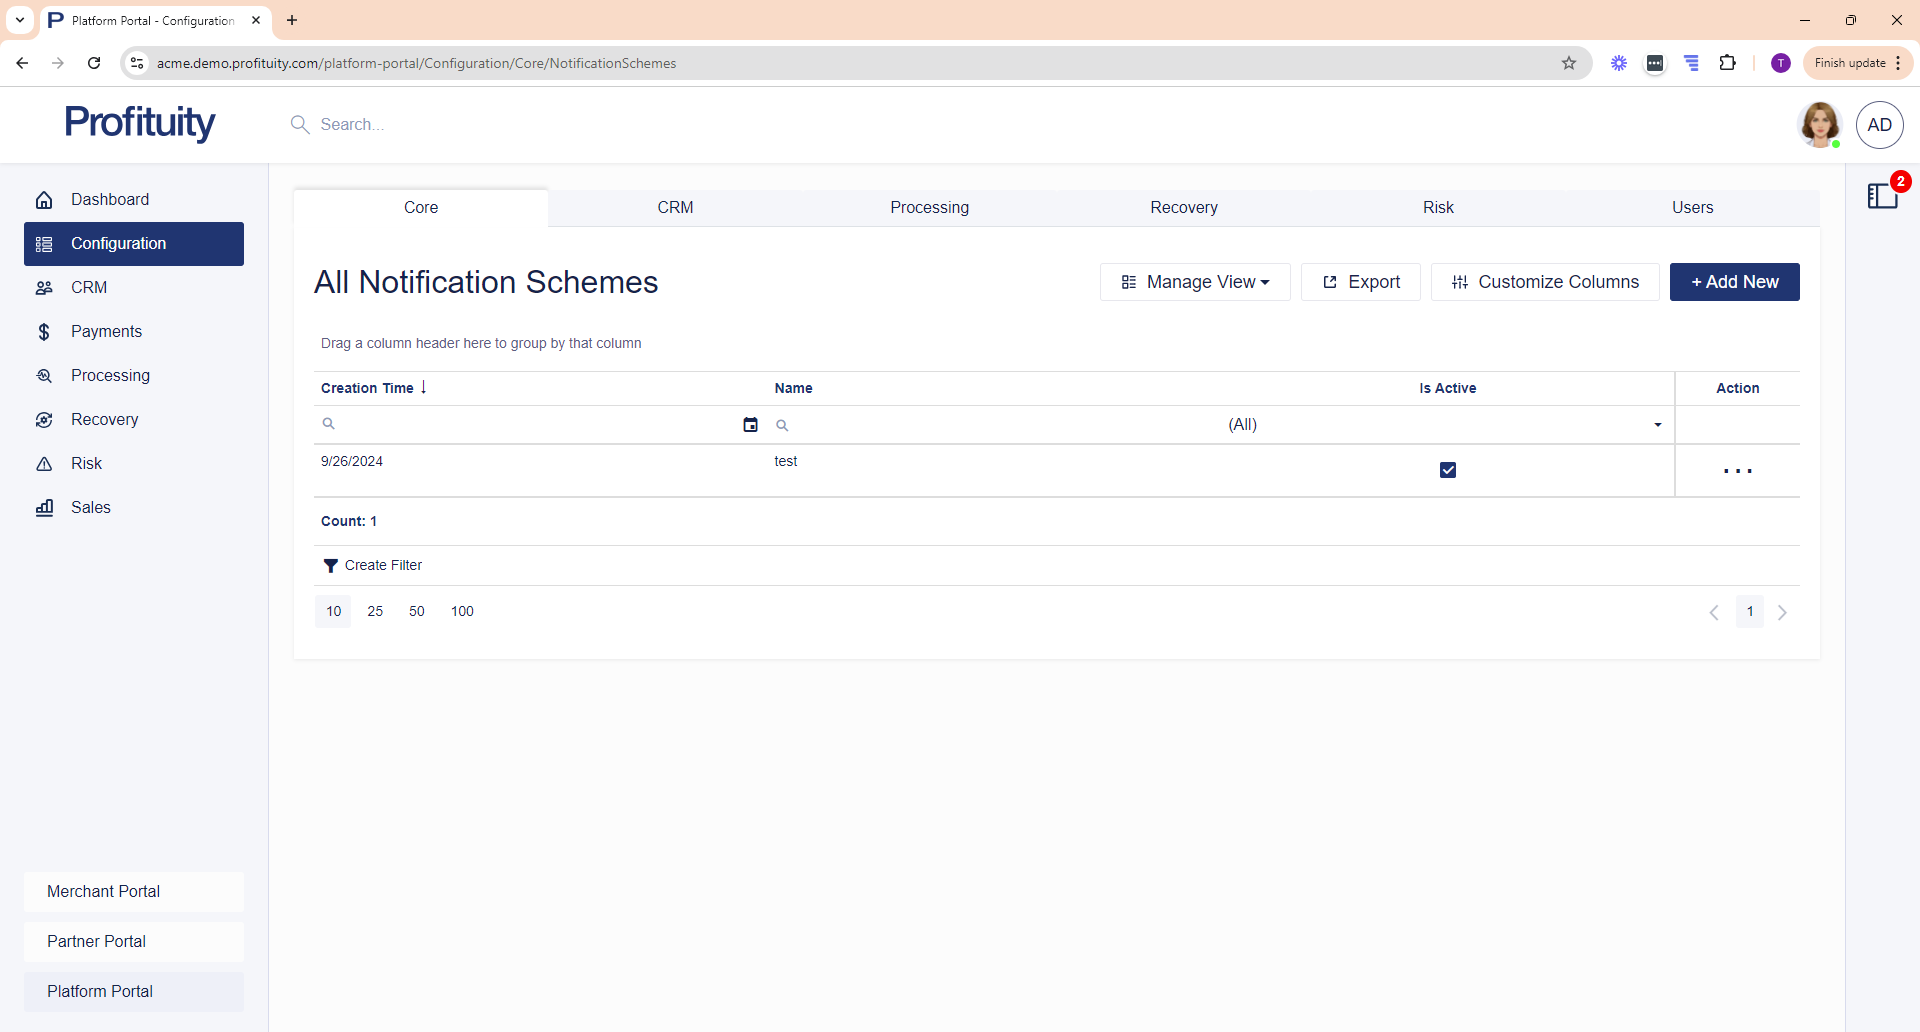
Screenshot: Notification Schemes
Report Templates
You can manage your Report Templates from the Configuration > Core area. There are two types of reports that you can customize the content of. These include:
Activity Summary Report
Commission Report
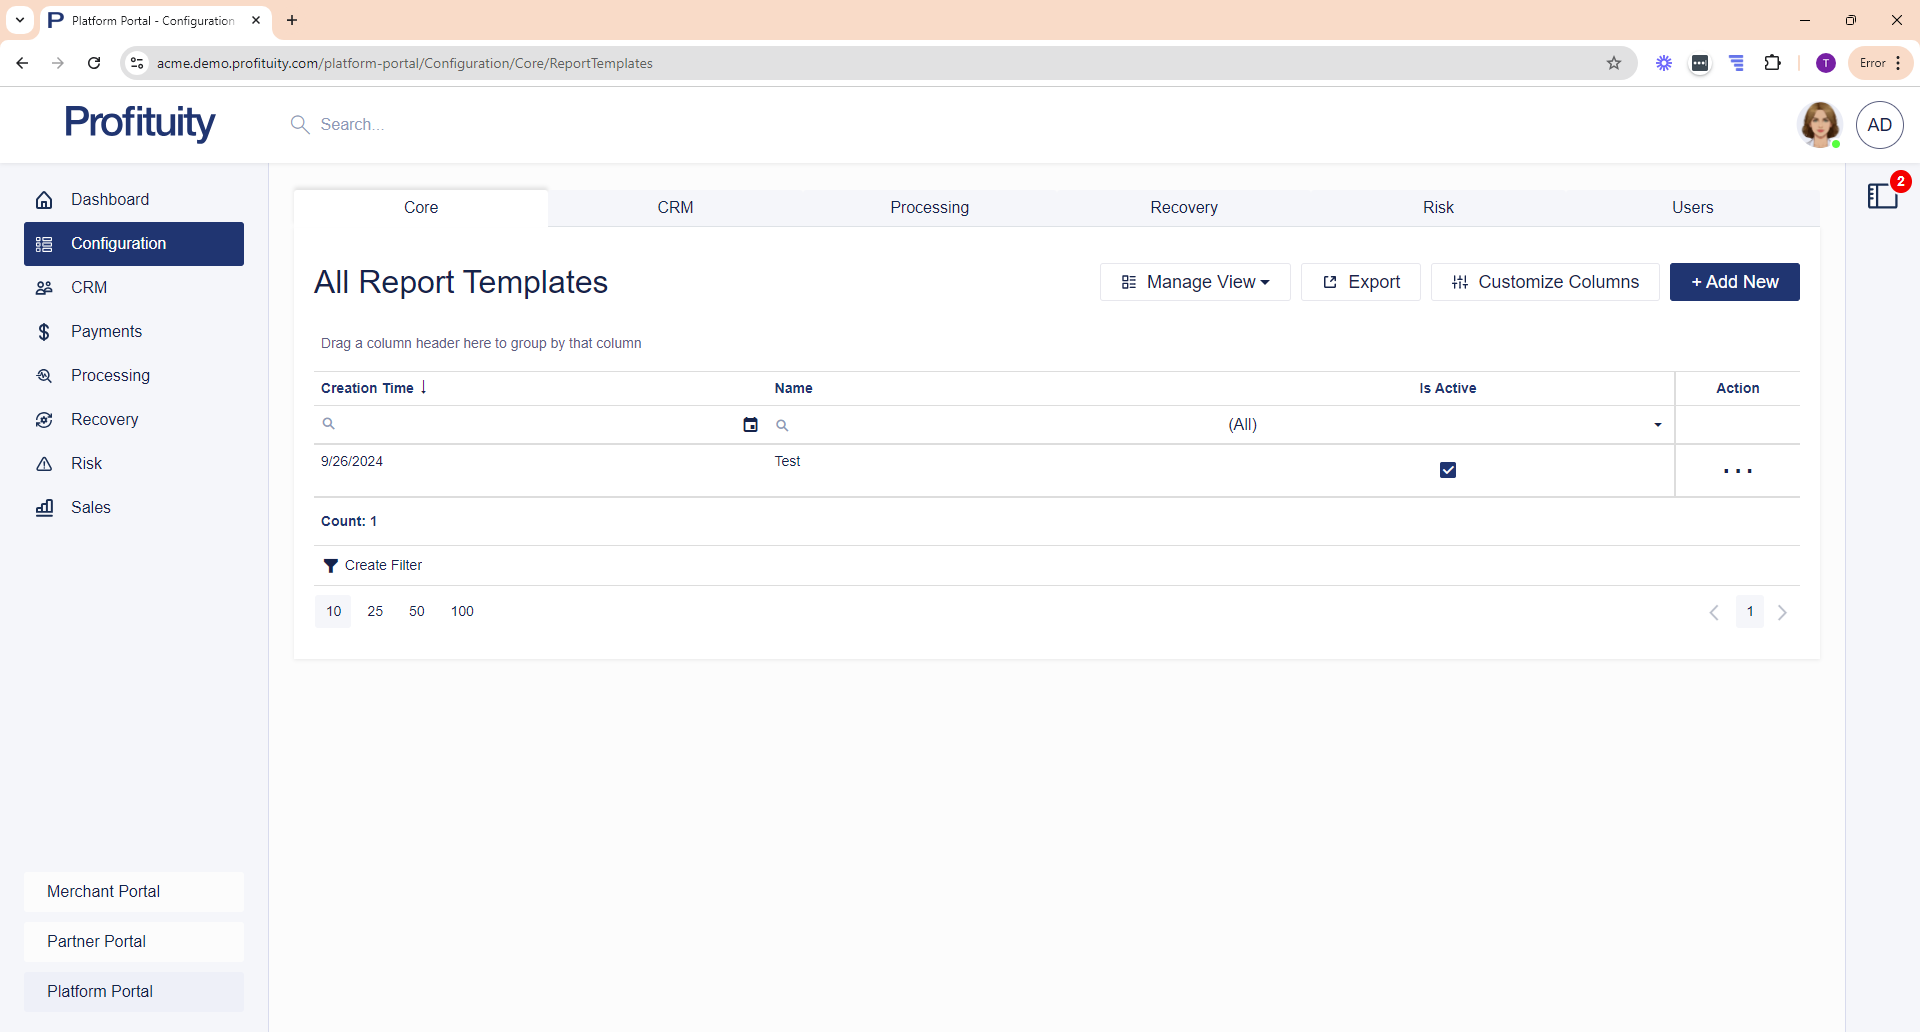
Screenshot: Report Templates
Scheduled Jobs
You can manage your Scheduled Jobs from the Configuration > Core area. Scheduled jobs allow you to perform certain actions on a define schedule.
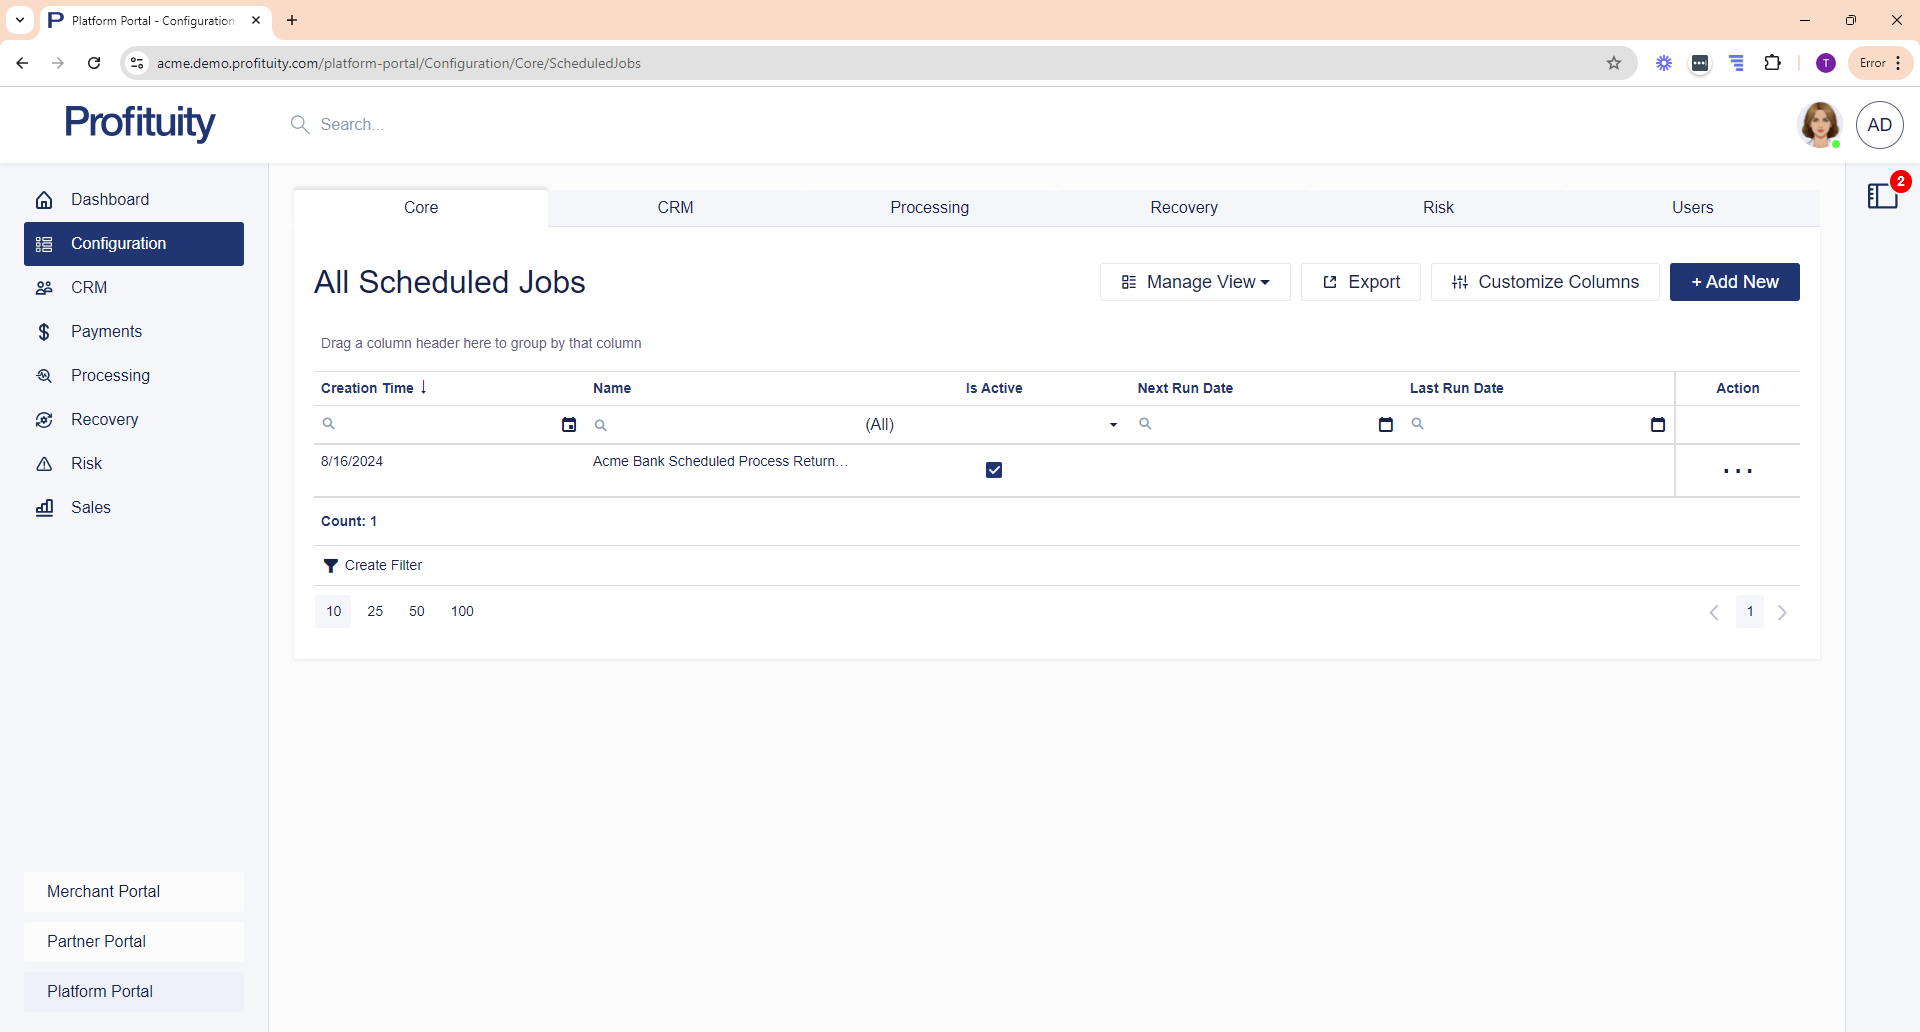
Screenshot: Scheduled Jobs
SMS Templates
You can manage your SMS Templates from the Configuration > Core area. SMS templates are used to specify SMS content that you would like to be sent are used in conjunction with Notification Schemes.
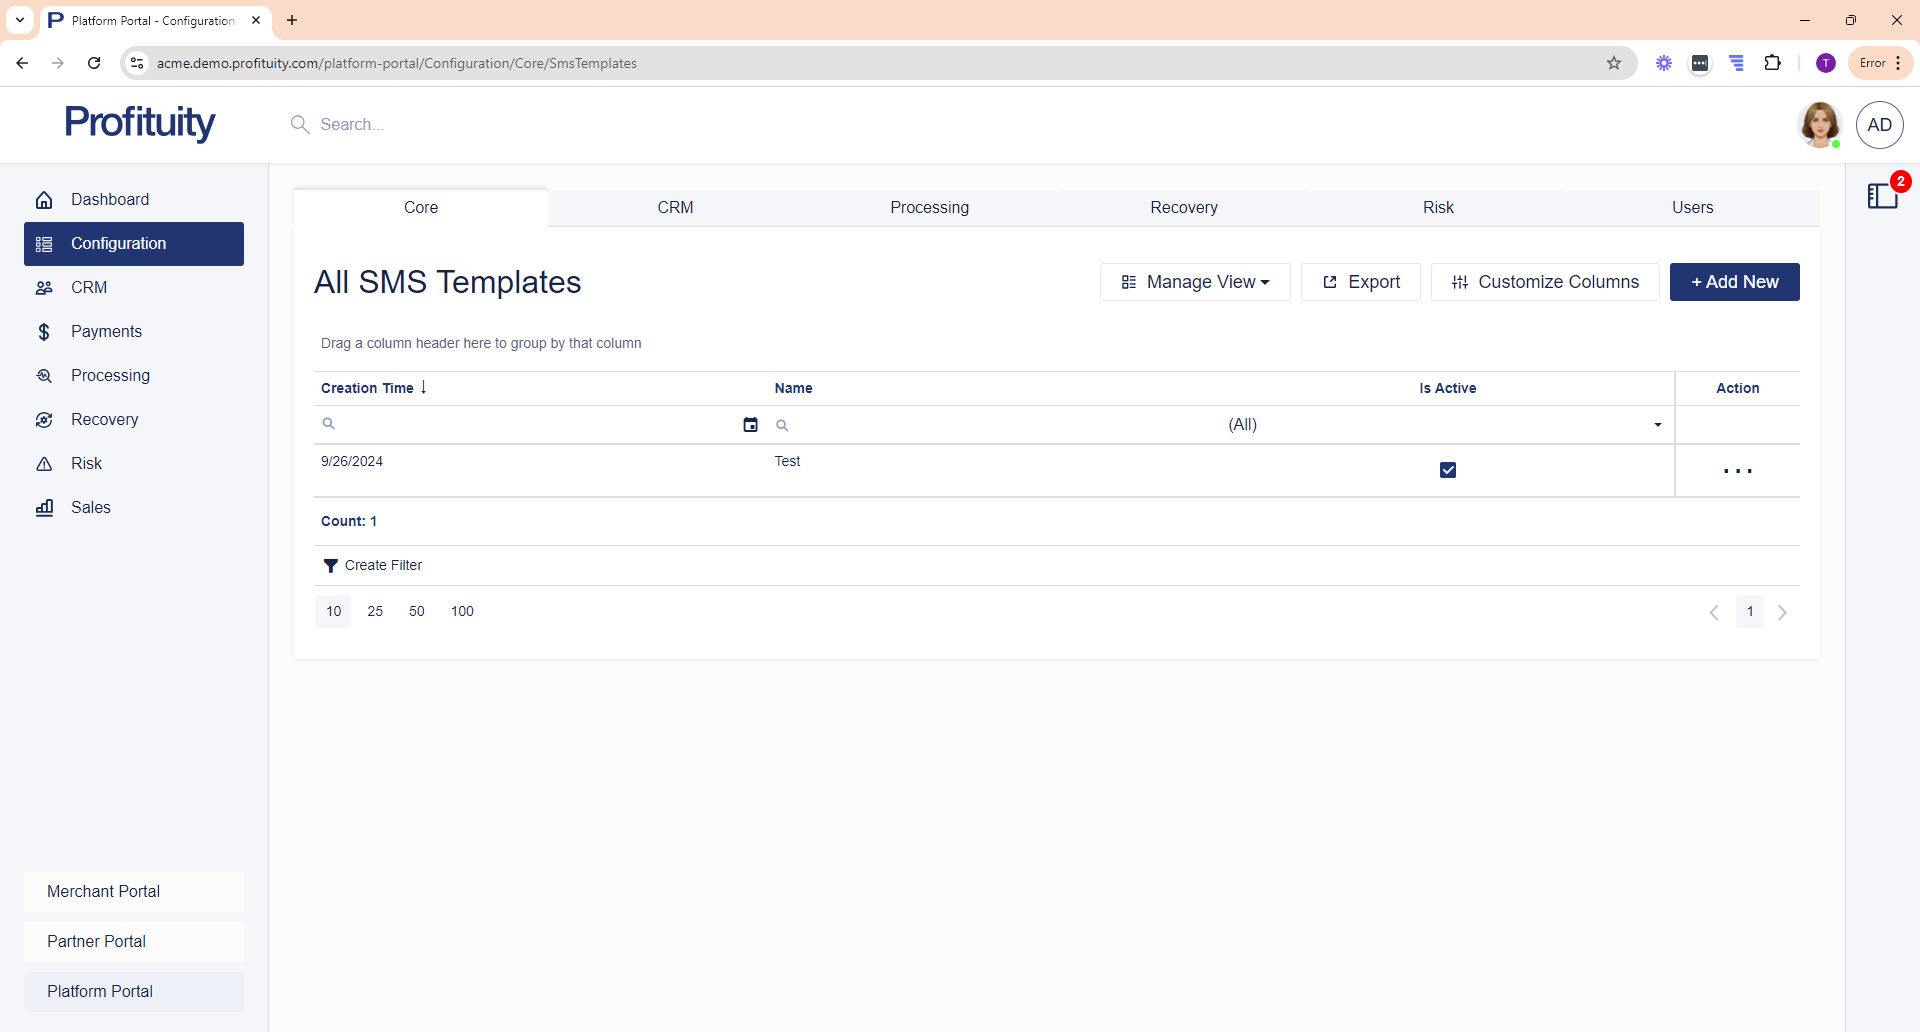
Screenshot: SMS Templates
States
You can view your States list from the Configuration > Core area. This list is used to populate the State field that you see in various address sections (e.g. the address section on a Merchant record).
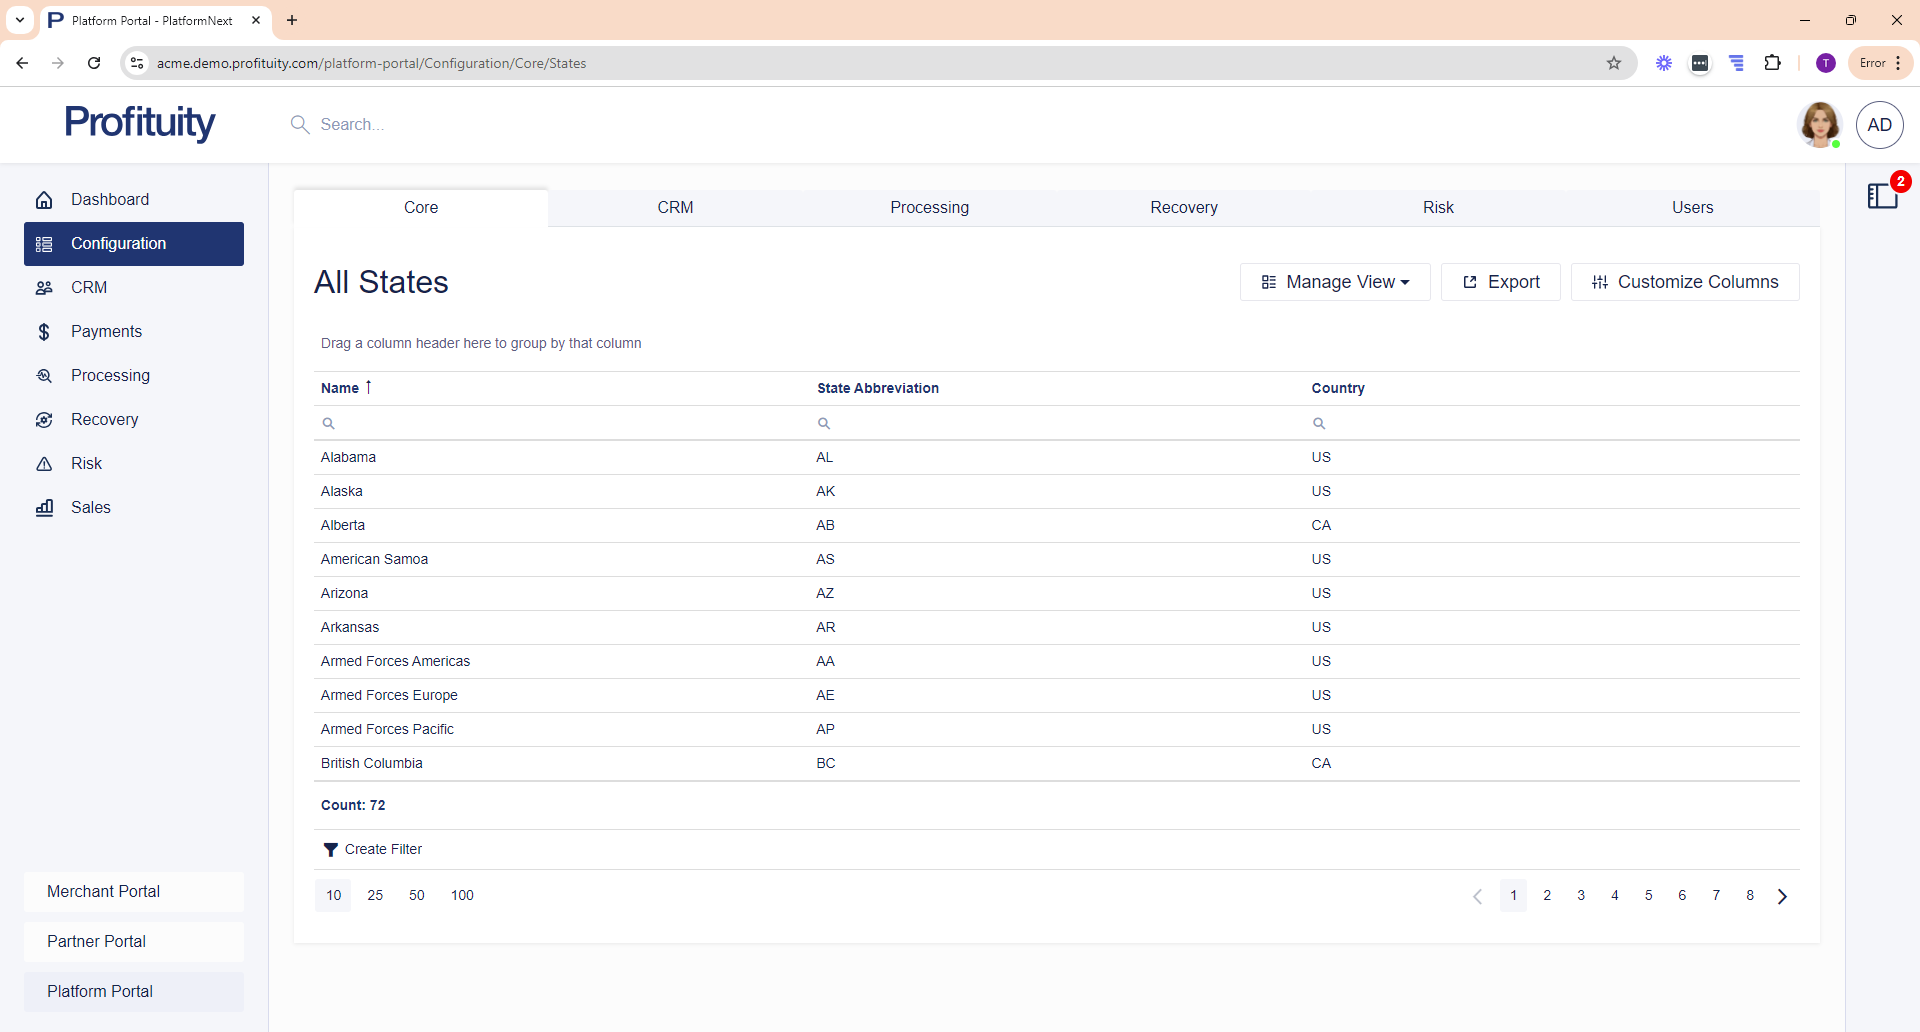
Screenshot: States
Compliance
Risk Categories
You can manage your Risk Categories for Compliance from the Configuration > Compliance area. You select a risk category when you are adding a Risk Scenario in the Compliance+ module.
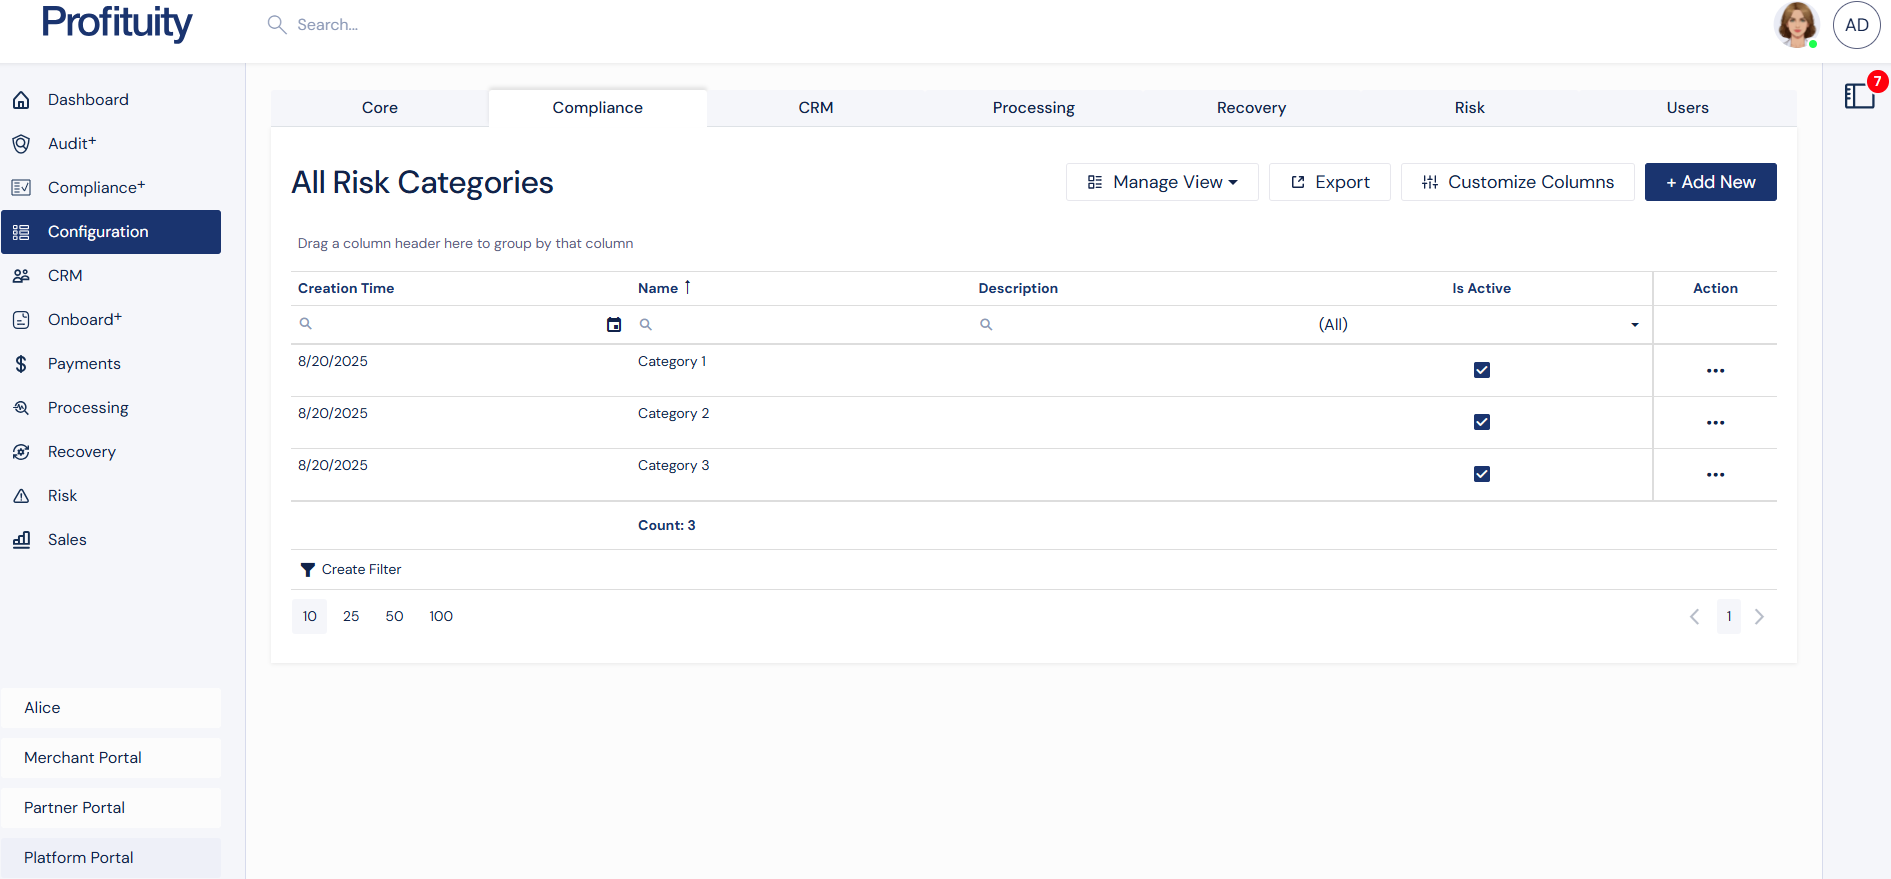
Risk Category Screenshot
CRM
Contact Roles
You can manage your Contact Roles from the Configuration > CRM area. You select a contact role when you are adding a contact to a CRM entity (e.g. Adding a Contact to a Merchant).
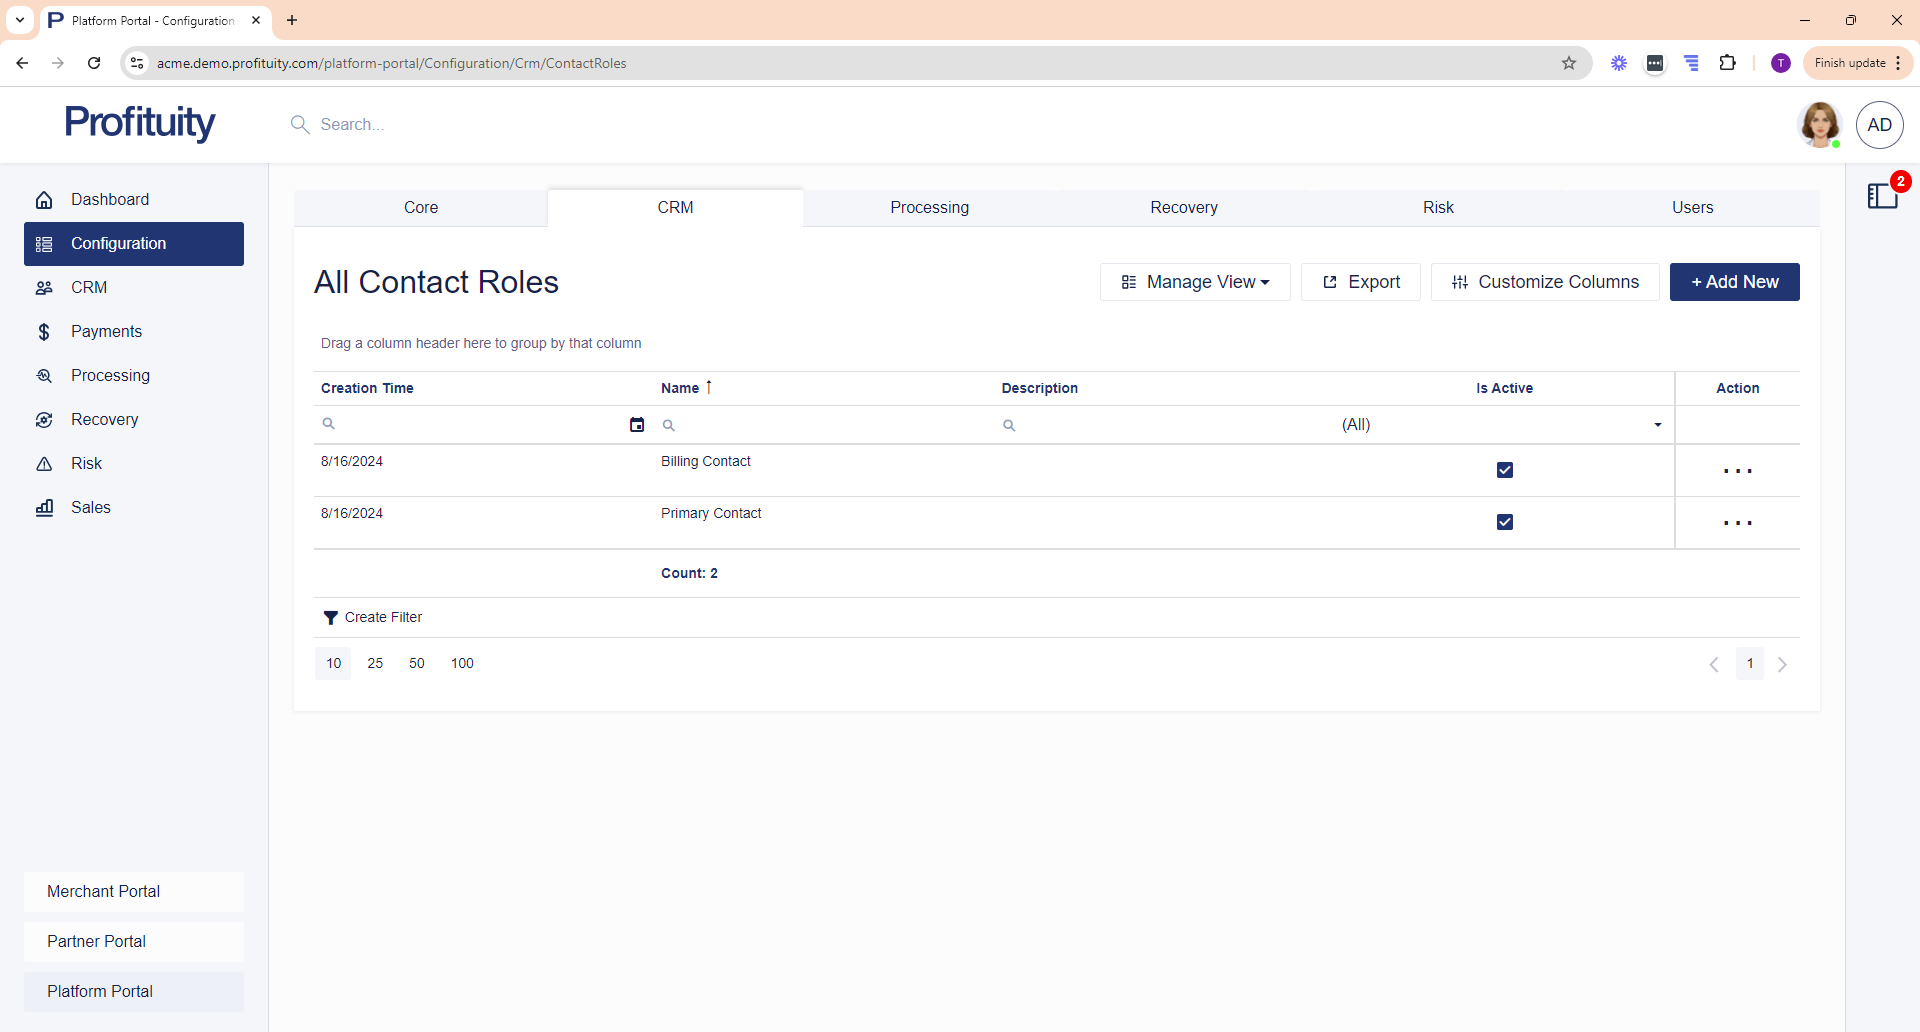
Screenshot: Contact Roles
Processing
Bank Accounts
You can manage your Bank Accounts in the Configuration > Processing area. Bank accounts are assigned to a Processing Configuration and define the accounts to be used for operating and processing activity.
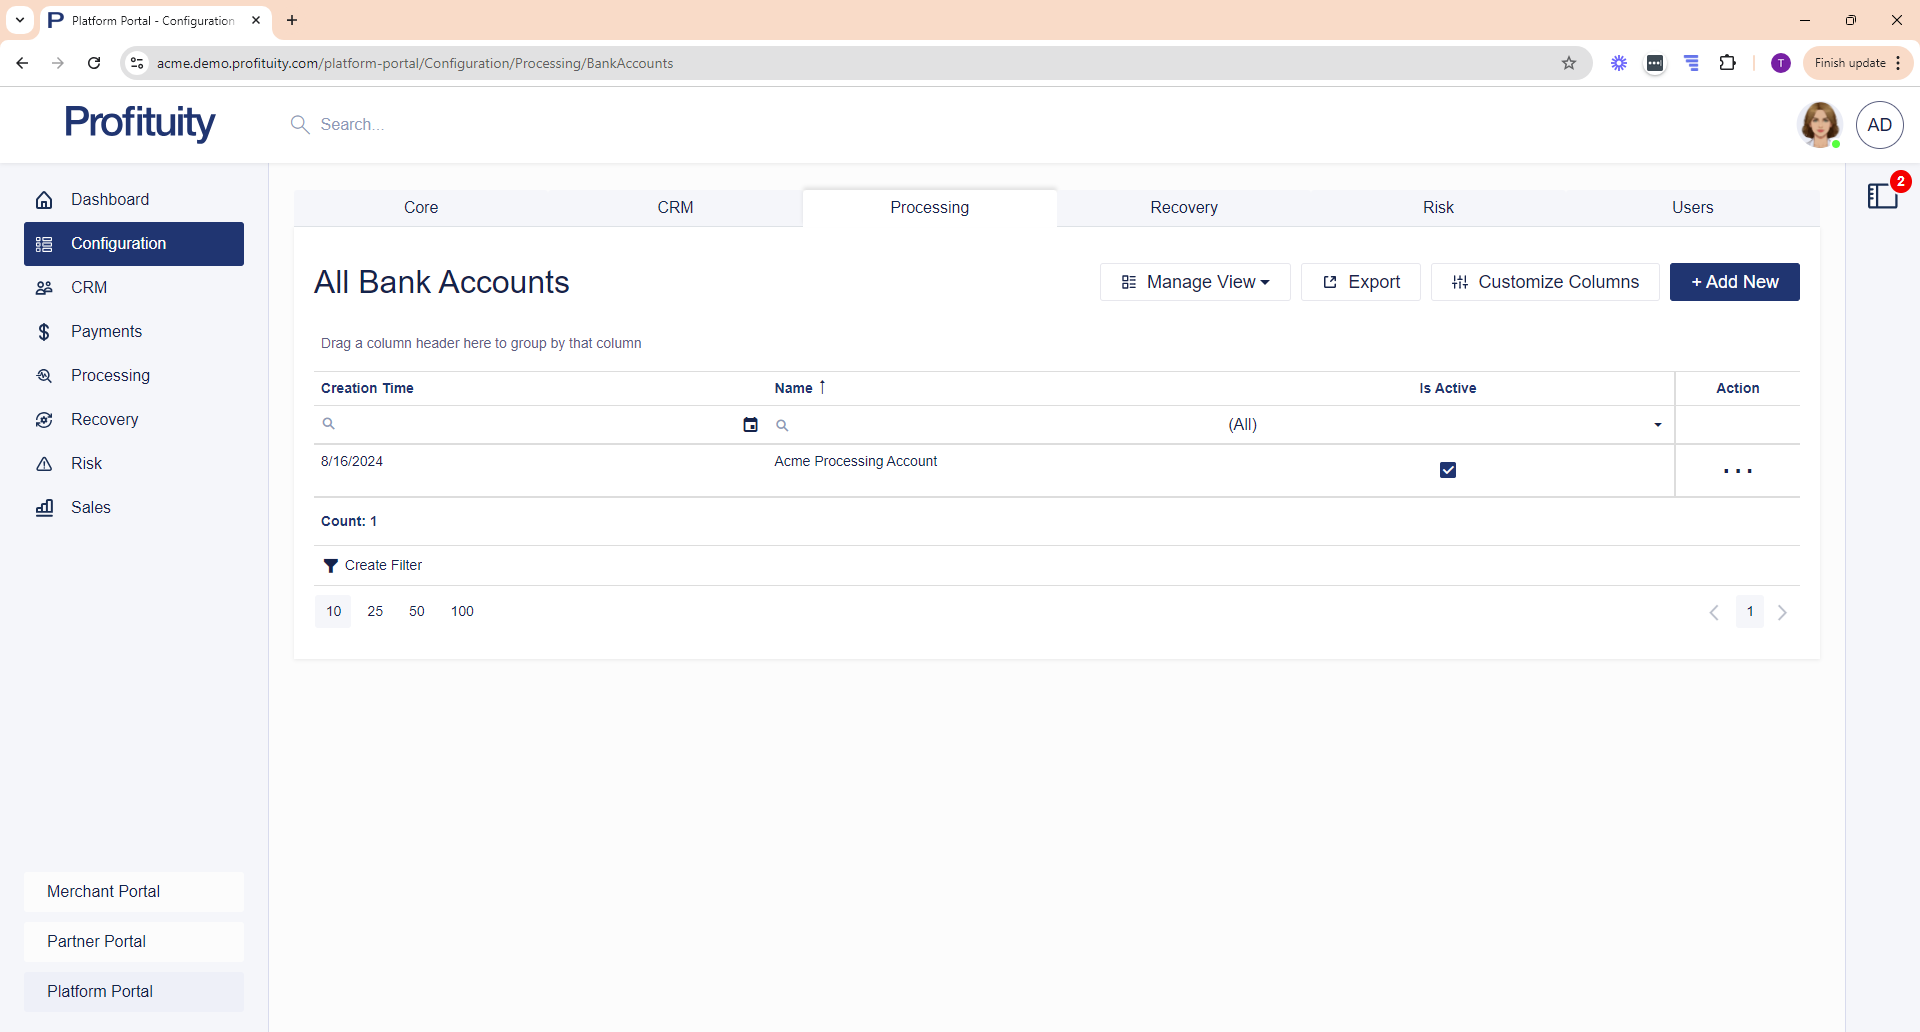
Screenshot: Bank Accounts
Bank Holidays
You can view Bank Holidays from the Configuration > Processing area. This list represents non-processing days. This list is automatically updated and is sourced from the Federal Reserve website.
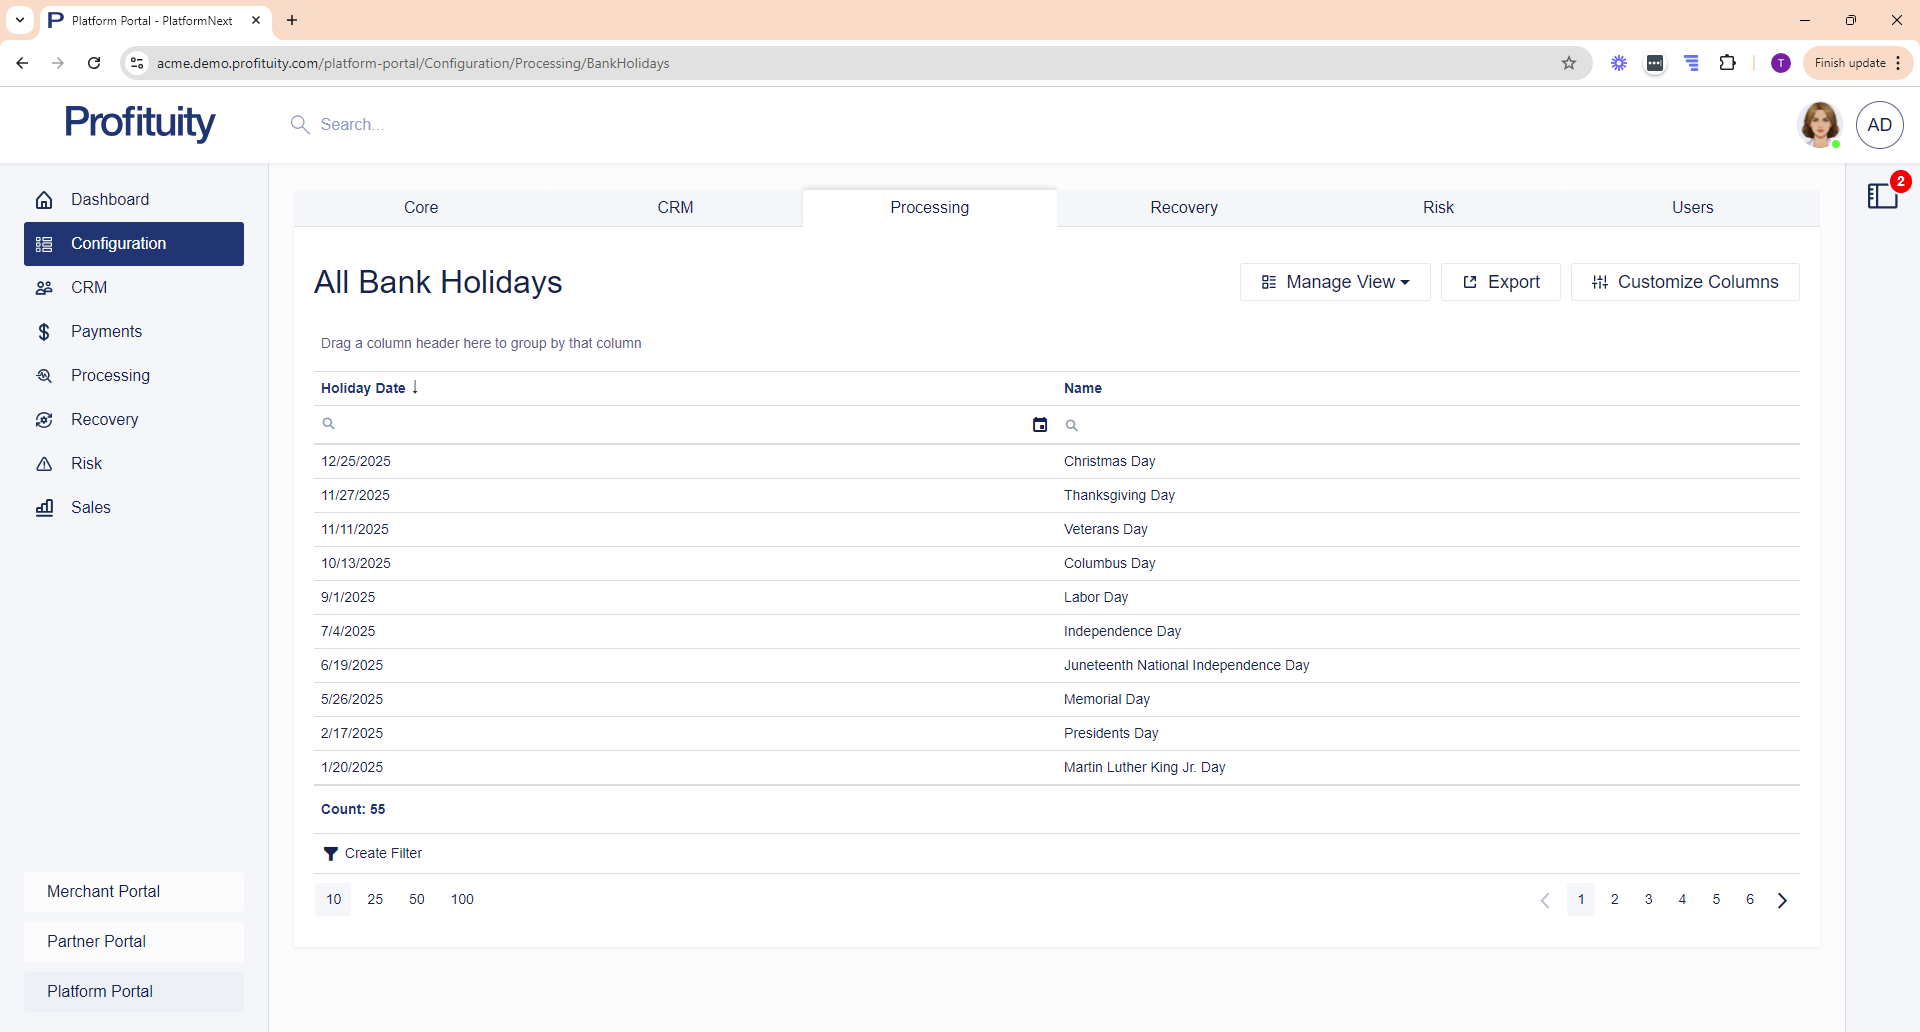
Screenshot: Bank Holidays
Notification of Change Codes
You can view Notification of Change Codes from the Configuration > Processing area. A notification of change is a method used to notify the sender of an ACH payment to correct or change information related to the receiver’s account information. This list is sourced from the Nacha Operating Rules and Guidelines. See Notification of Change Codes.
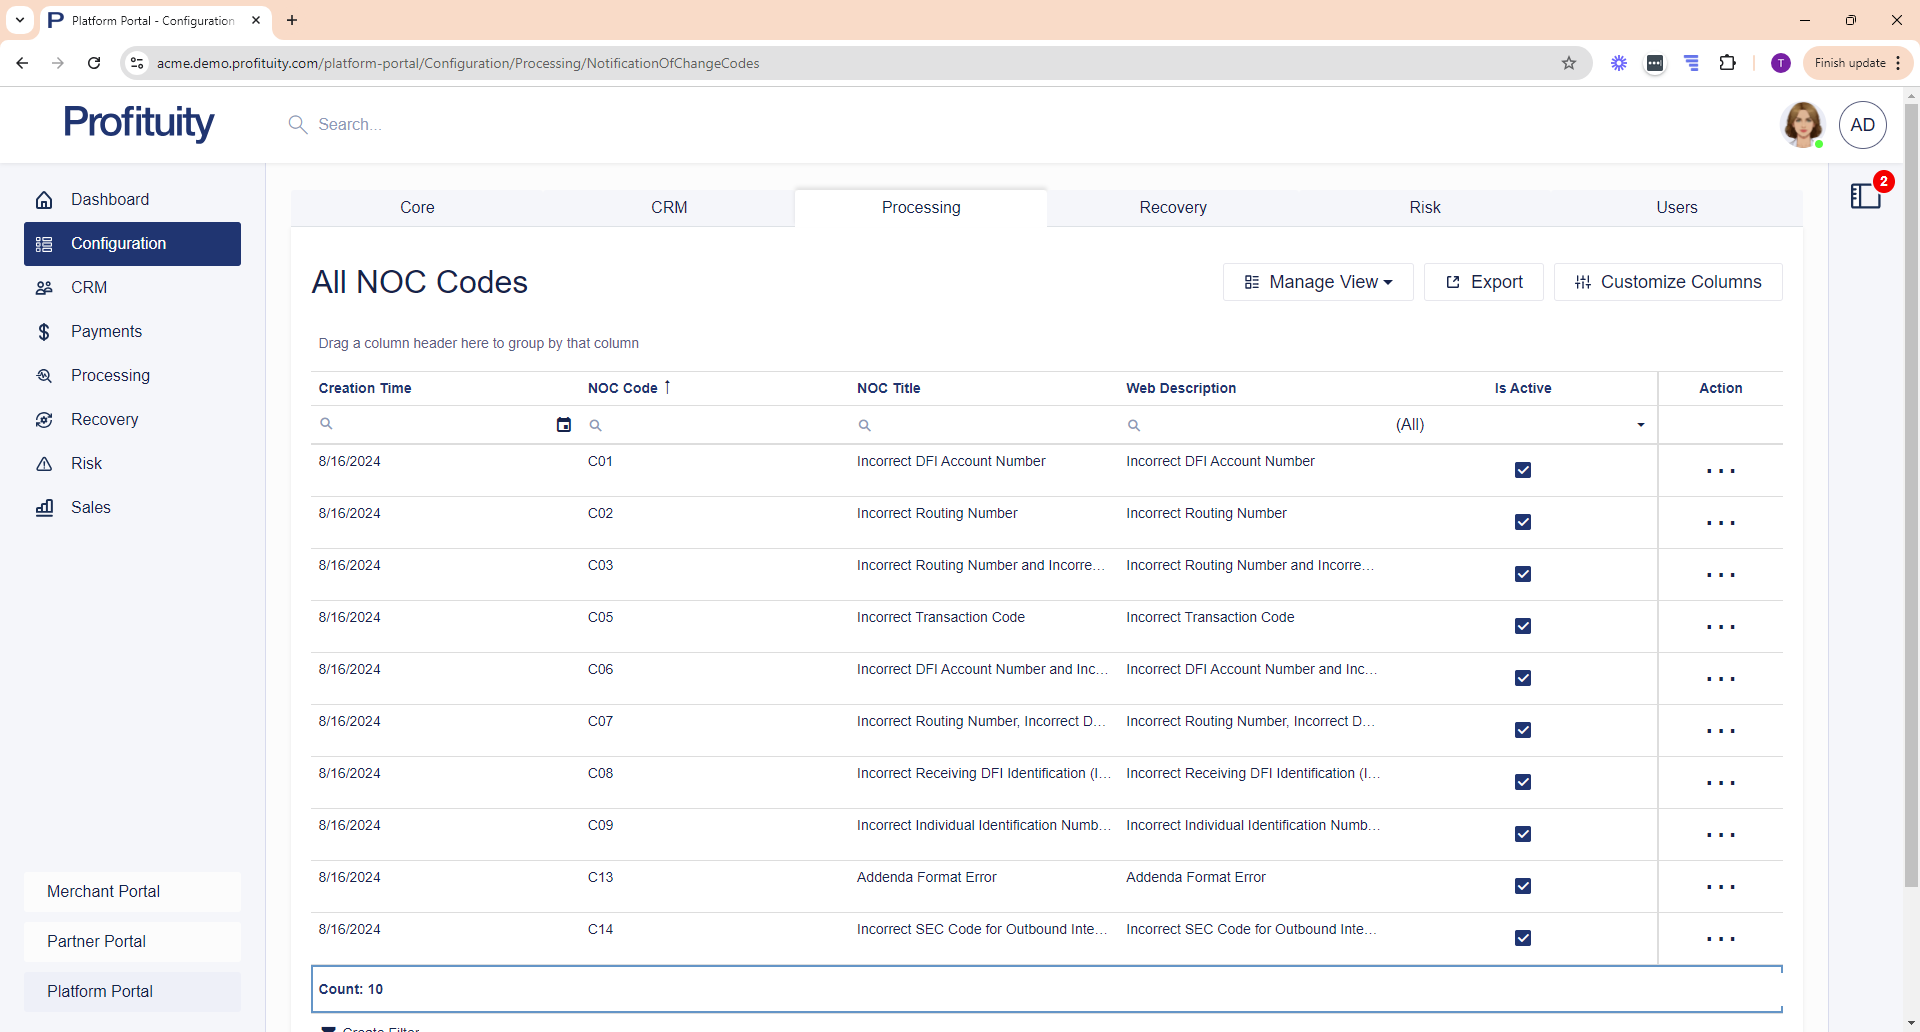
Screenshot: NOC Codes
Processing Configurations
You can manage your Processing Configurations in the Configuration > Processing area. A processing configuration is a collection of ACH, Image Cash Letter, and Draft settings used to control how the system handles origination and return files.
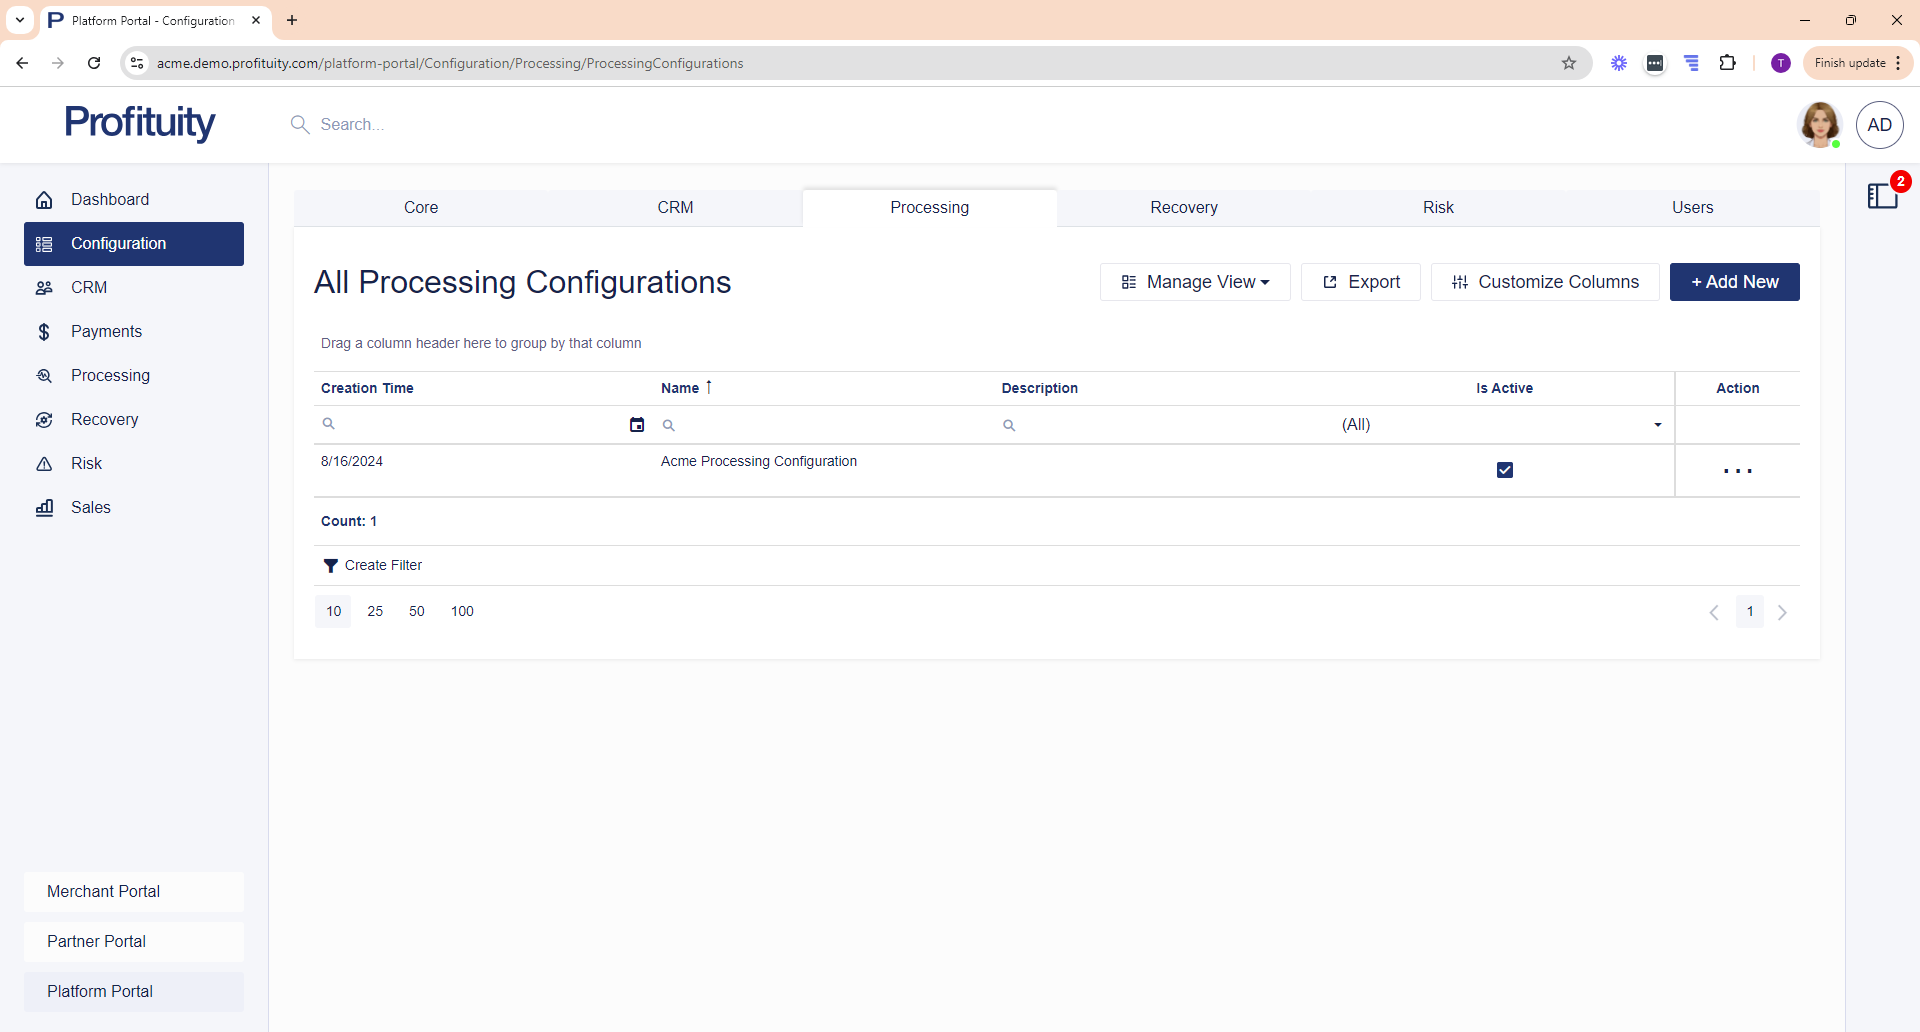
Screenshot: Processing Configurations
Routing Number Directory
You can view the Routing Number Directory from the Configuration > Processing area. This is a list of ACH bank routing numbers and is sourced from the Federal Reserve.
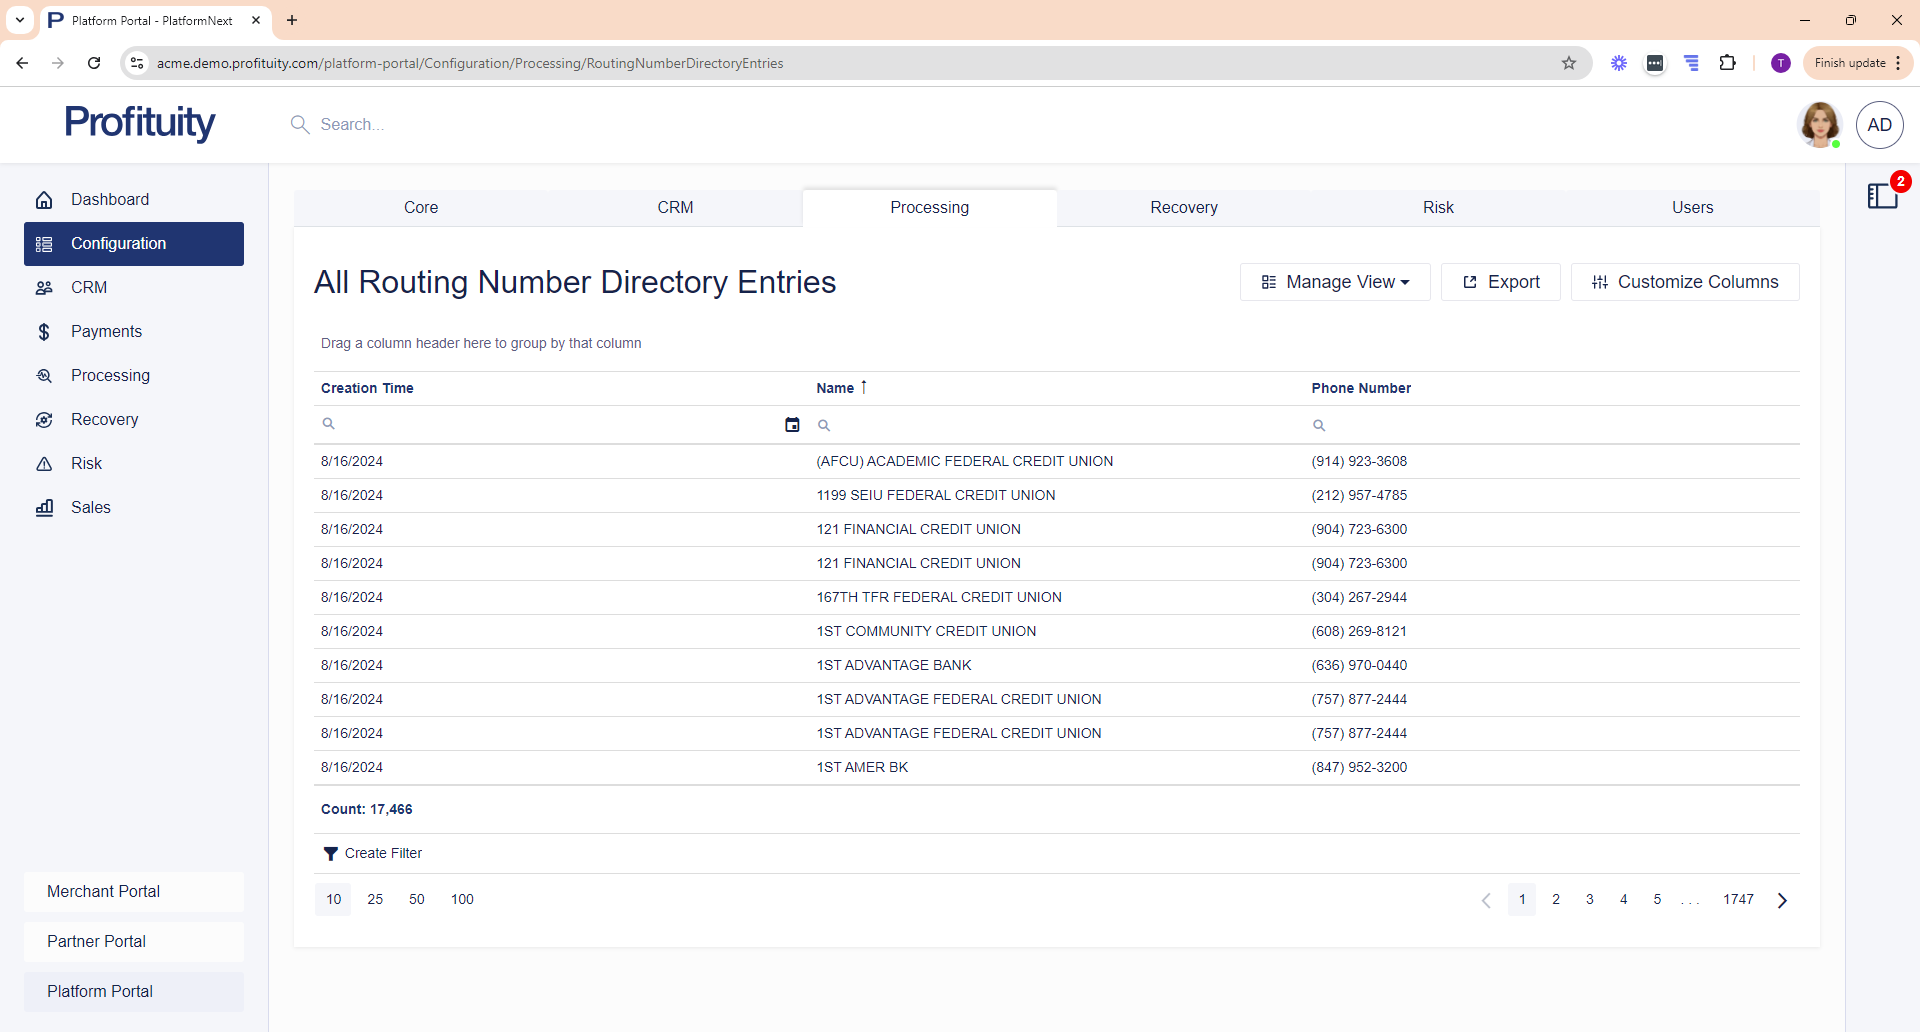
Screenshot: Routing Number Directory Entries
Transaction Return Codes
You can view Transaction Return Codes from the Configuration > Processing area. A return code is used to indicate the reason why a transaction was rejected by the receiver’s financial institution. Each code begins with the letter 'R' followed by a two-digit number. This list is sourced from the Nacha Operating Rules and Guidelines. See Return Codes.
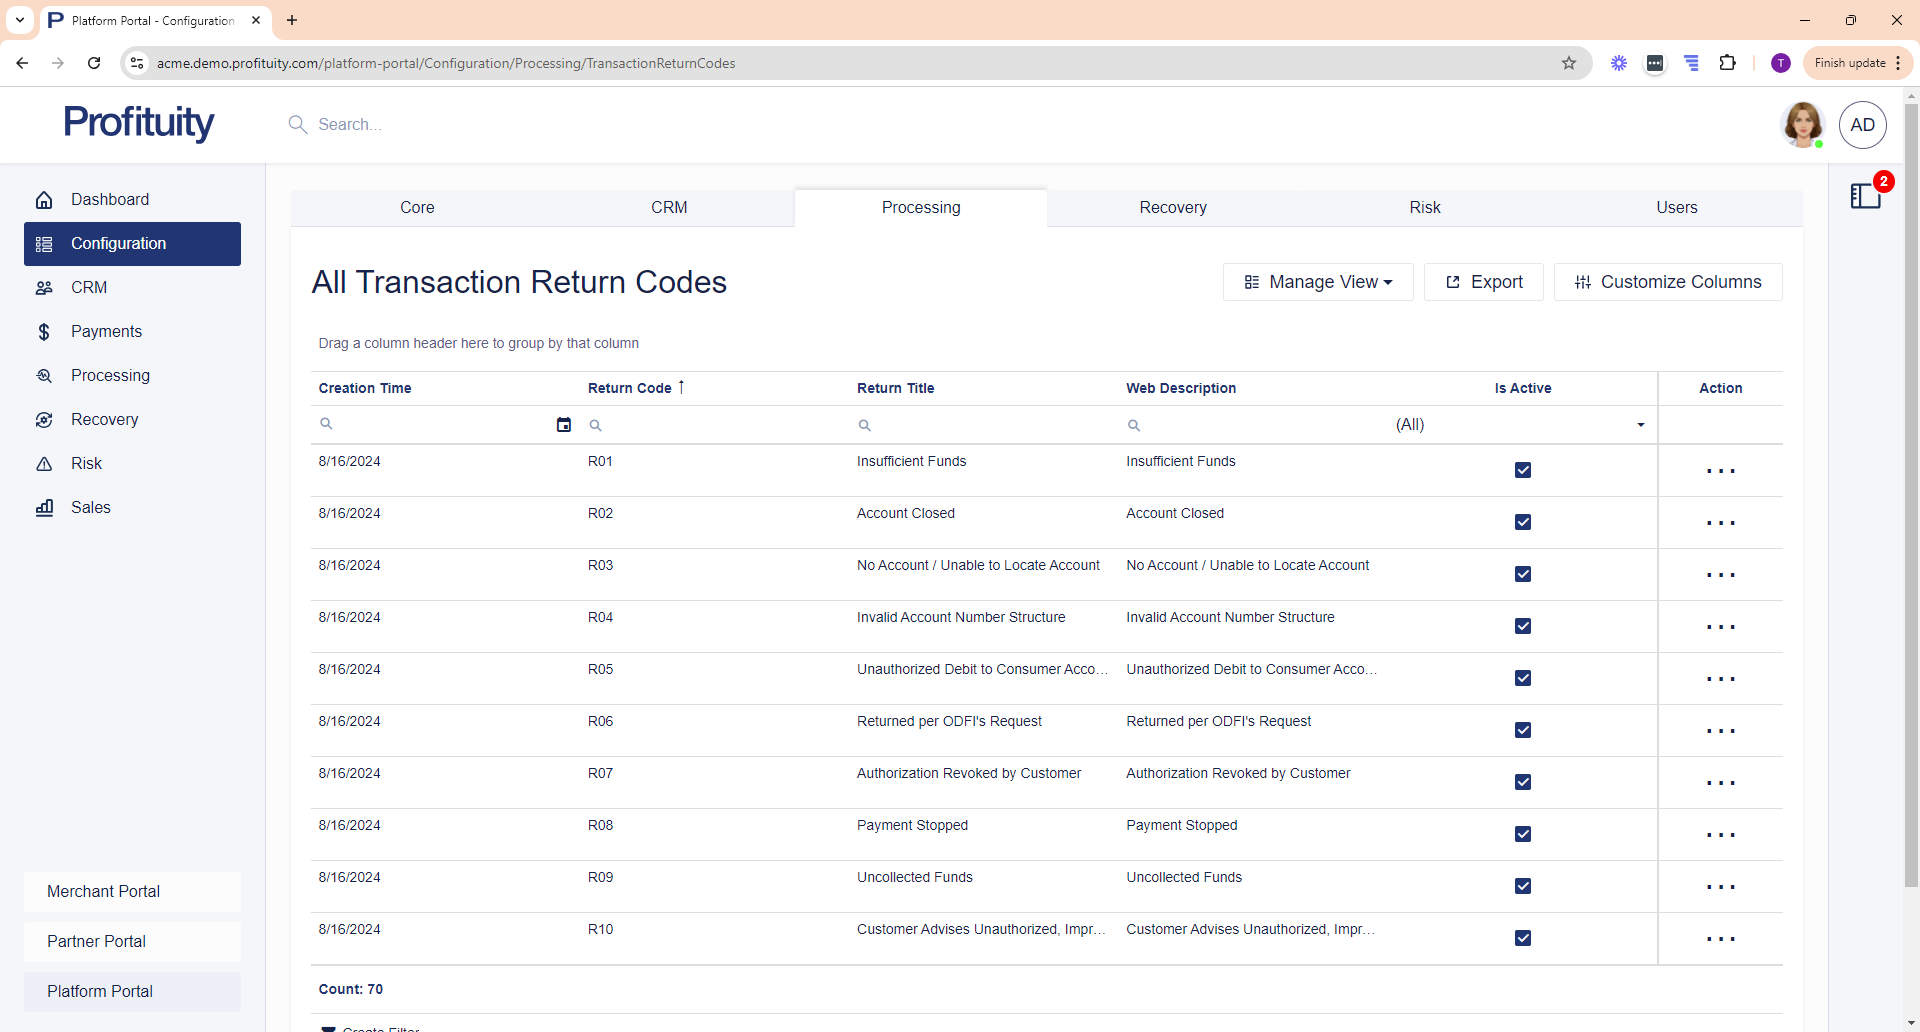
Screenshot: Transaction Return Codes
Transmittal Templates
You can manage your Transmittal Templates in the Configuration > Processing area. The transmittal templates that you add here are used in conjunction with Processing Configurations. When adding or editing a processing configuration, you have the option of specifying a transmittal template that you create here that will then be used to build the Transmittal coversheet to send to your bank.
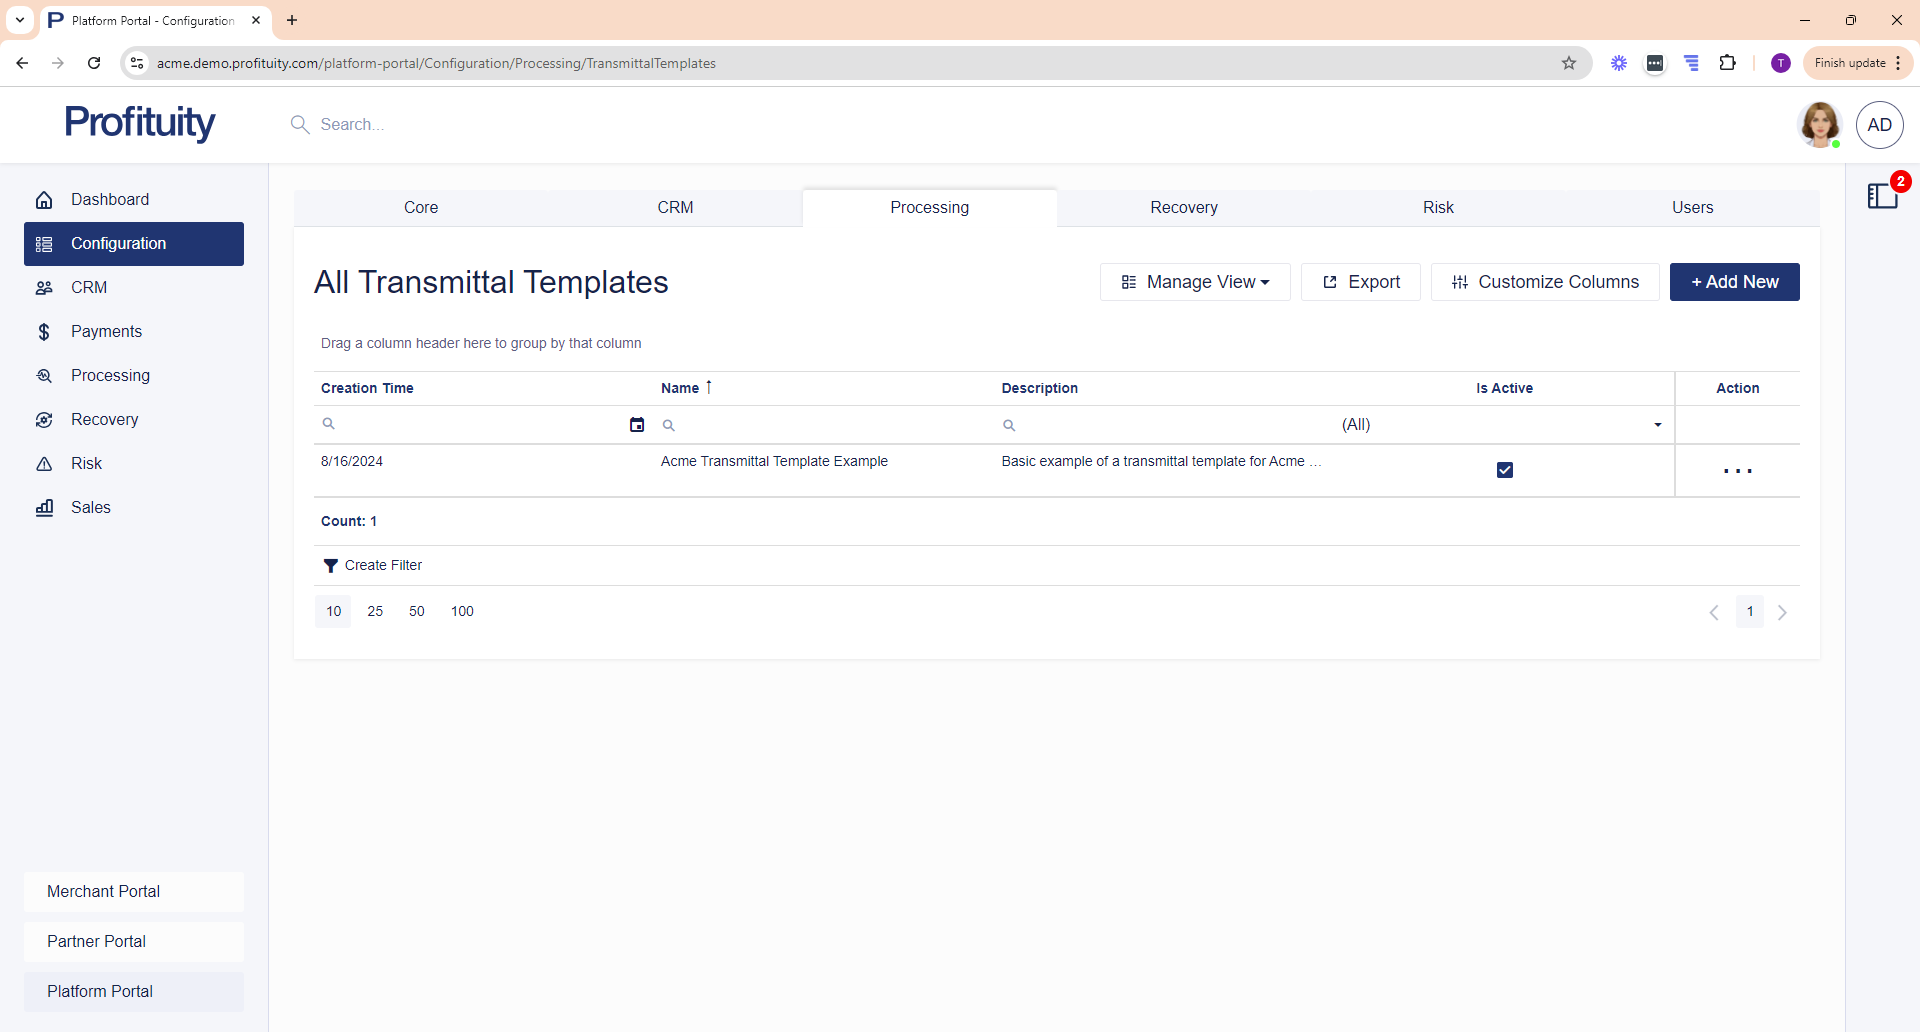
Screenshot: Transmittal Templates
X9 Format Configurations
You can manage your X9 Format Configurations in the Configuration > Processing area. An X9 format configuration is a collection of settings used to build an image cash letter file for processing. X9 format configuration are assigned to Processing Configurations.
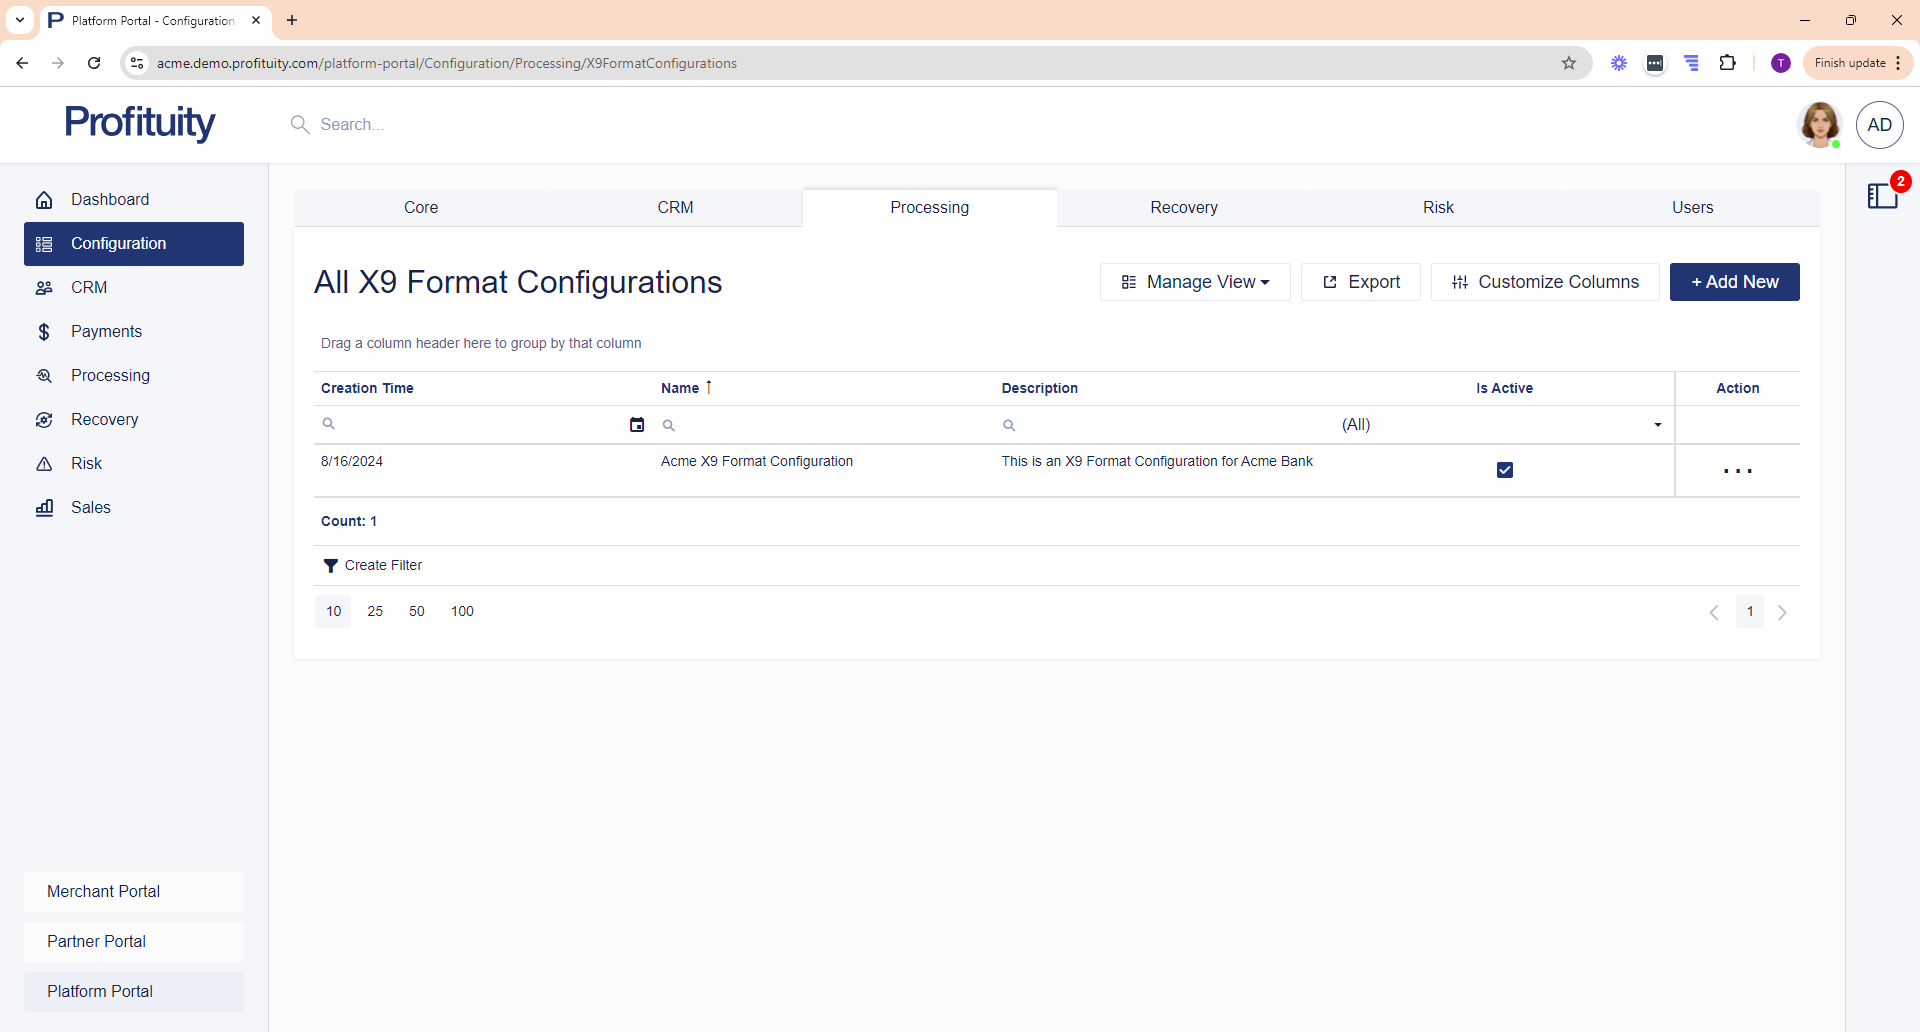
Screenshot: X9 Format Configurations
Recovery
Payment Types
You can manage your Payment Types in the Configuration > Recovery area. Payment types are used in conjunction with Manual Payments. When you make a manual payment, you are able to indicate how the payment was received (e.g. the Payment Type).
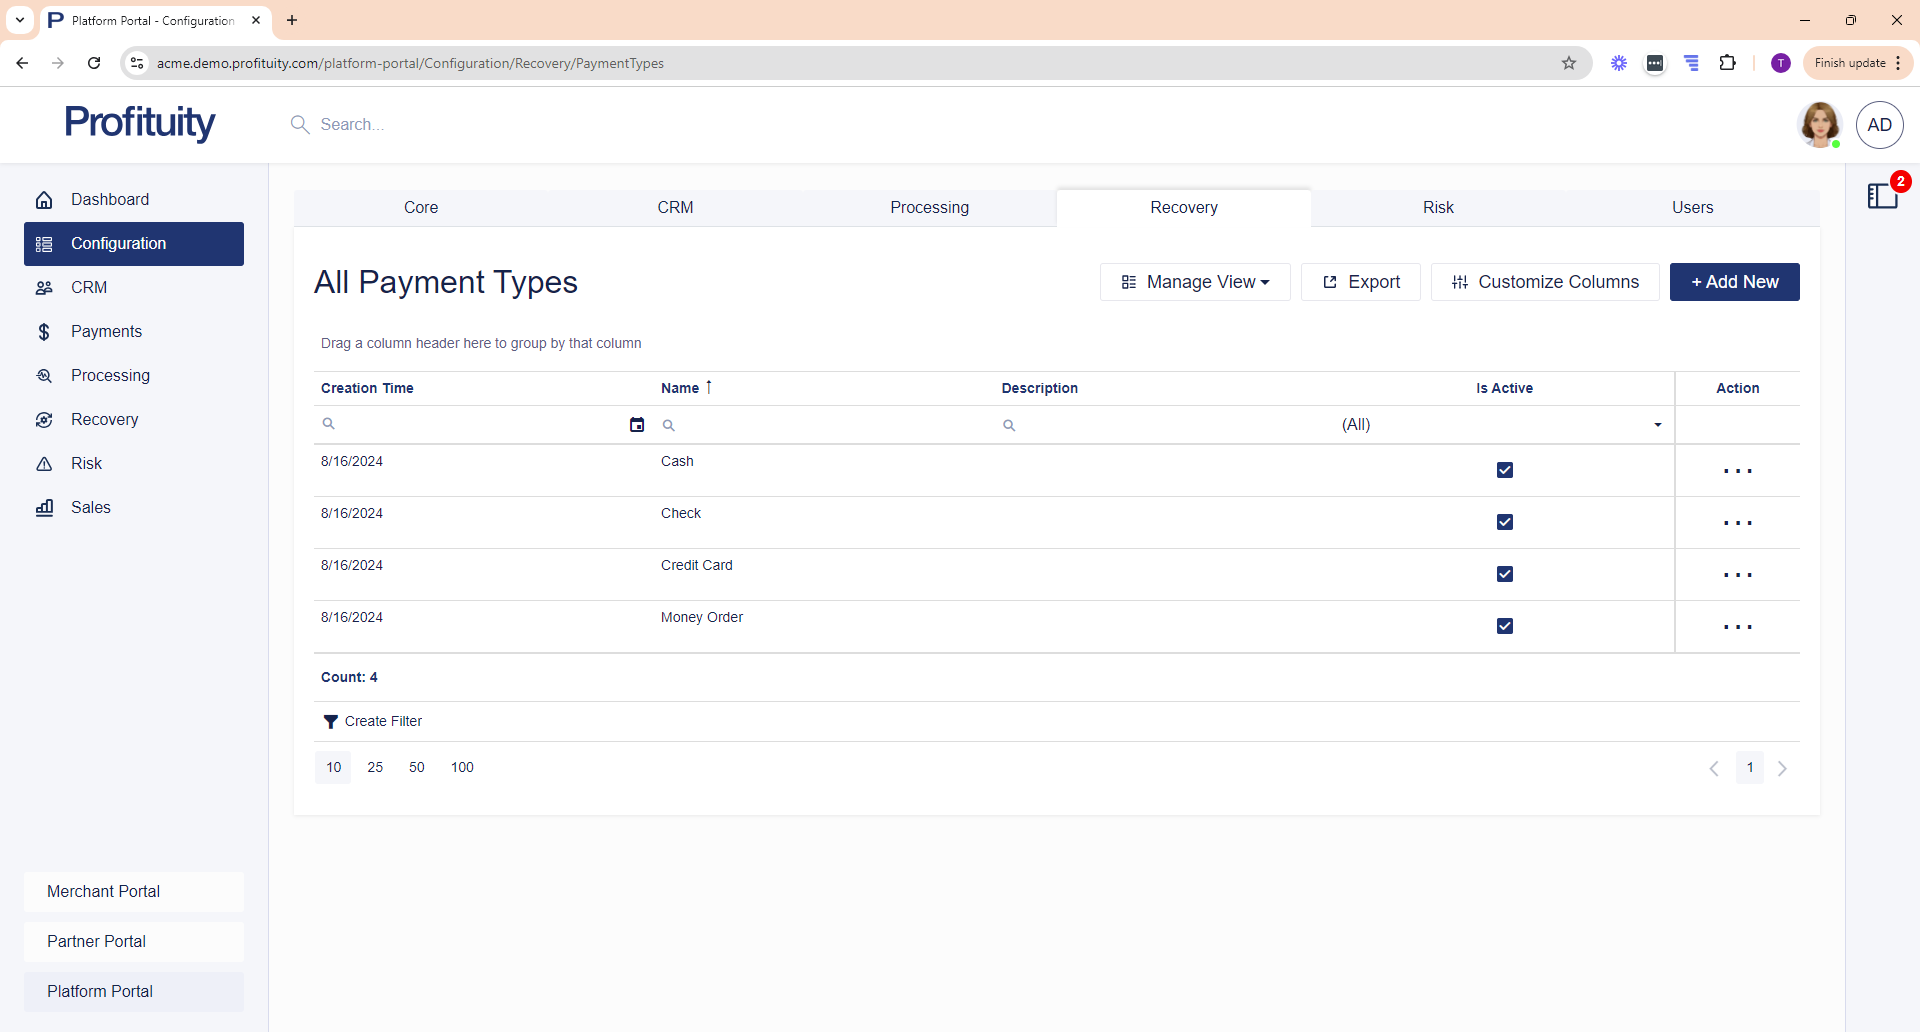
Screenshot: Payment Types
Default Recovery Fees
You can manage your Default Recovery Fee settings from the Configuration > Recovery area. This area allows you to specify whether a flat fee or Sliding Scale Template should be applied to a given state. When creating a Merchant, the system will attempt to set the Recovery Fee Type and assign either the appropriate Sliding Scale Template or Recovery Fee based on the this setting.
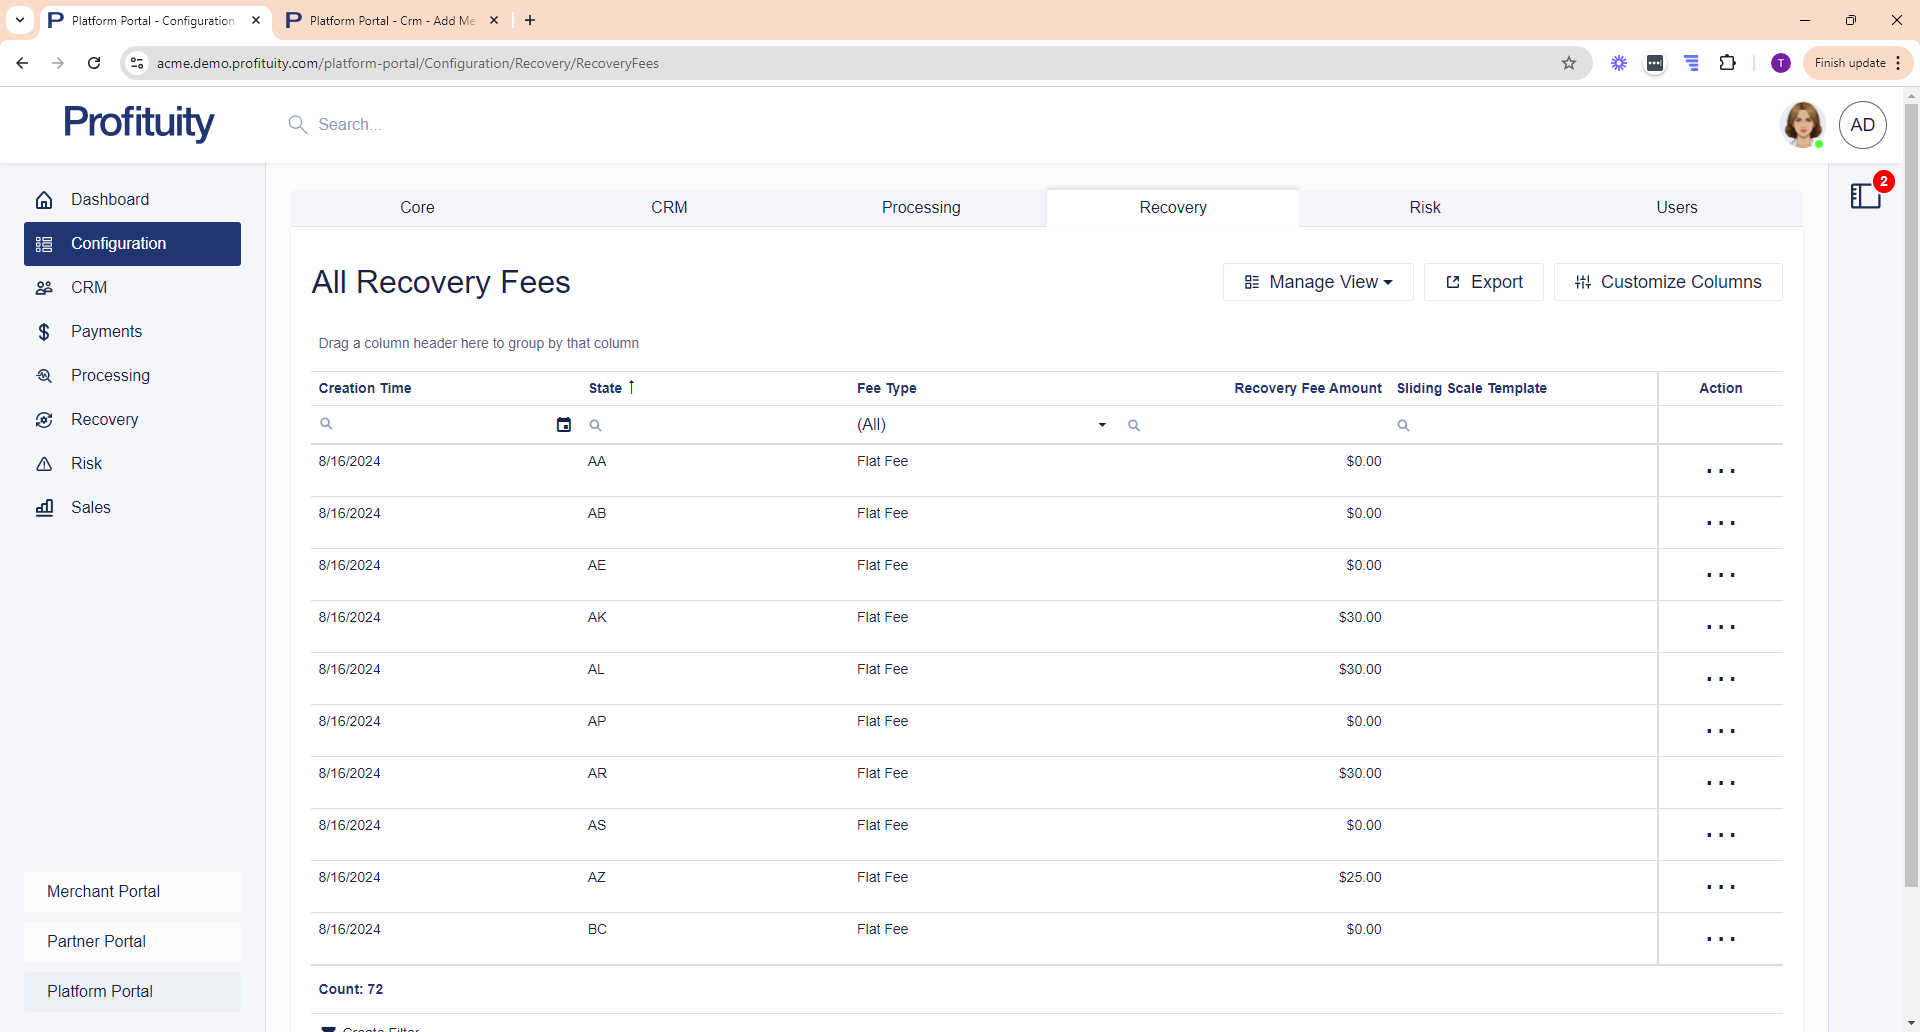
Screenshot: Default Recovery Fees
Representment Schedules
You can manage your Representment Schedules in the Configuration > Recovery area. Representment schedules allow you to define when items should be re-presented (e.g. on specific days of the week or month). Representment schedules are used in conjunction with Workflows (e.g. when you are setting up a Represent state, you are required to select the Representment Schedule that will be followed).
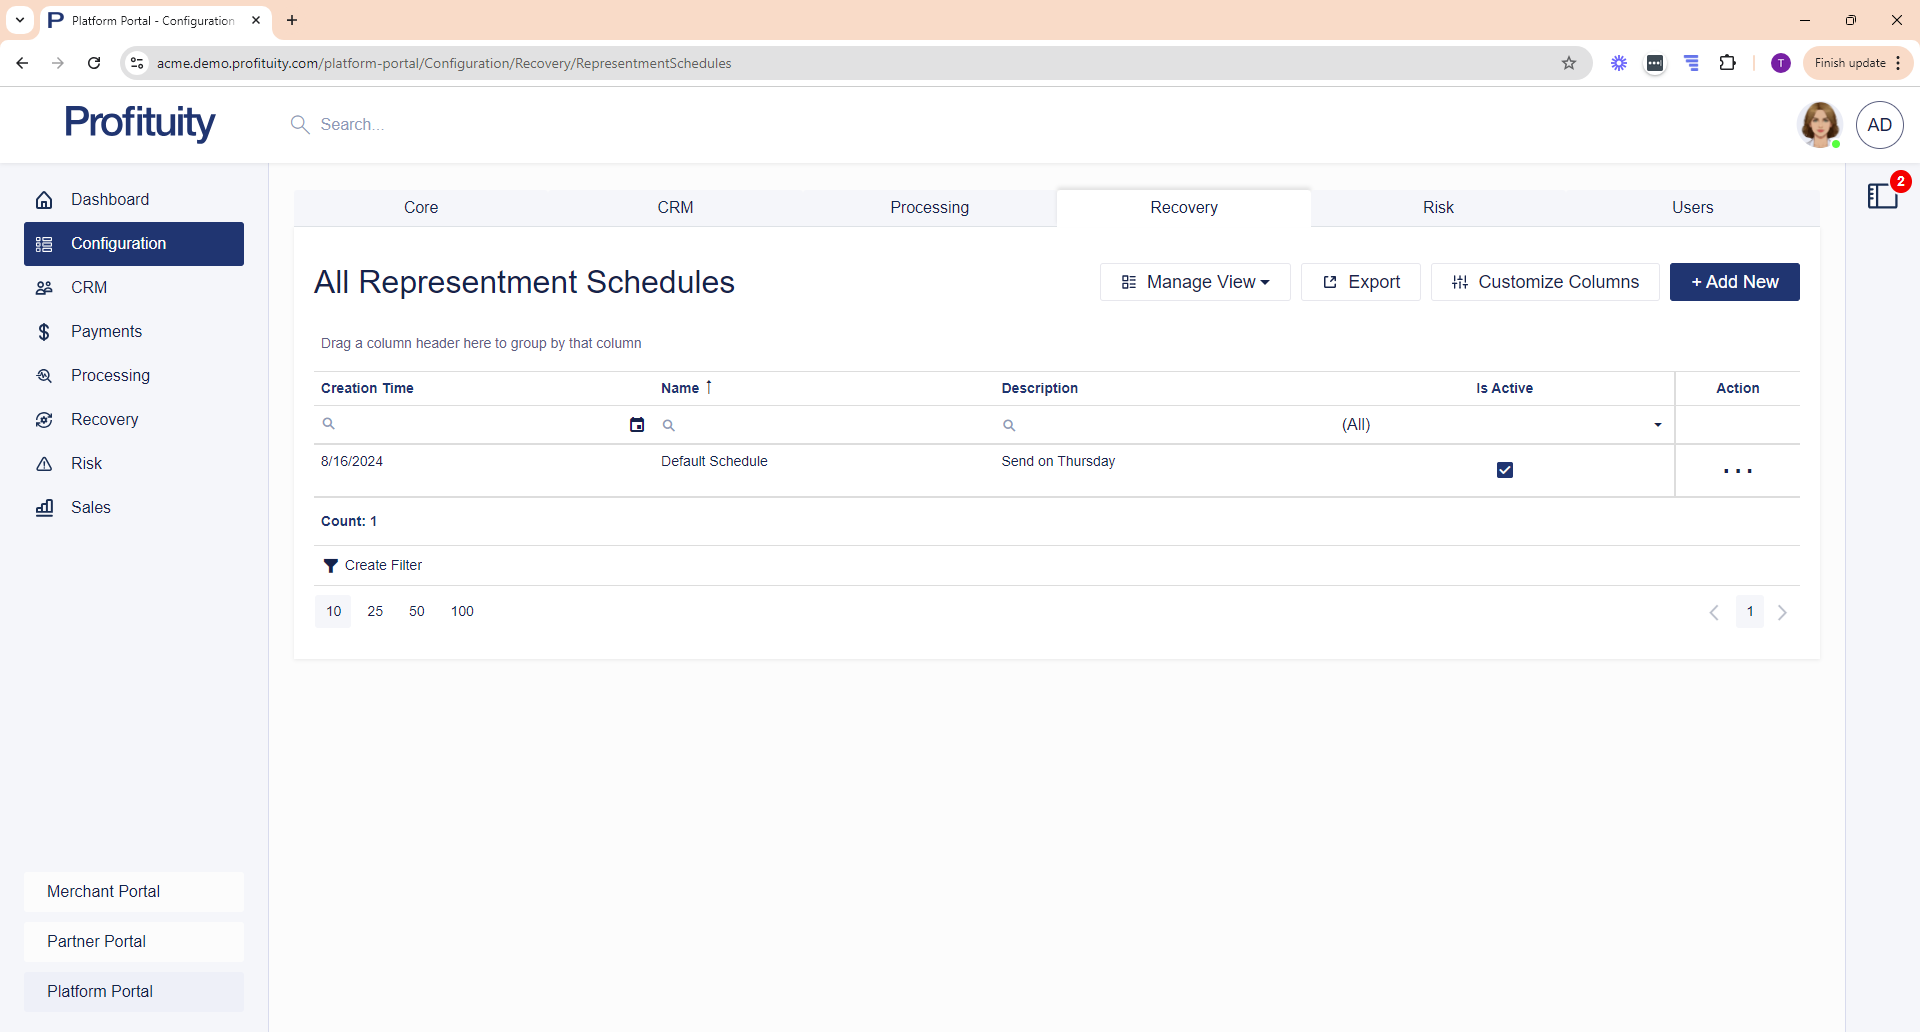
Screenshot: Representment Schedules
Resolve Item Reasons
You can manage your Resolve Item Reasons in the Configuration > Recovery area. Resolve item reasons are used in conjunction with the Resolve Item action on a Recovery Item. When you perform the resolve item action, you are prompted to select a reason. The reason is populated from this list.
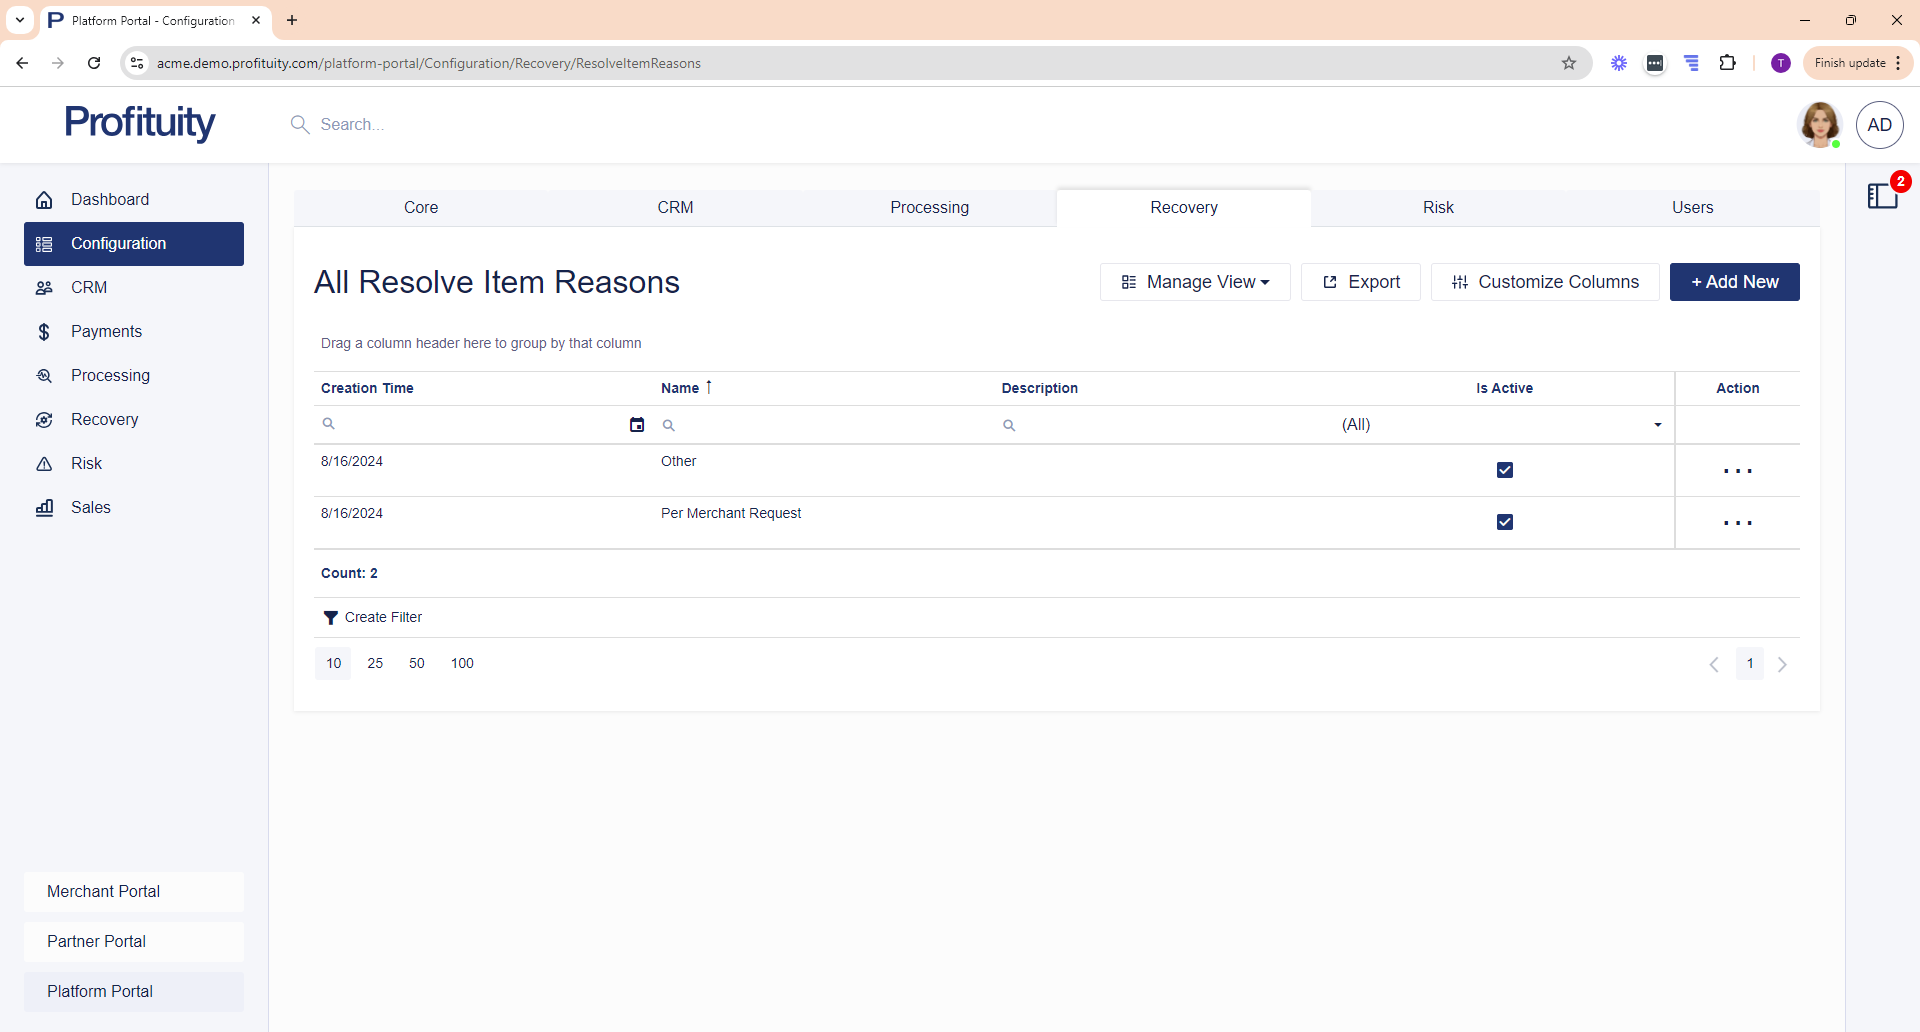
Screenshot: Resolve Item Reasons
Return Reasons
You can manage your Return Reasons in the Configuration > Recovery area. Return reasons are selected when entering a Recovery Item and indicate the reason for the return.
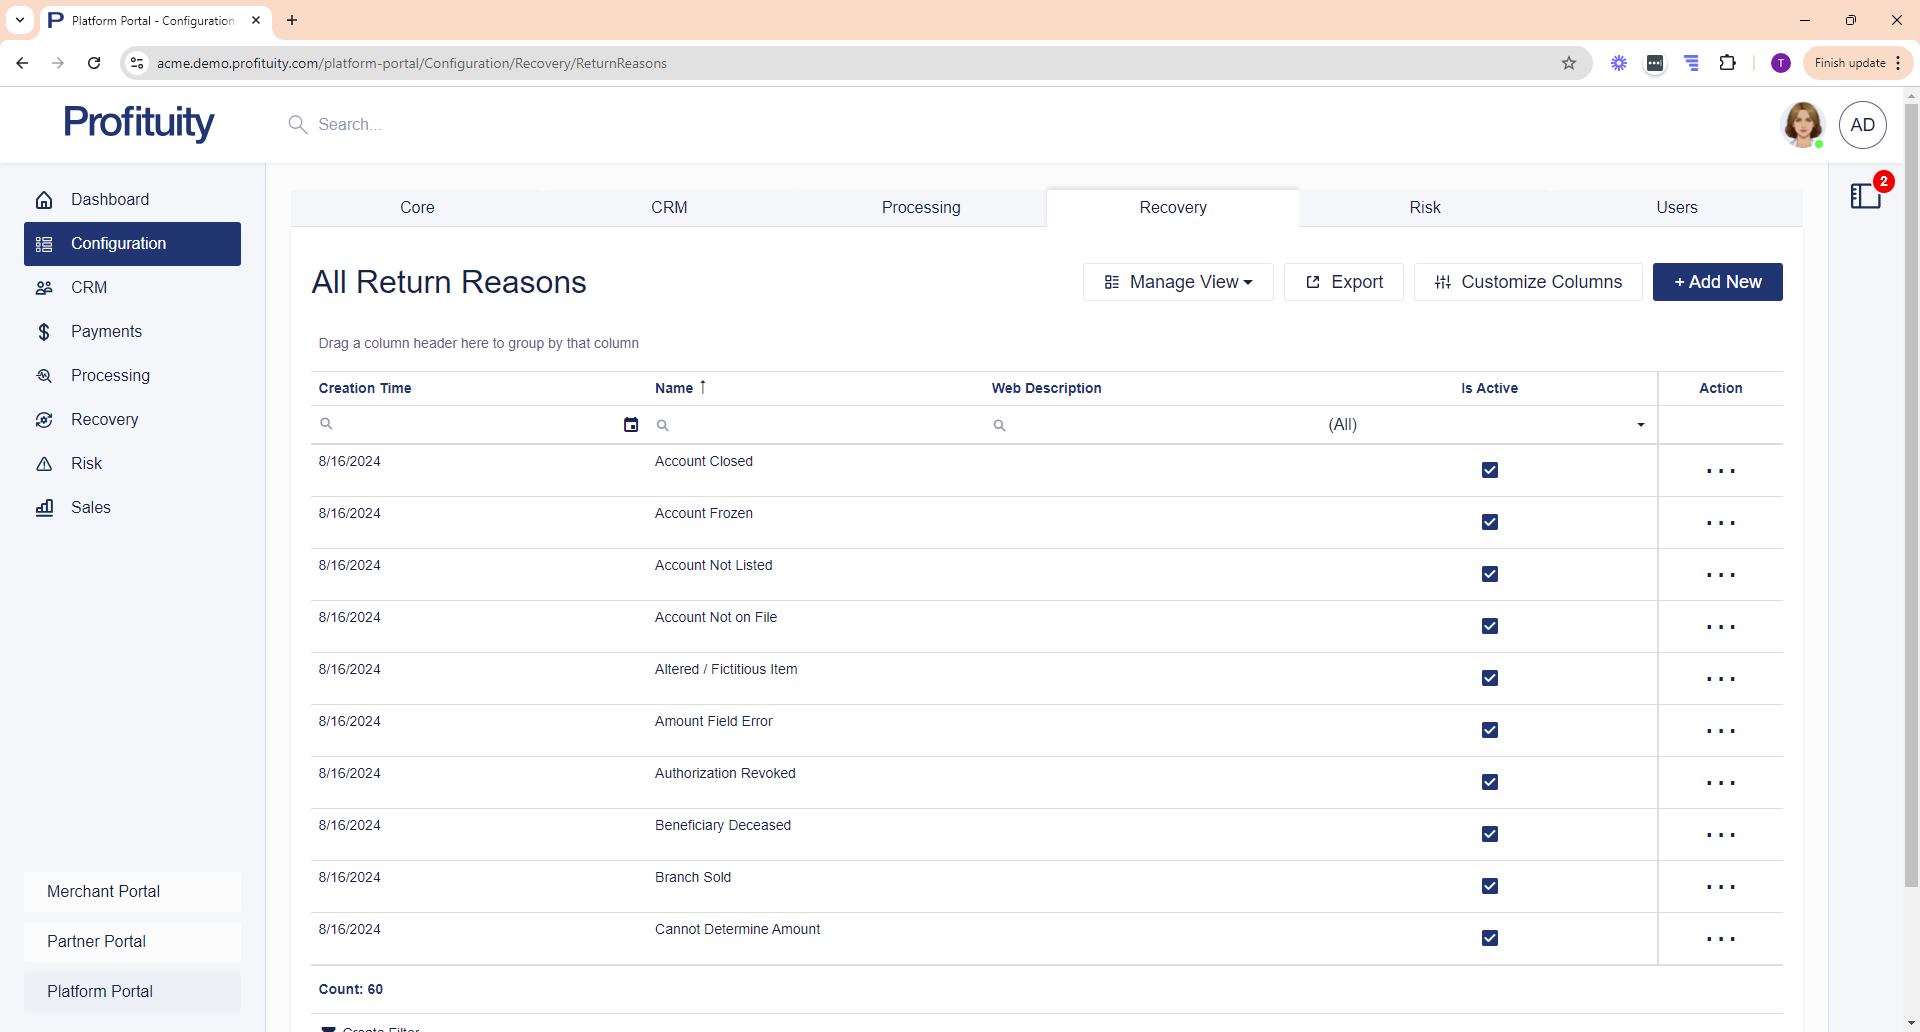
Screenshot: Return Reasons
Sliding Scale Templates
You can manage your Sliding Scale Templates in the Configuration > Recovery area. Sliding scale templates allow you to define a sliding scale to be used when determining the recovery fee on a recovery item. For example, you can set it up so that if the check amount is between one range then one fee applies but if it is in this other range then a different fee applies.
Sliding scale templates can be set on Default Recovery Fees and Merchants.
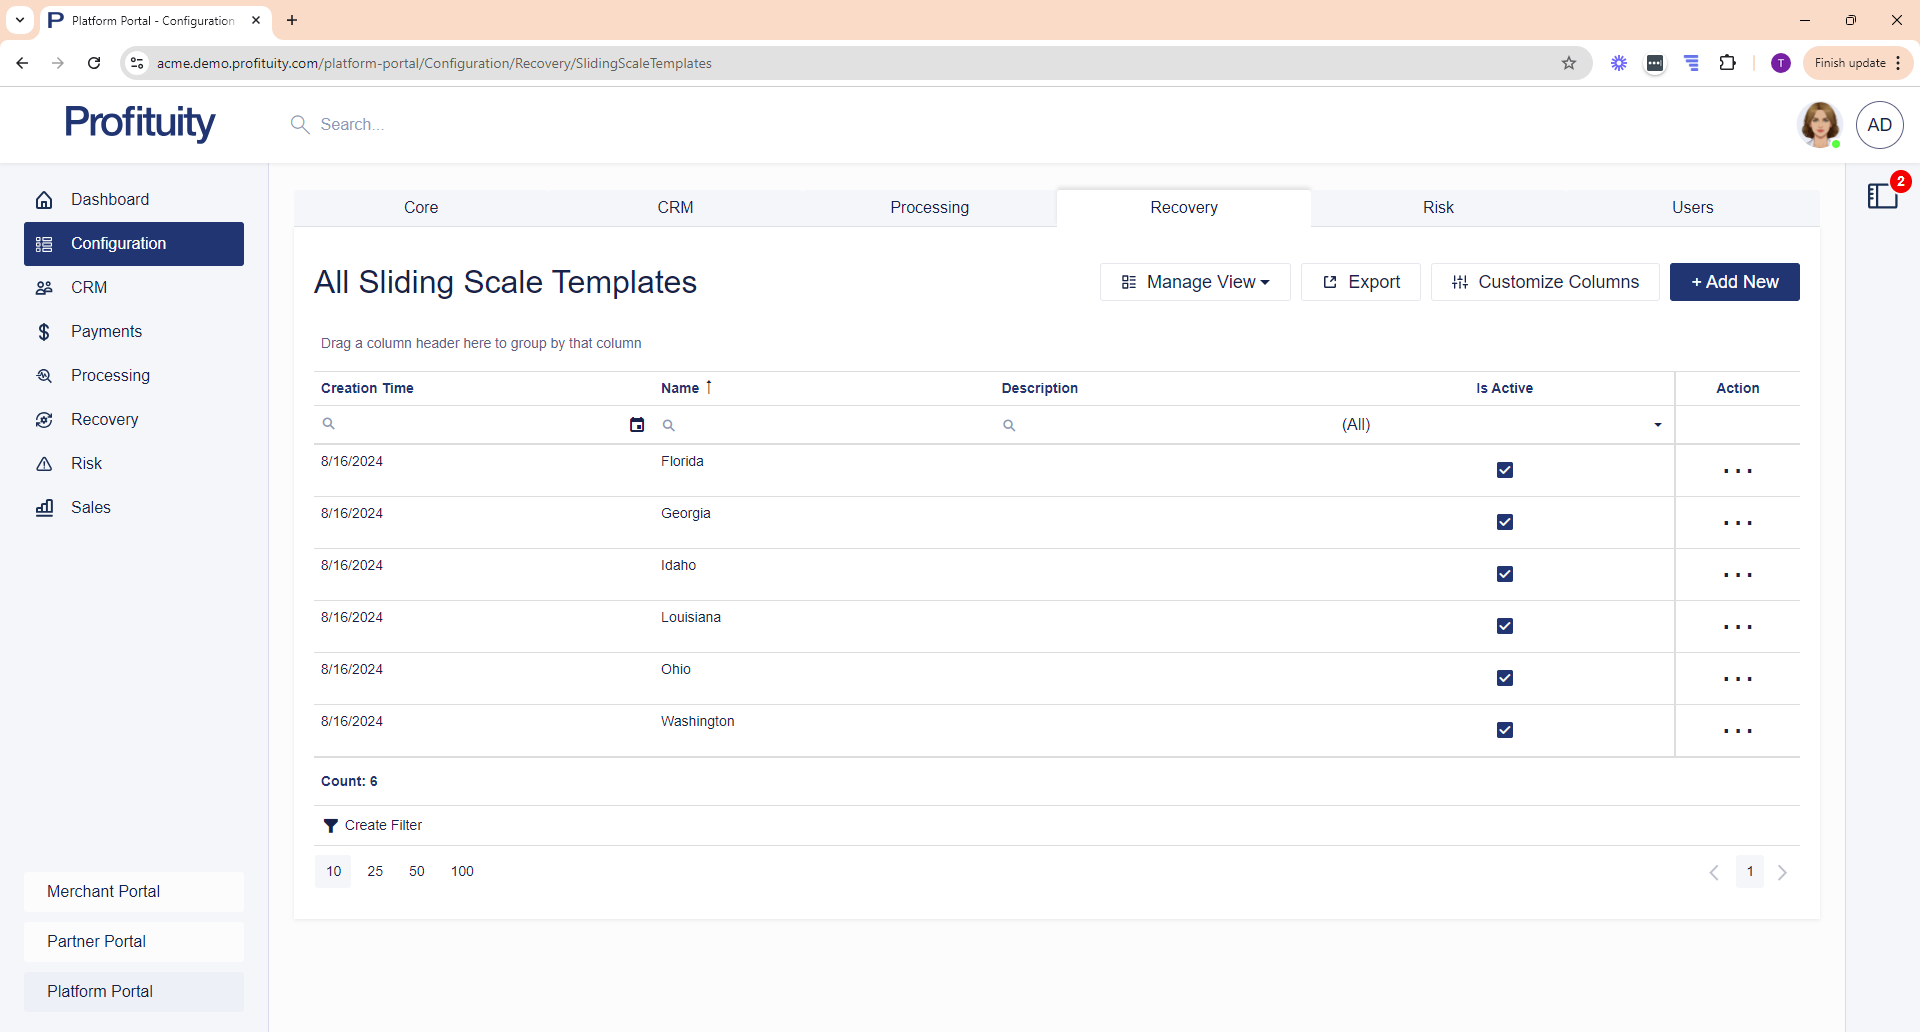
Screenshot: Sliding Scale Templates
Statuses
You can manage your Statuses in the Configuration > Recovery area. Statuses provide an indication of where a Recovery Item is currently at in the system.
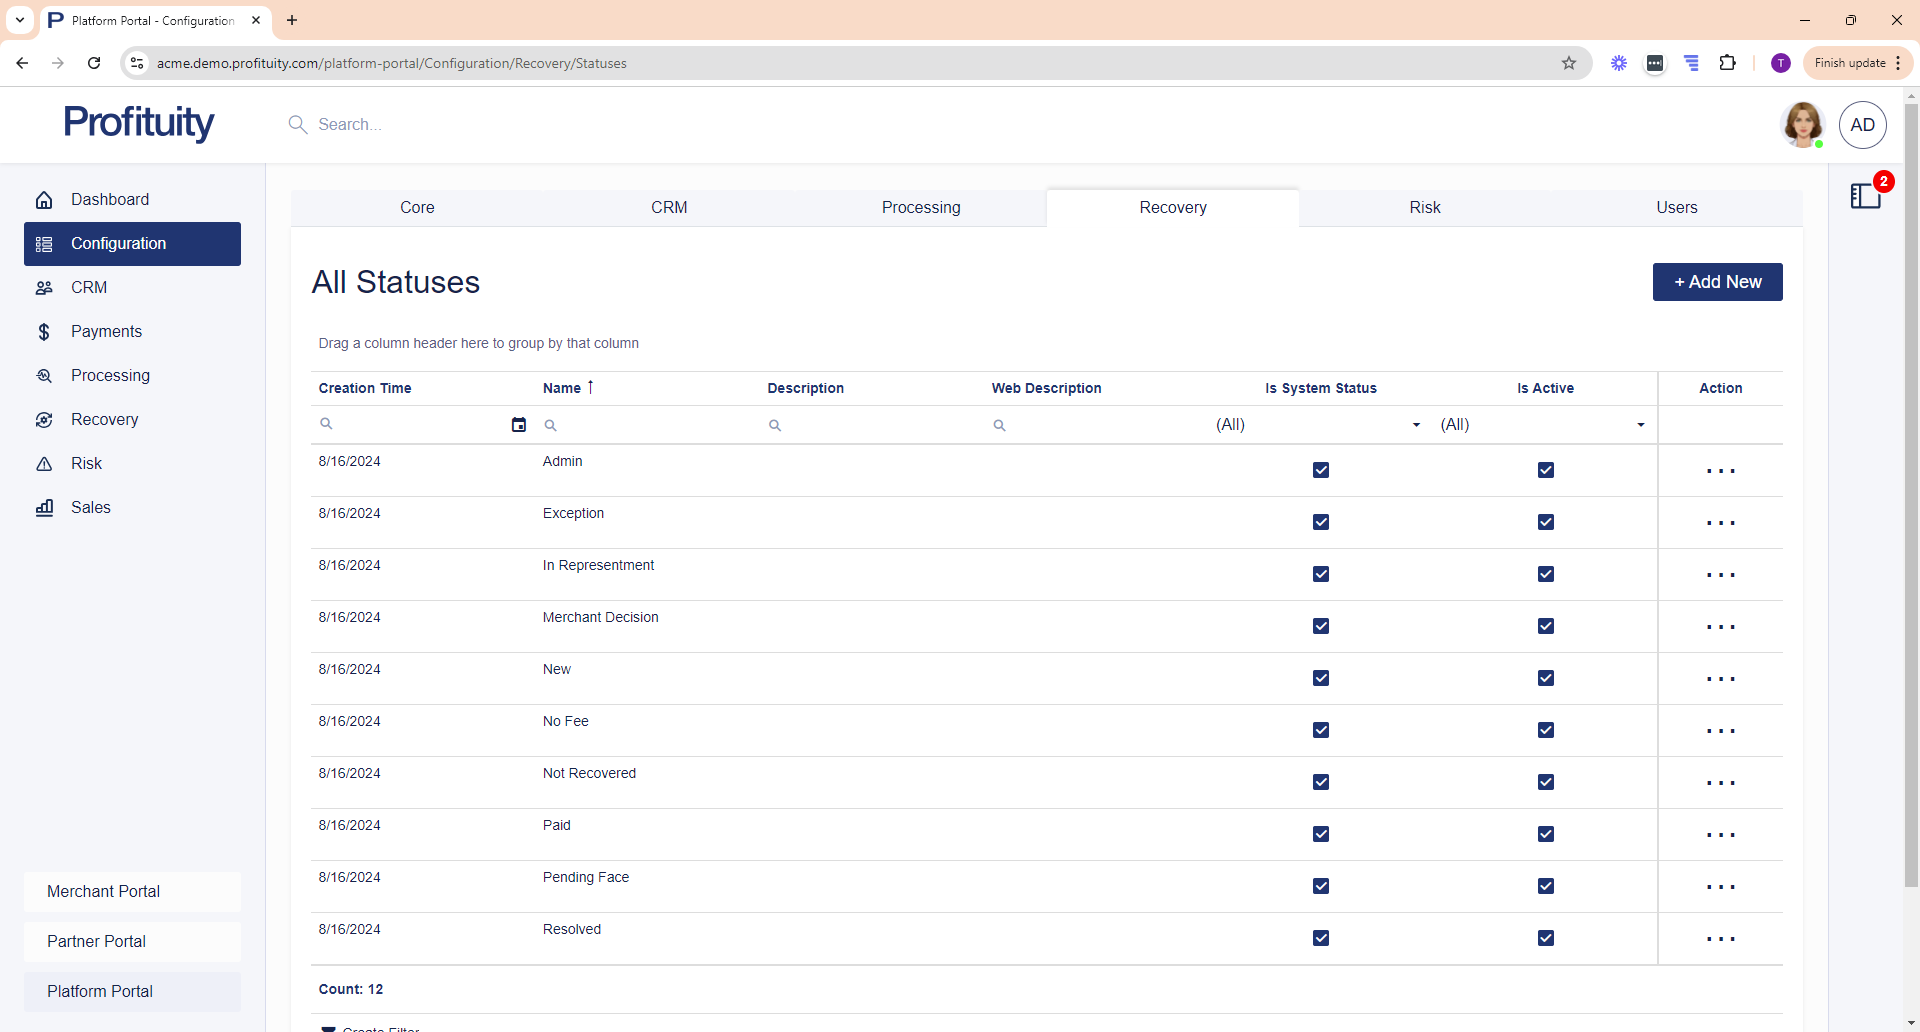
Screenshot: Statuses
Workflows
You can manage your Workflows in the Configuration > Recovery area. Workflows are assigned to Merchants and tell the system what to do with the face and fee of a Recovery Item.
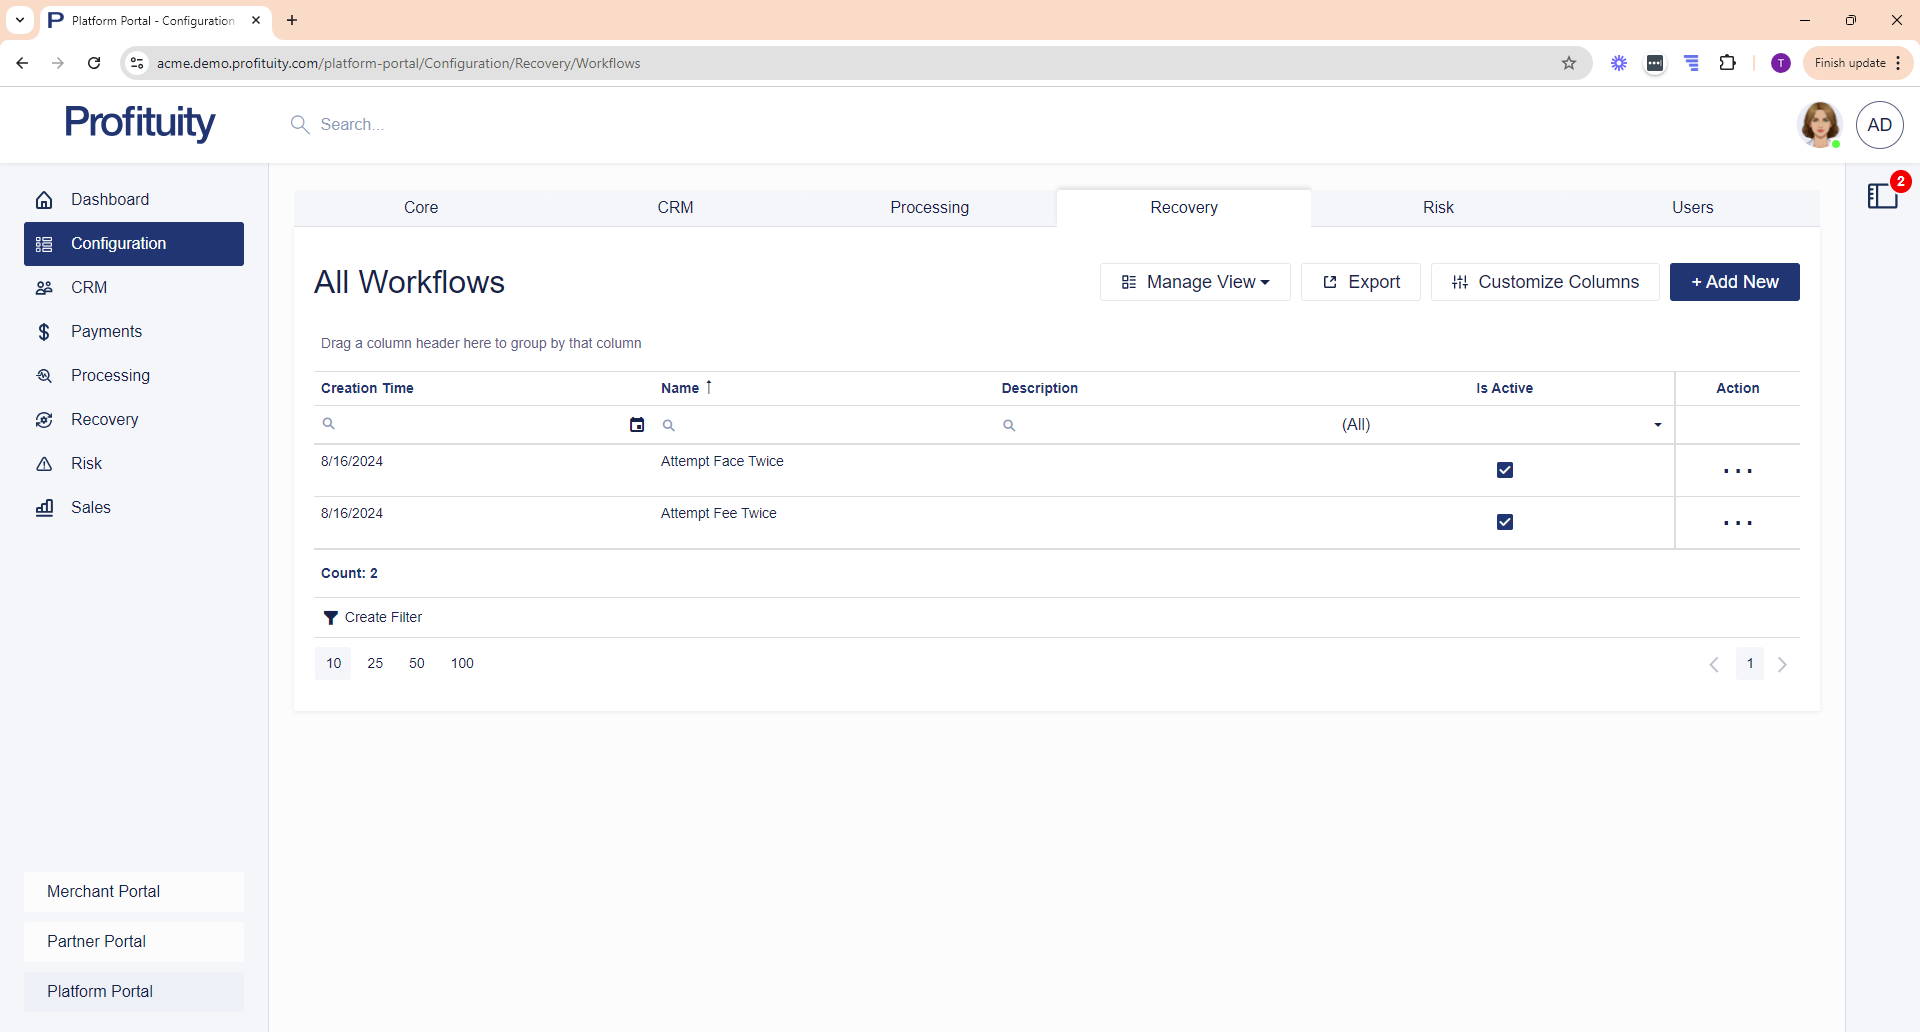
Screenshot: Workflows
Risk
Bank Account Validation Configuration
You can manage your Bank Account Validation Configurations in the Configuration > Risk area. Bank account validation configurations allow you to configure the bank account validation service with your provider.
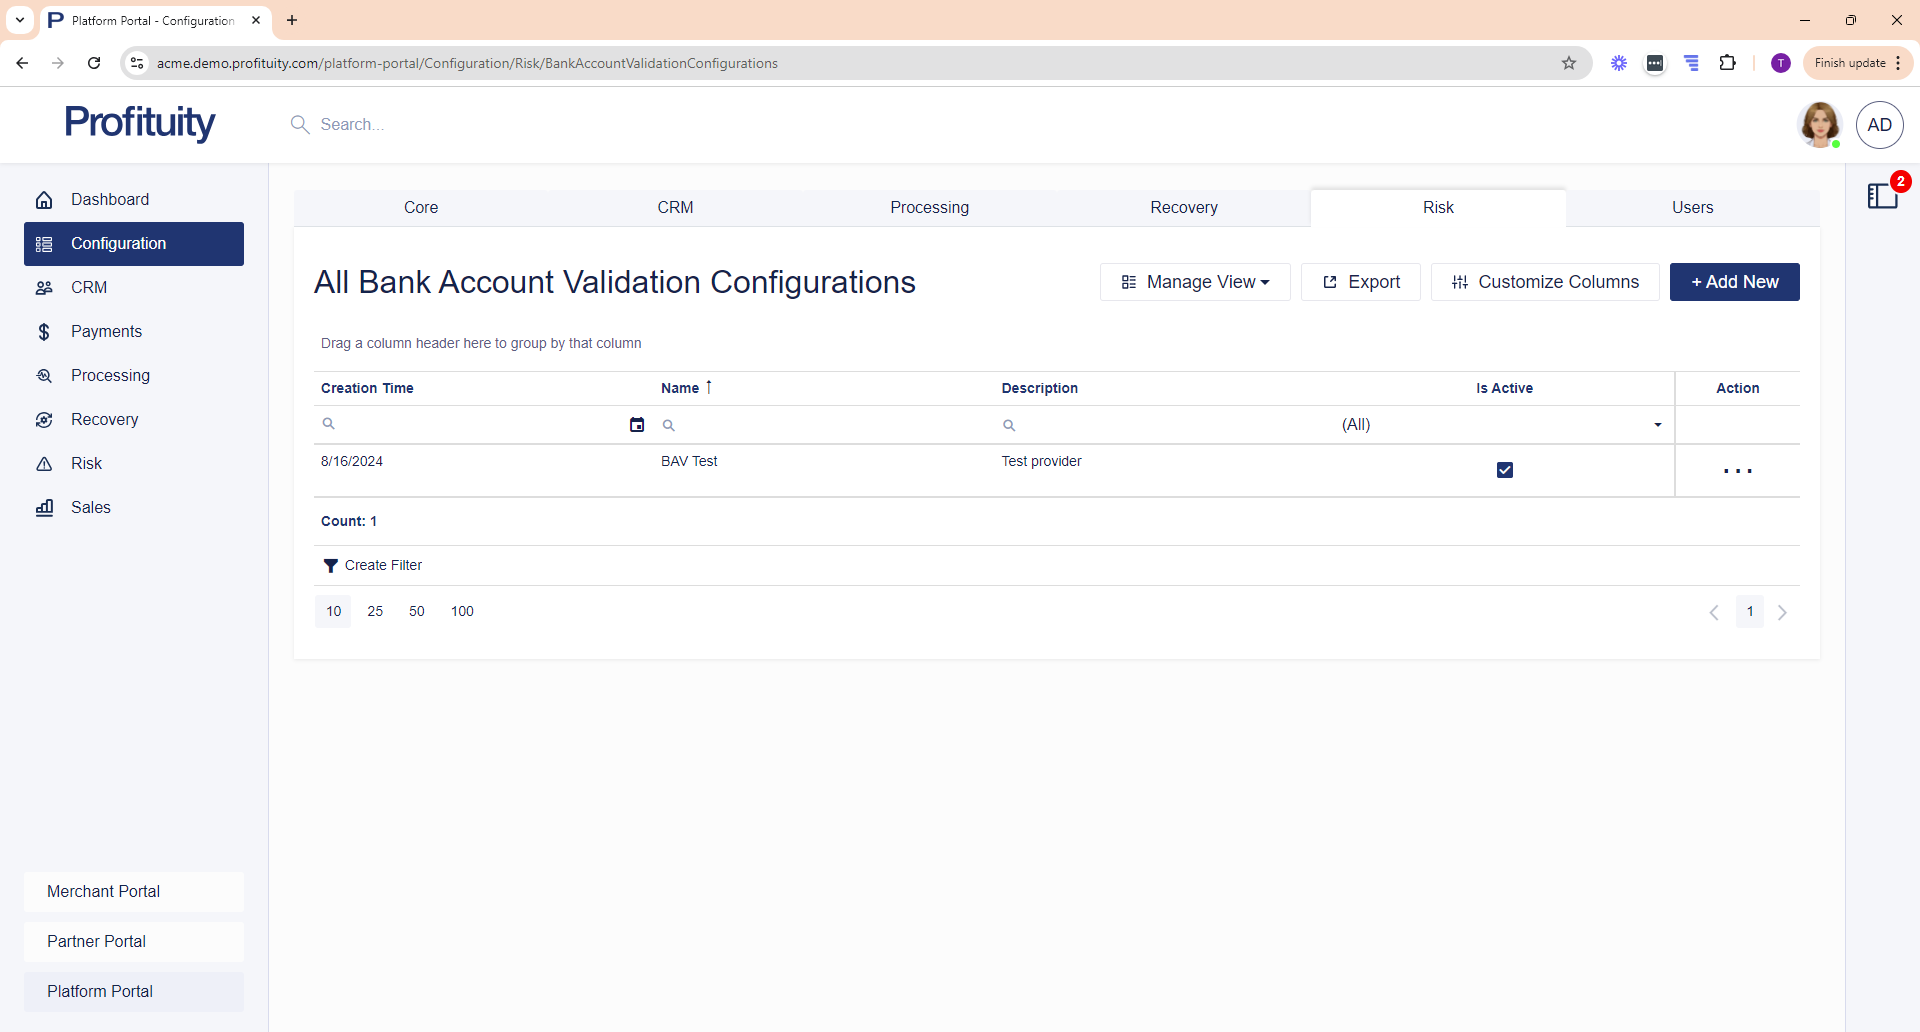
Screenshot: Bank Account Validation Configuration
Users
Users
You can manage your Users in the Configuration > Users area. Users are those who have access to one or more of the portals in PlatformNext.
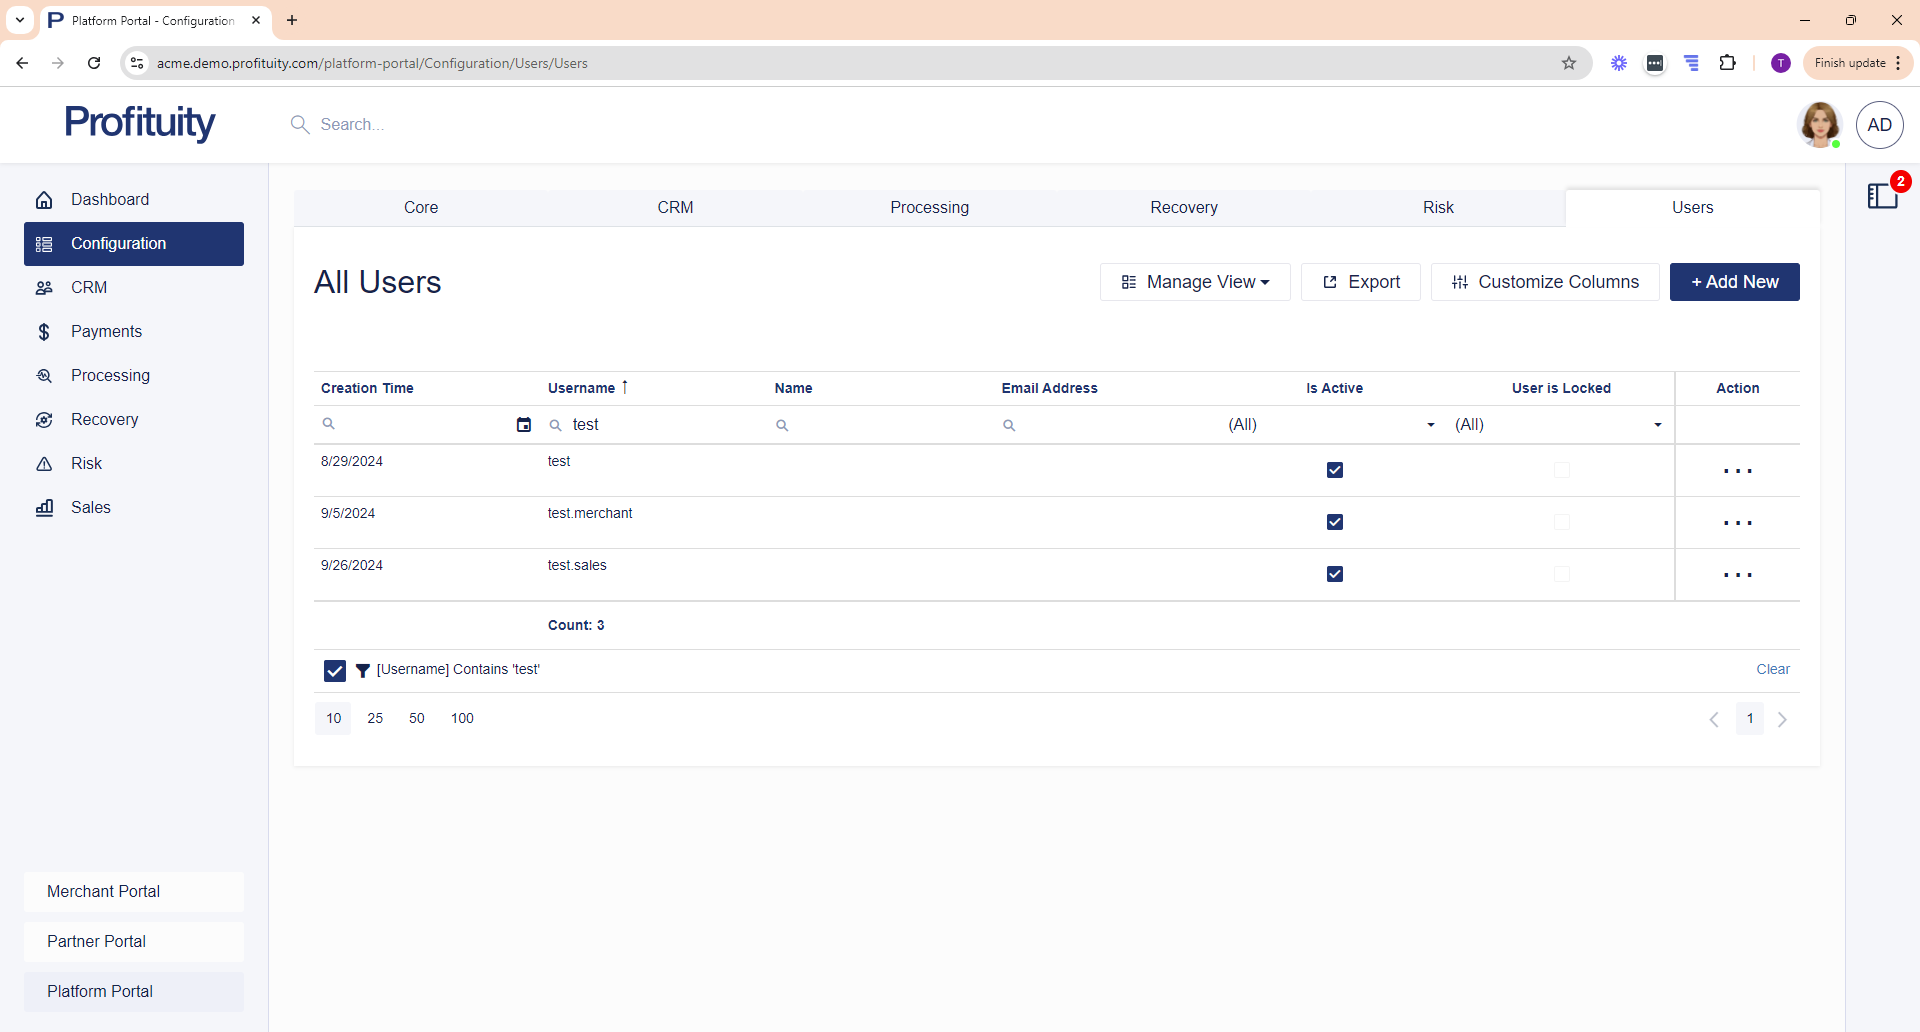
Screenshot: Users
Password Policy
You can manage your Password Policy in the Configuration > Users area. The password policy is applied to all Users of the system and controls password requirements.
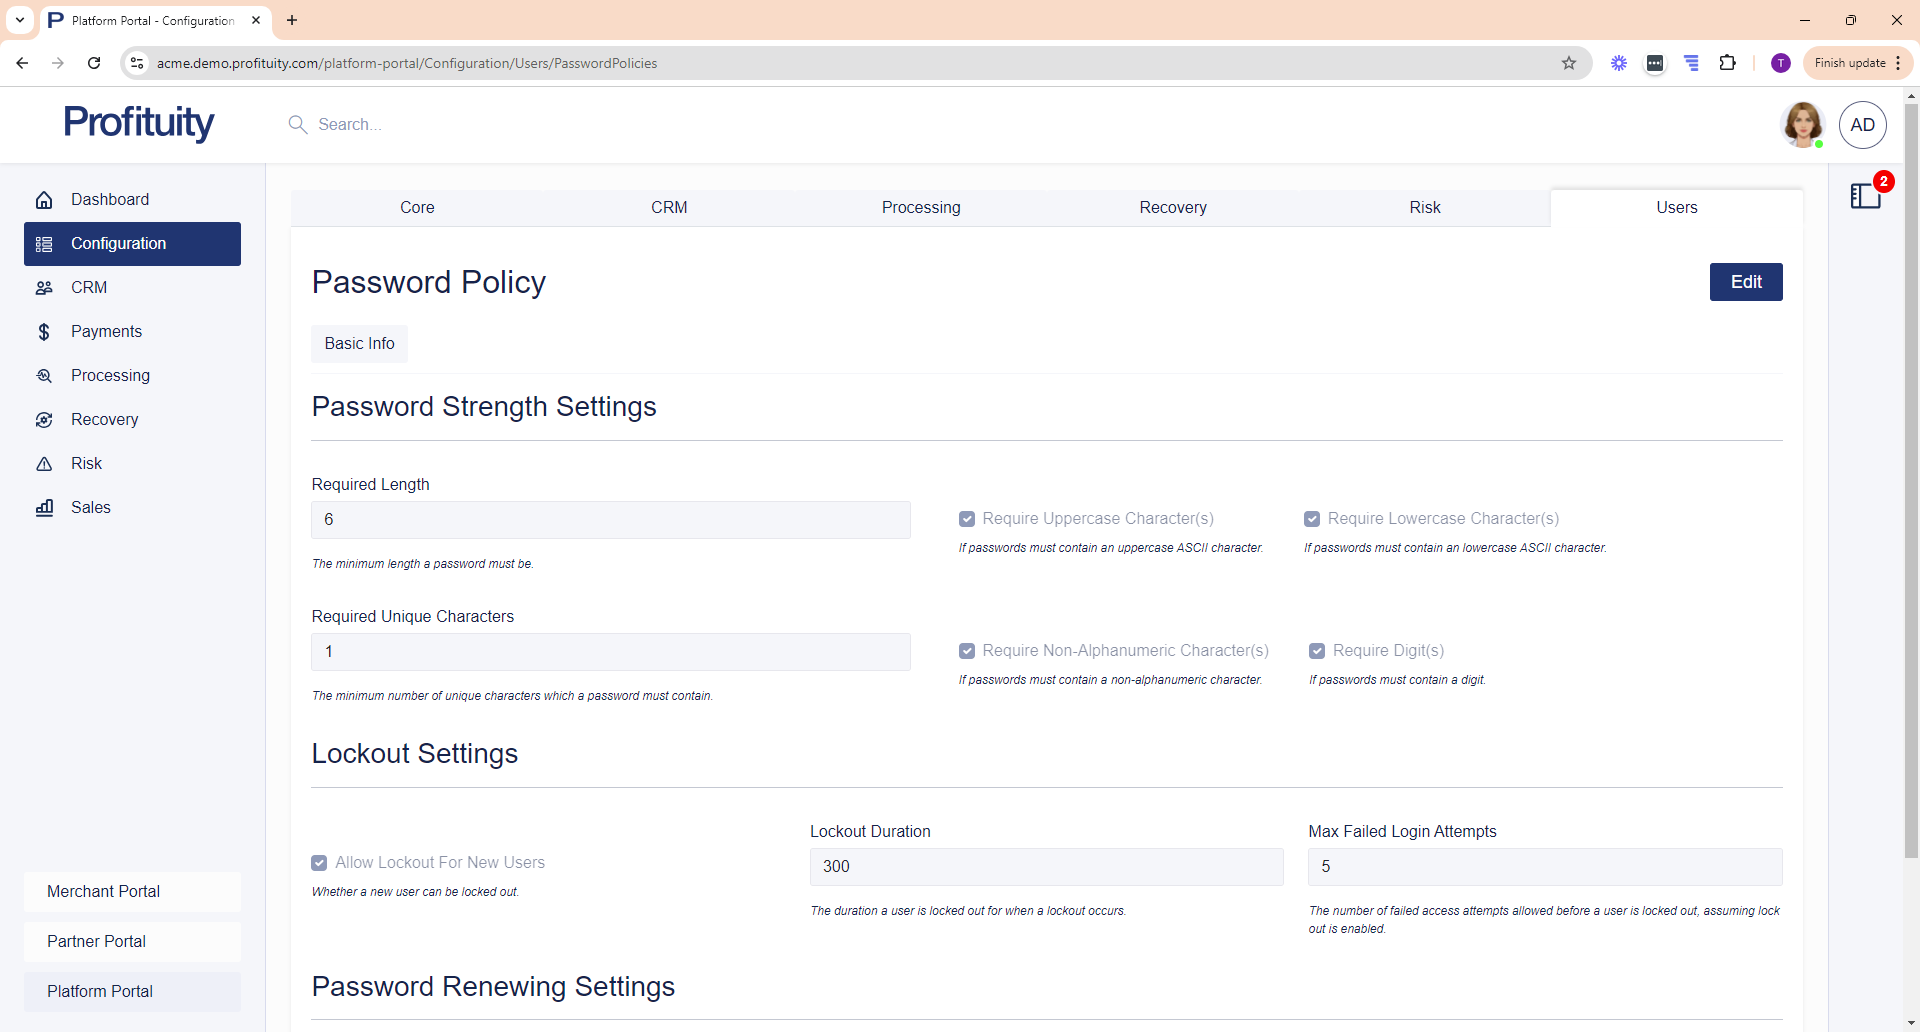
Screenshot: Password Policy
Roles
You can manage your Roles in the Configuration > Users area. Roles allow you to define a collection of permissions that you can then assign to a User.
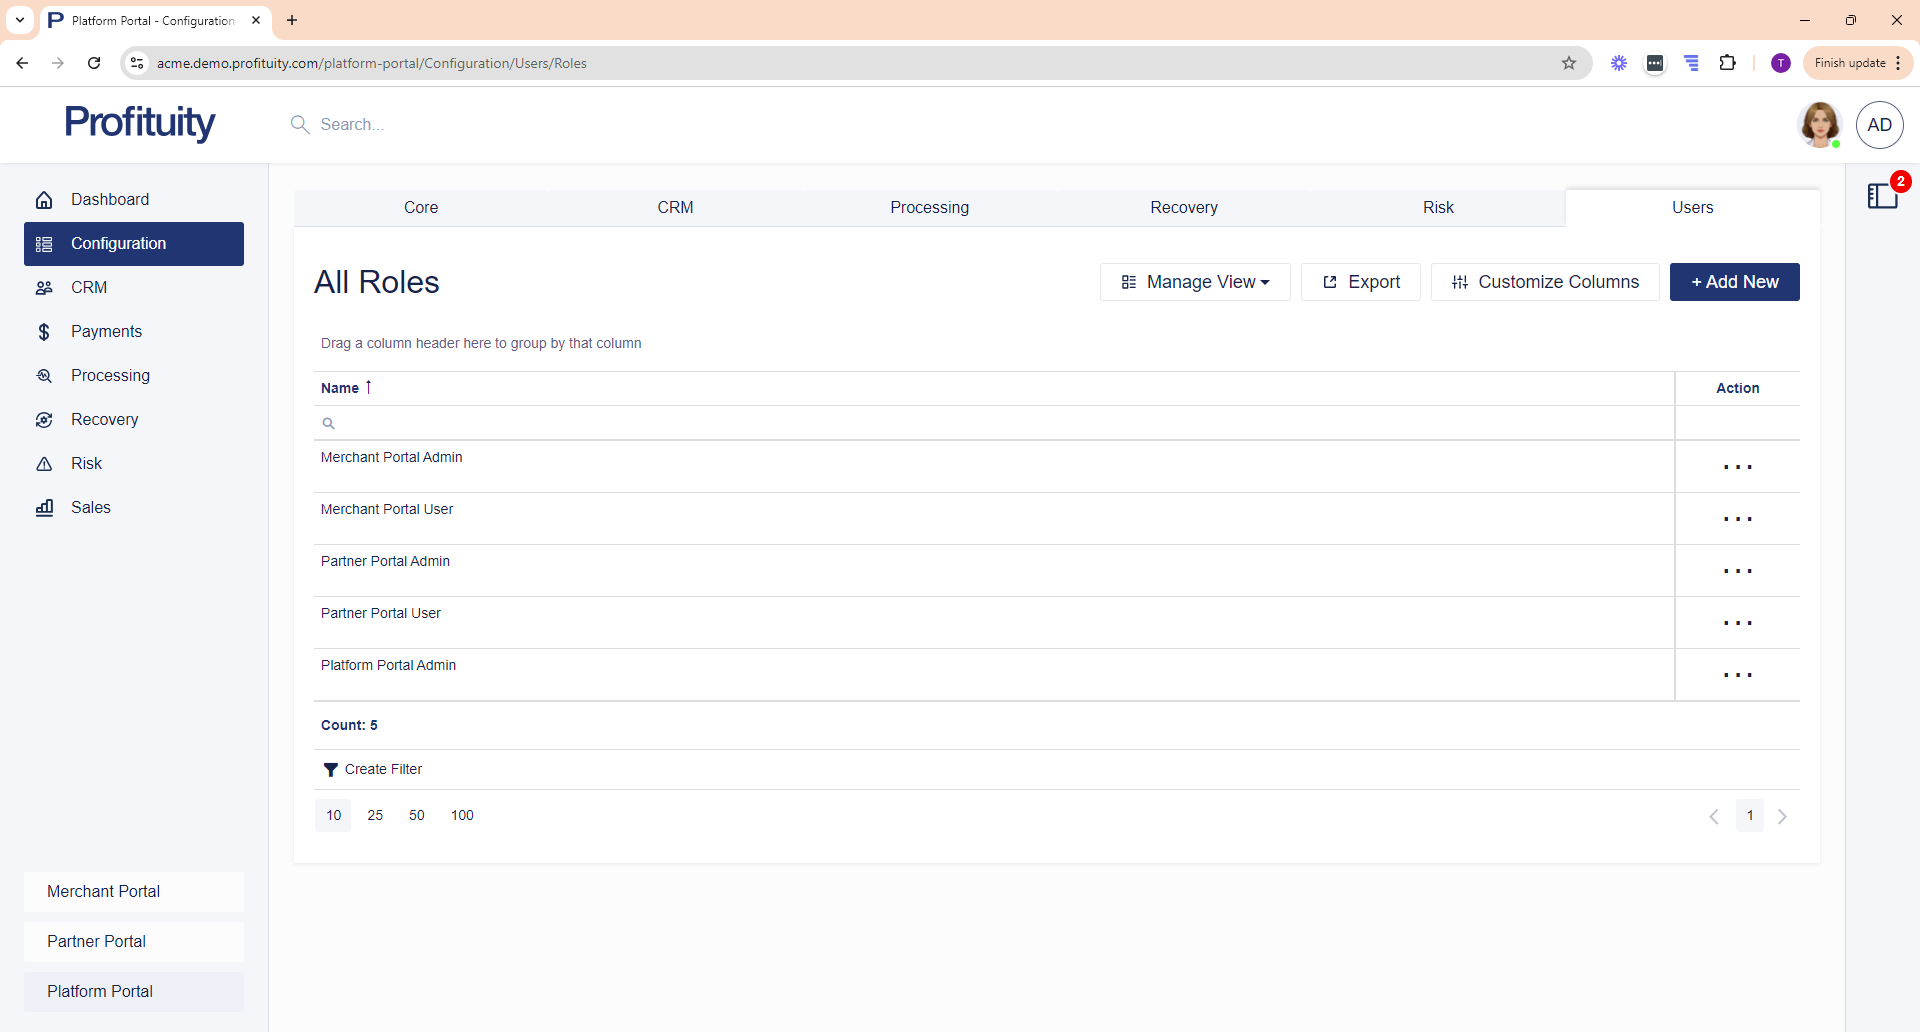
Screenshot: Roles
CRM Module
Contacts
You can manage your Contacts in the CRM module. A contact is a person that you can associate with a Merchant, Merchant Group, Sales Rep or Partner.
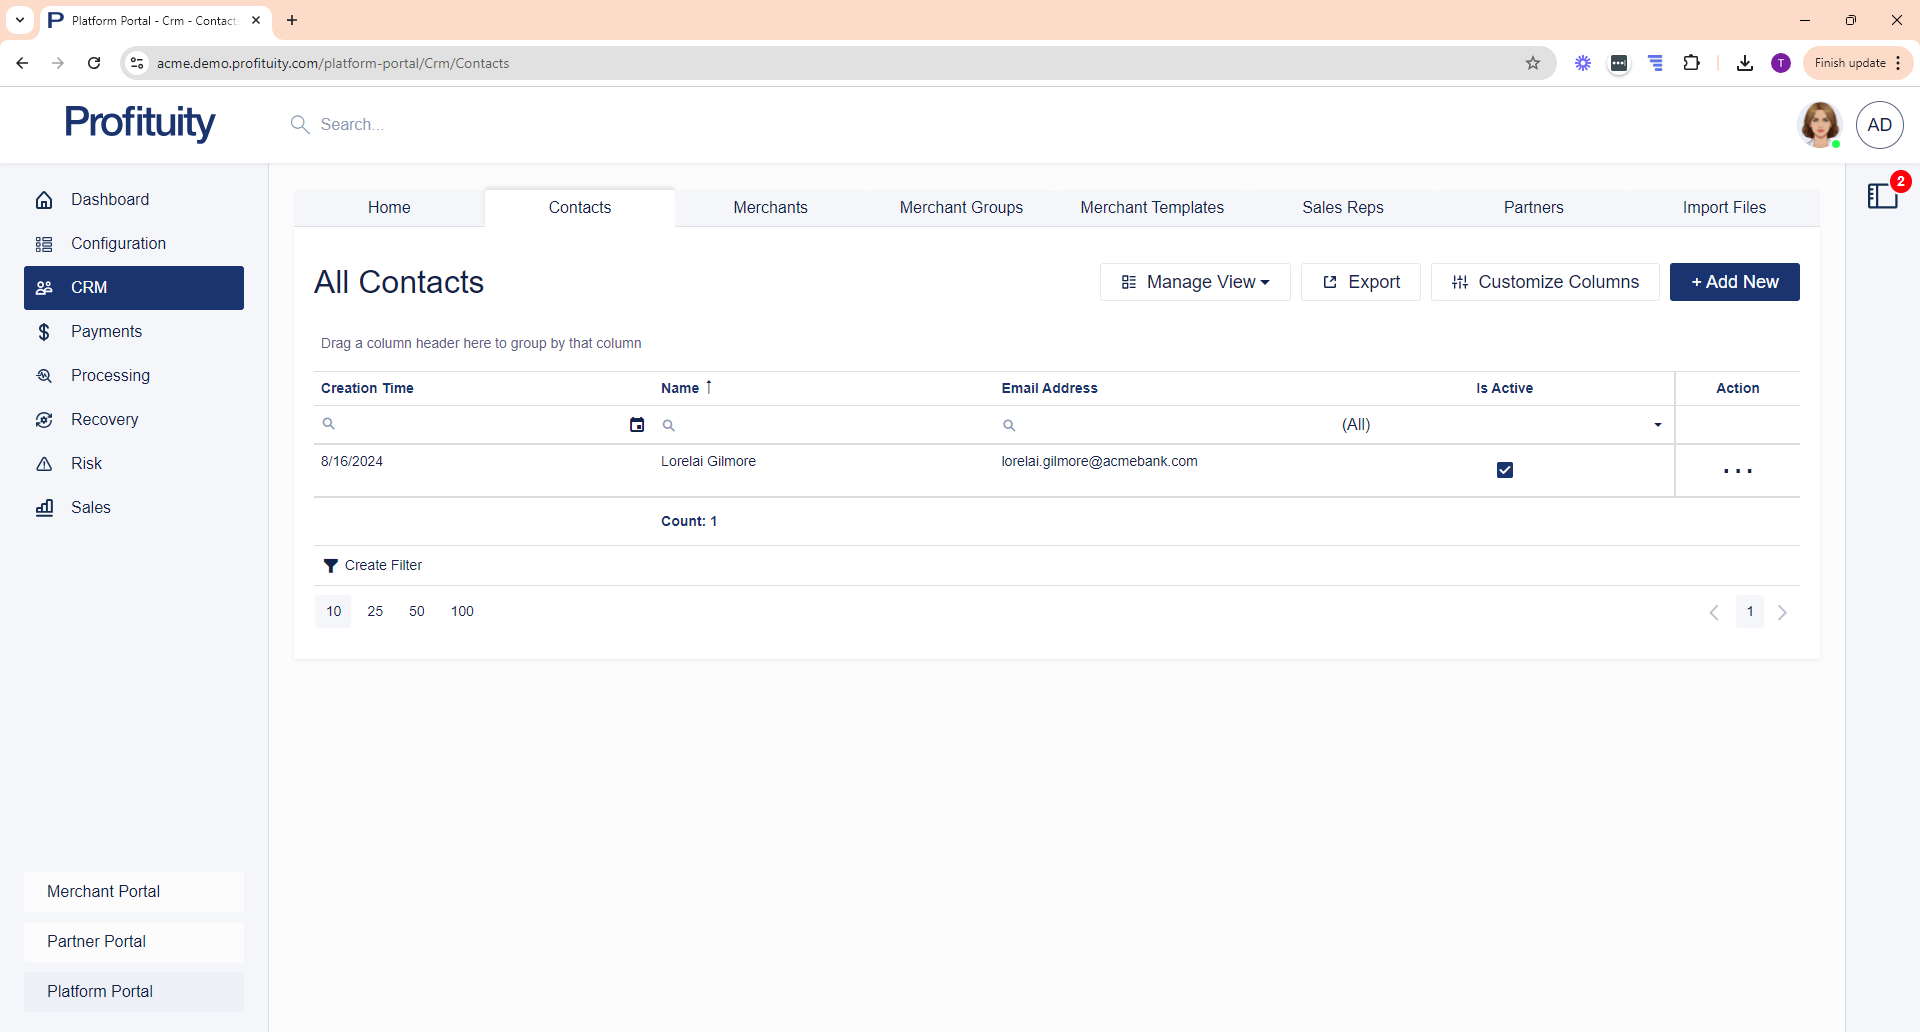
Screenshot: Contacts
Merchants
You can manage your Merchants in the CRM module. A merchant is an individual or organization that is utilizing one or more services that you offer.
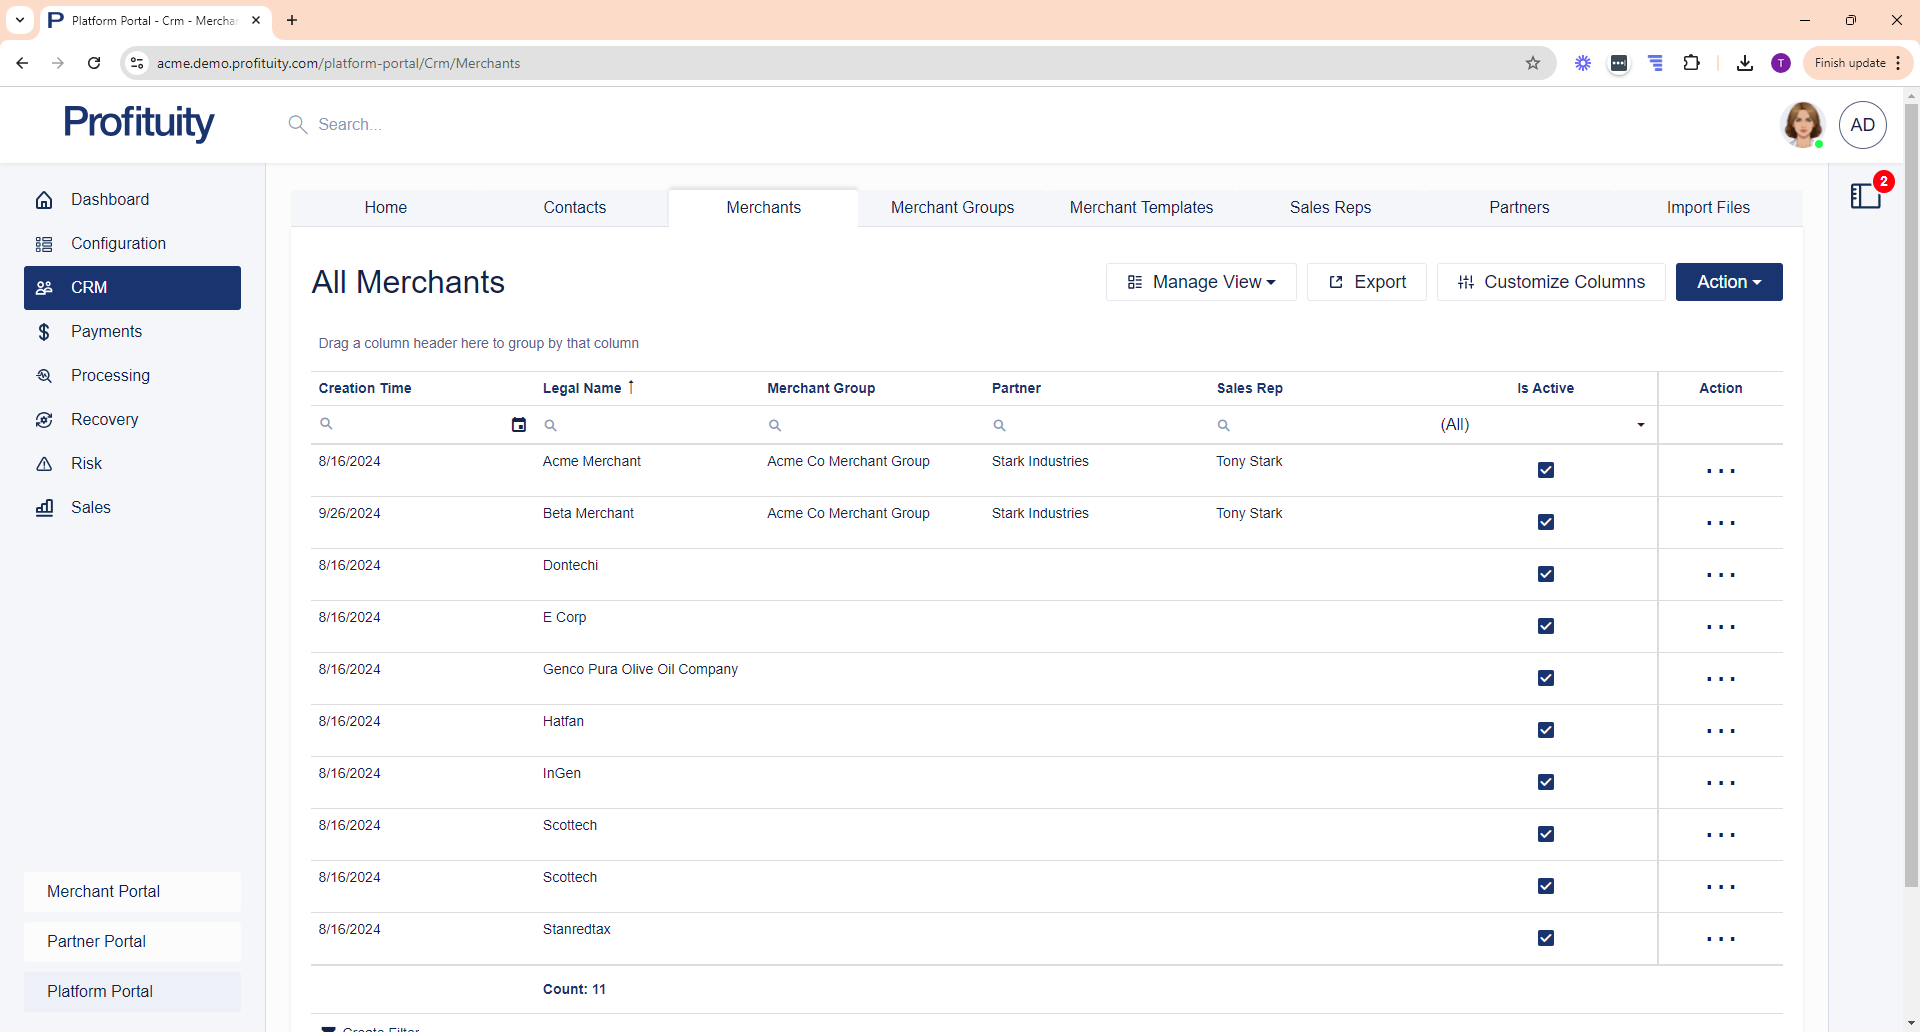
Screenshot: Merchants
Merchant Templates
You can manage your Merchant Templates in the CRM module. Merchant templates allow you to define common settings that you can use to assist you in creating Merchant records.
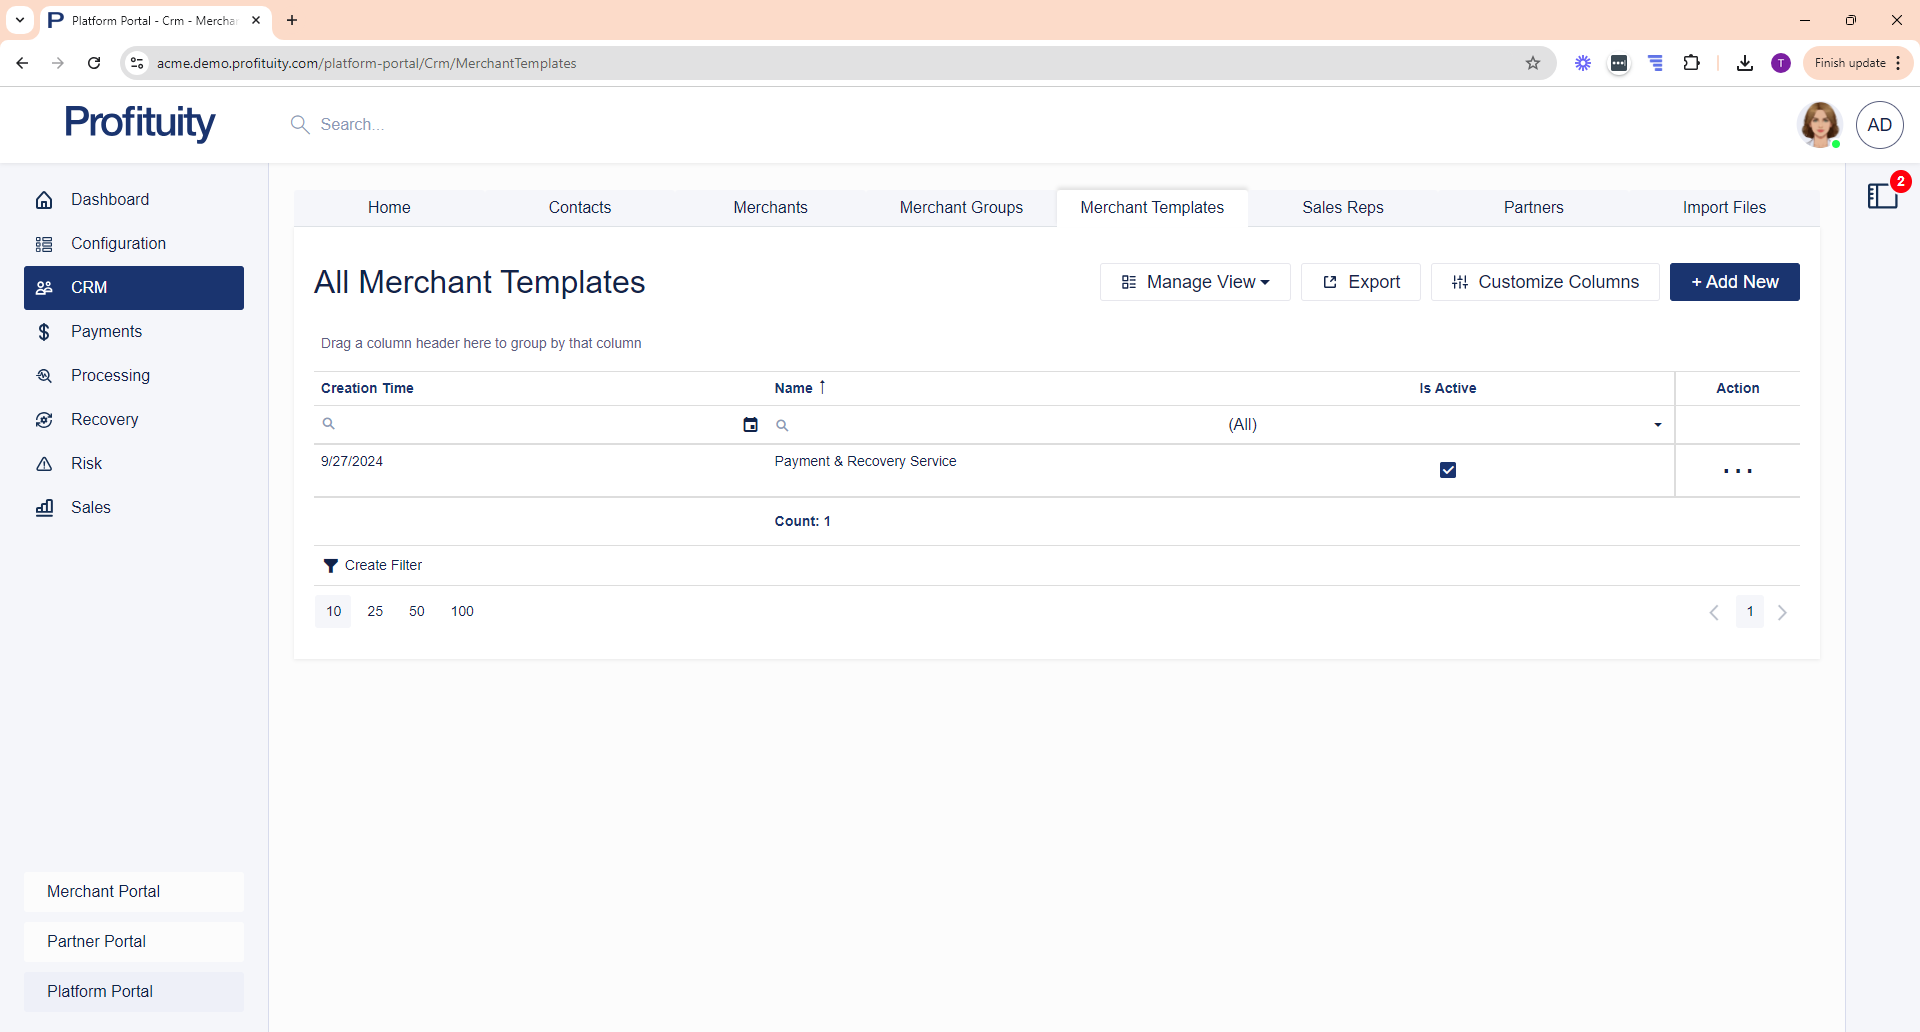
Screenshot: Merchant Templates
Merchant Groups
You can manage your Merchant Groups in the CRM module. A merchant group represents a group of related merchants.
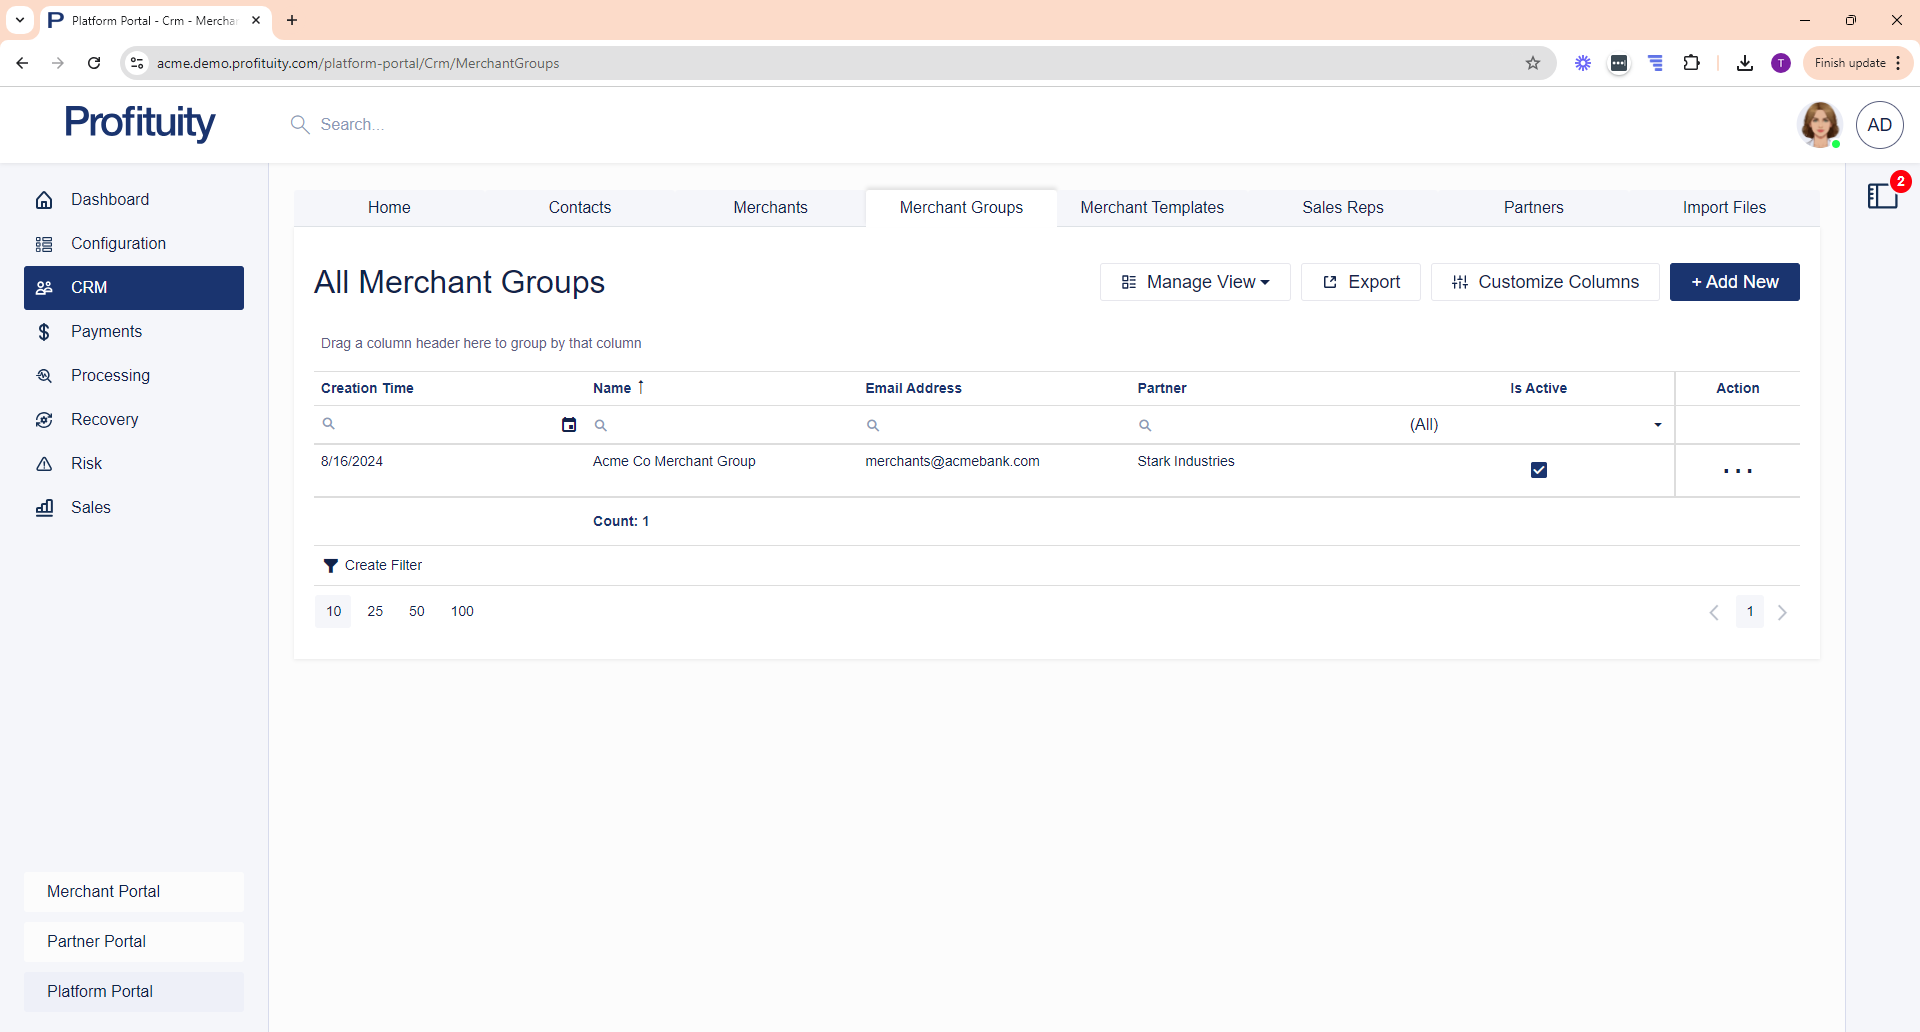
Screenshot: Merchant Groups
Sales Reps
You can manage your Sales Reps in the CRM module. A sales rep is an individual or organization that receives commission distributions associated with recovered fees for a Merchant that they are associated with.
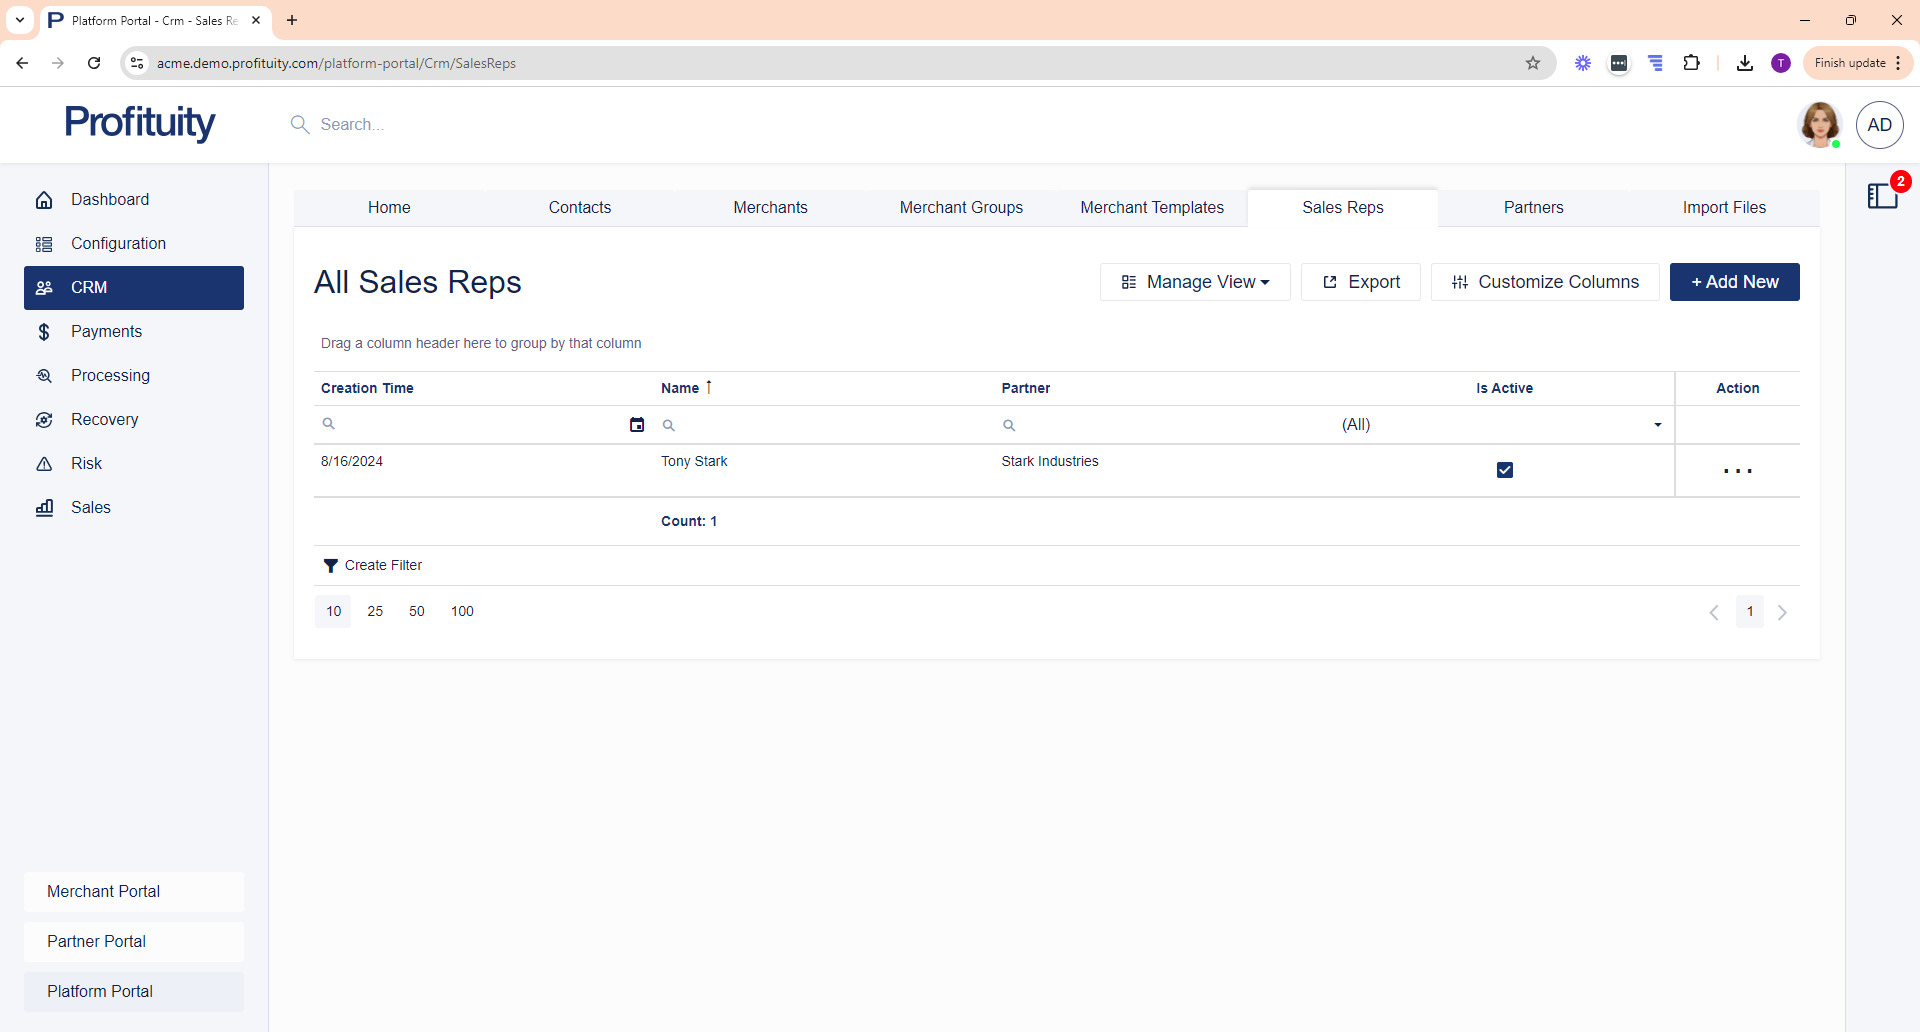
Screenshot: Sales Reps
Partners
You can manage your Partners in the CRM module. A partner is an individual or organization that has a relationship with merchants and sales reps.
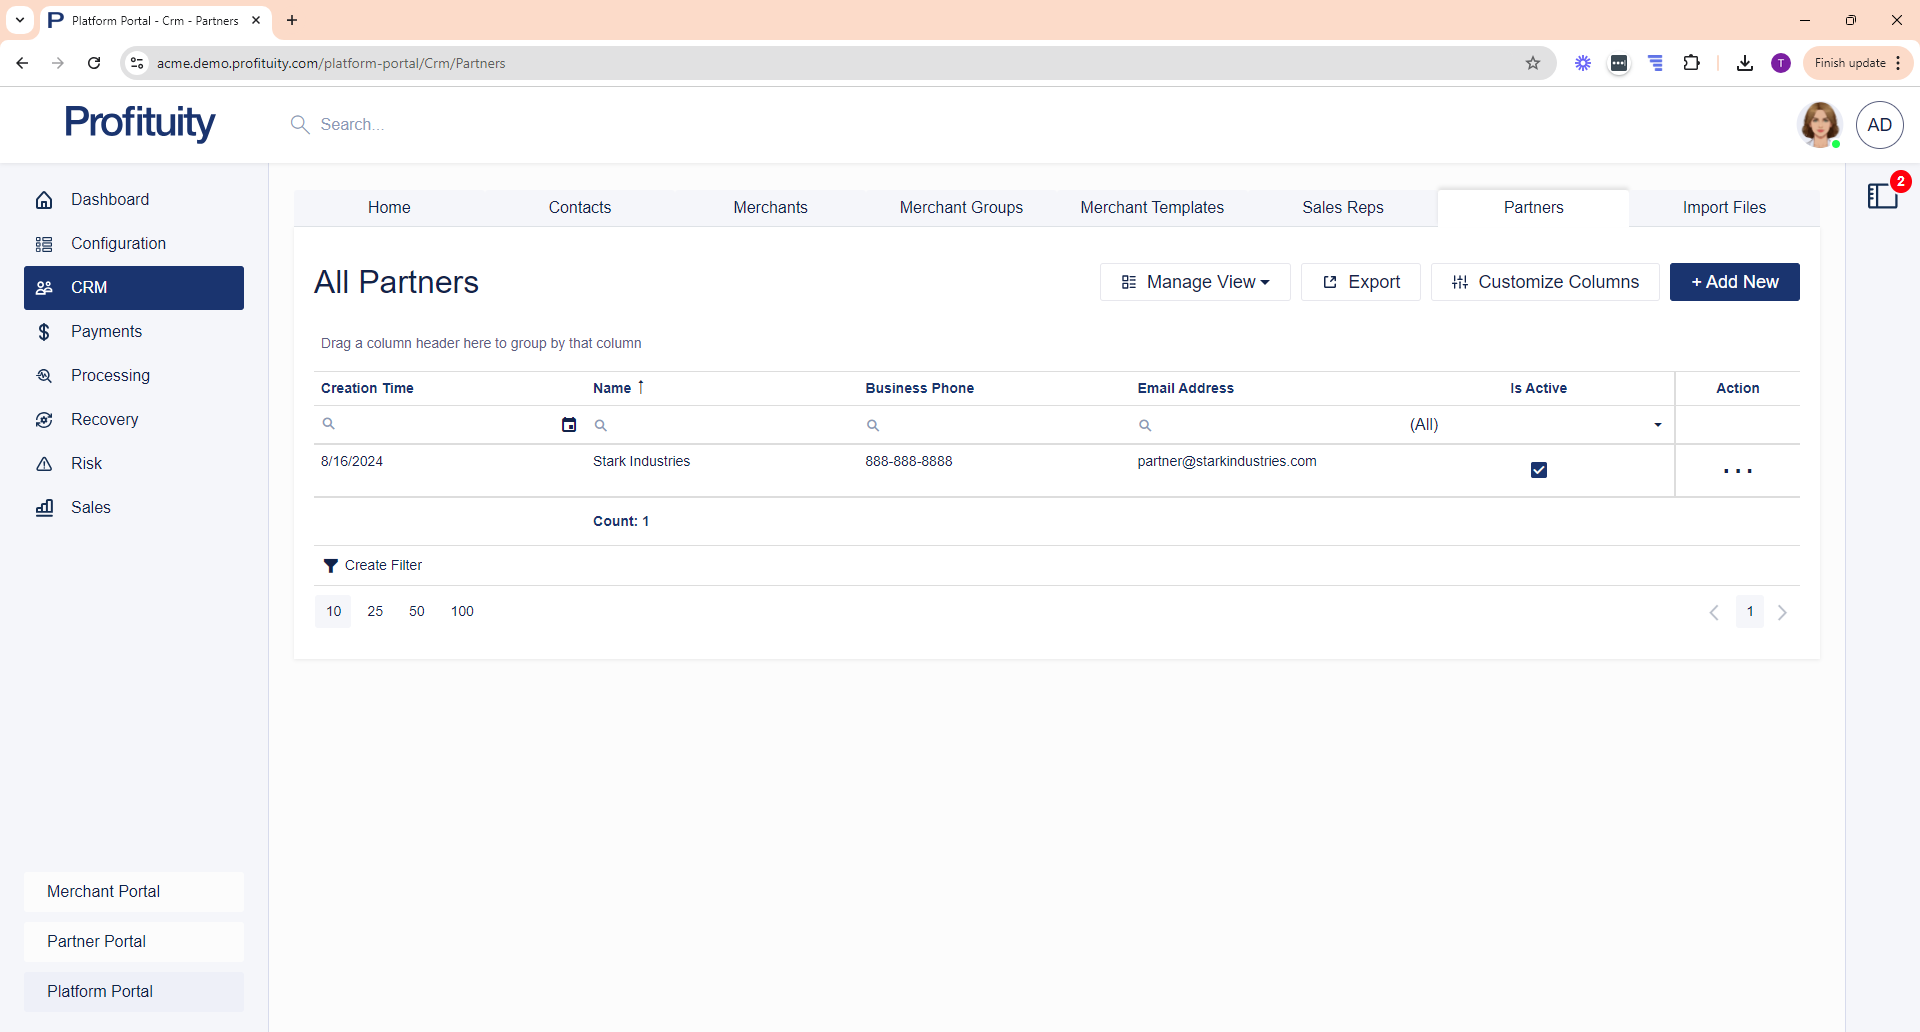
Screenshot: Partners
Processors
You can manage your Processors in the CRM module. A processor is a third party processor that has a relationship with merchants and merchant groups.
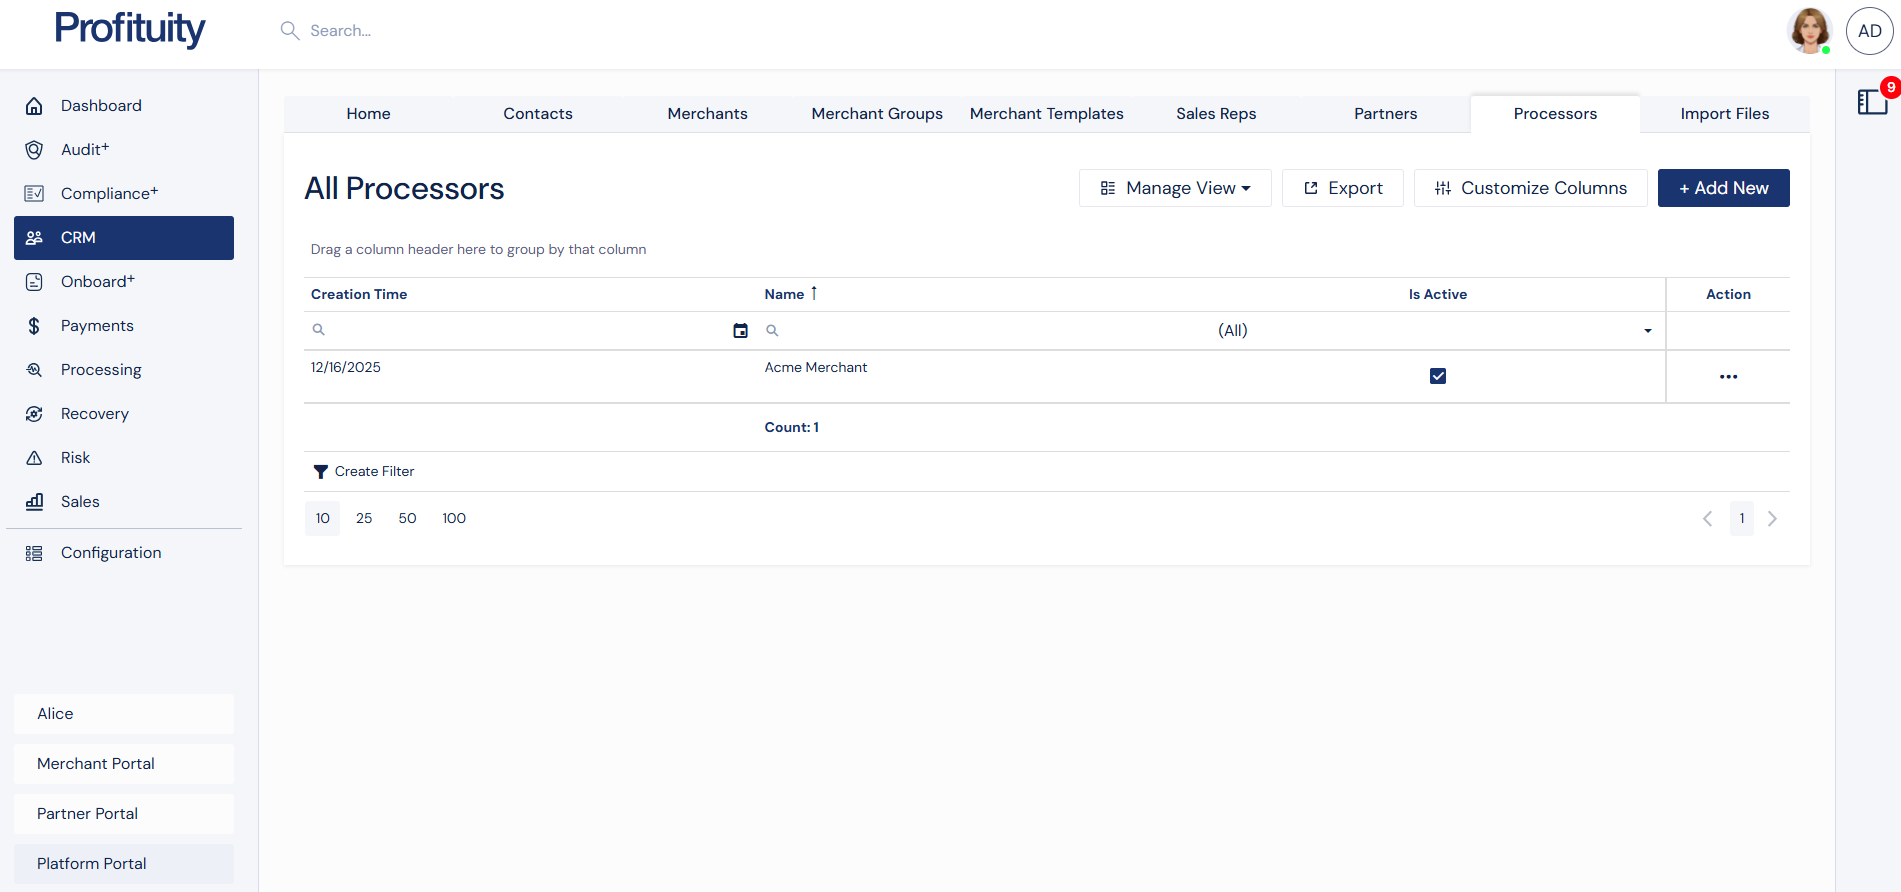
Screenshot: Processors
Import Files
You can upload your CRM Files in the CRM module. The import files area is where you can go to bulk create, update, or delete Contact, Merchant, Merchant Group, Sales Rep, or Partner records.
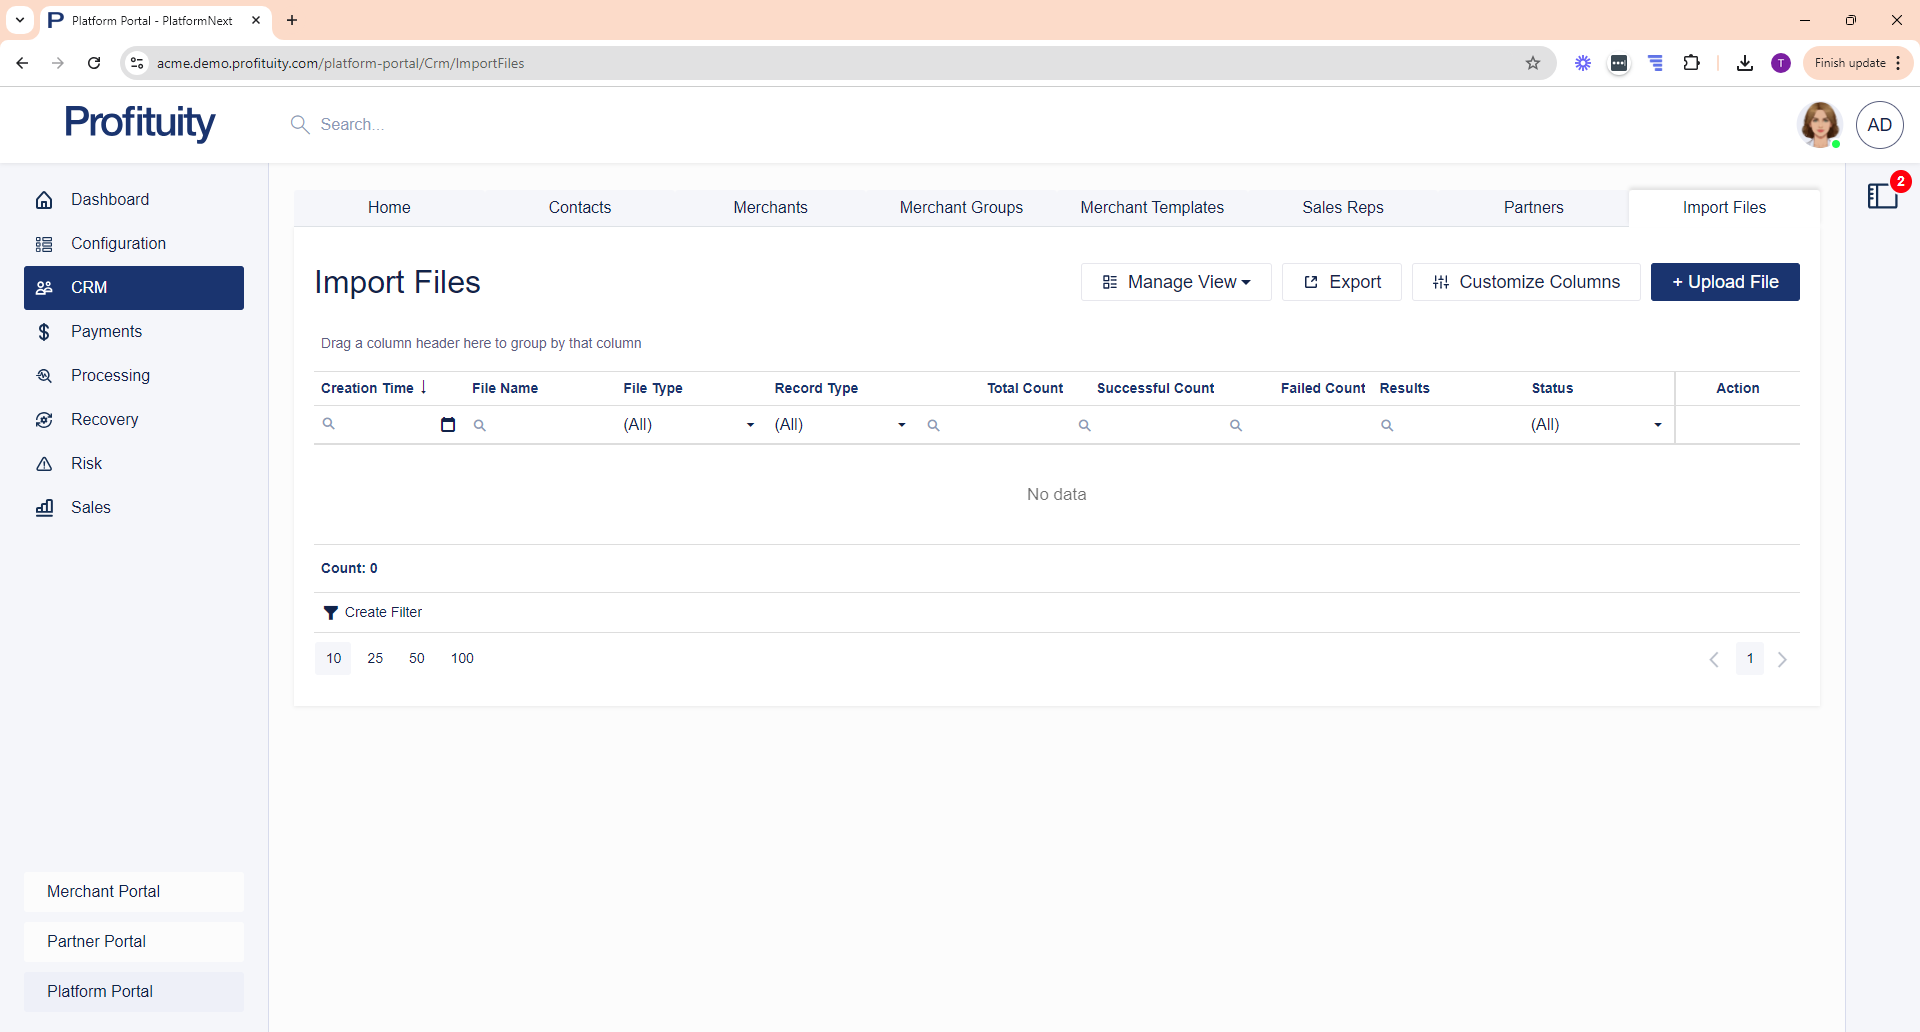
Screenshot: Import Files
Payments Module
Customers
You can manage your Customers in the Payments module. Customer records allow you to store important details about the person or business associated with the given Payment. You can include information such as phone numbers and addresses, which may not be directly related to the payment itself but may be helpful to have for future reference.
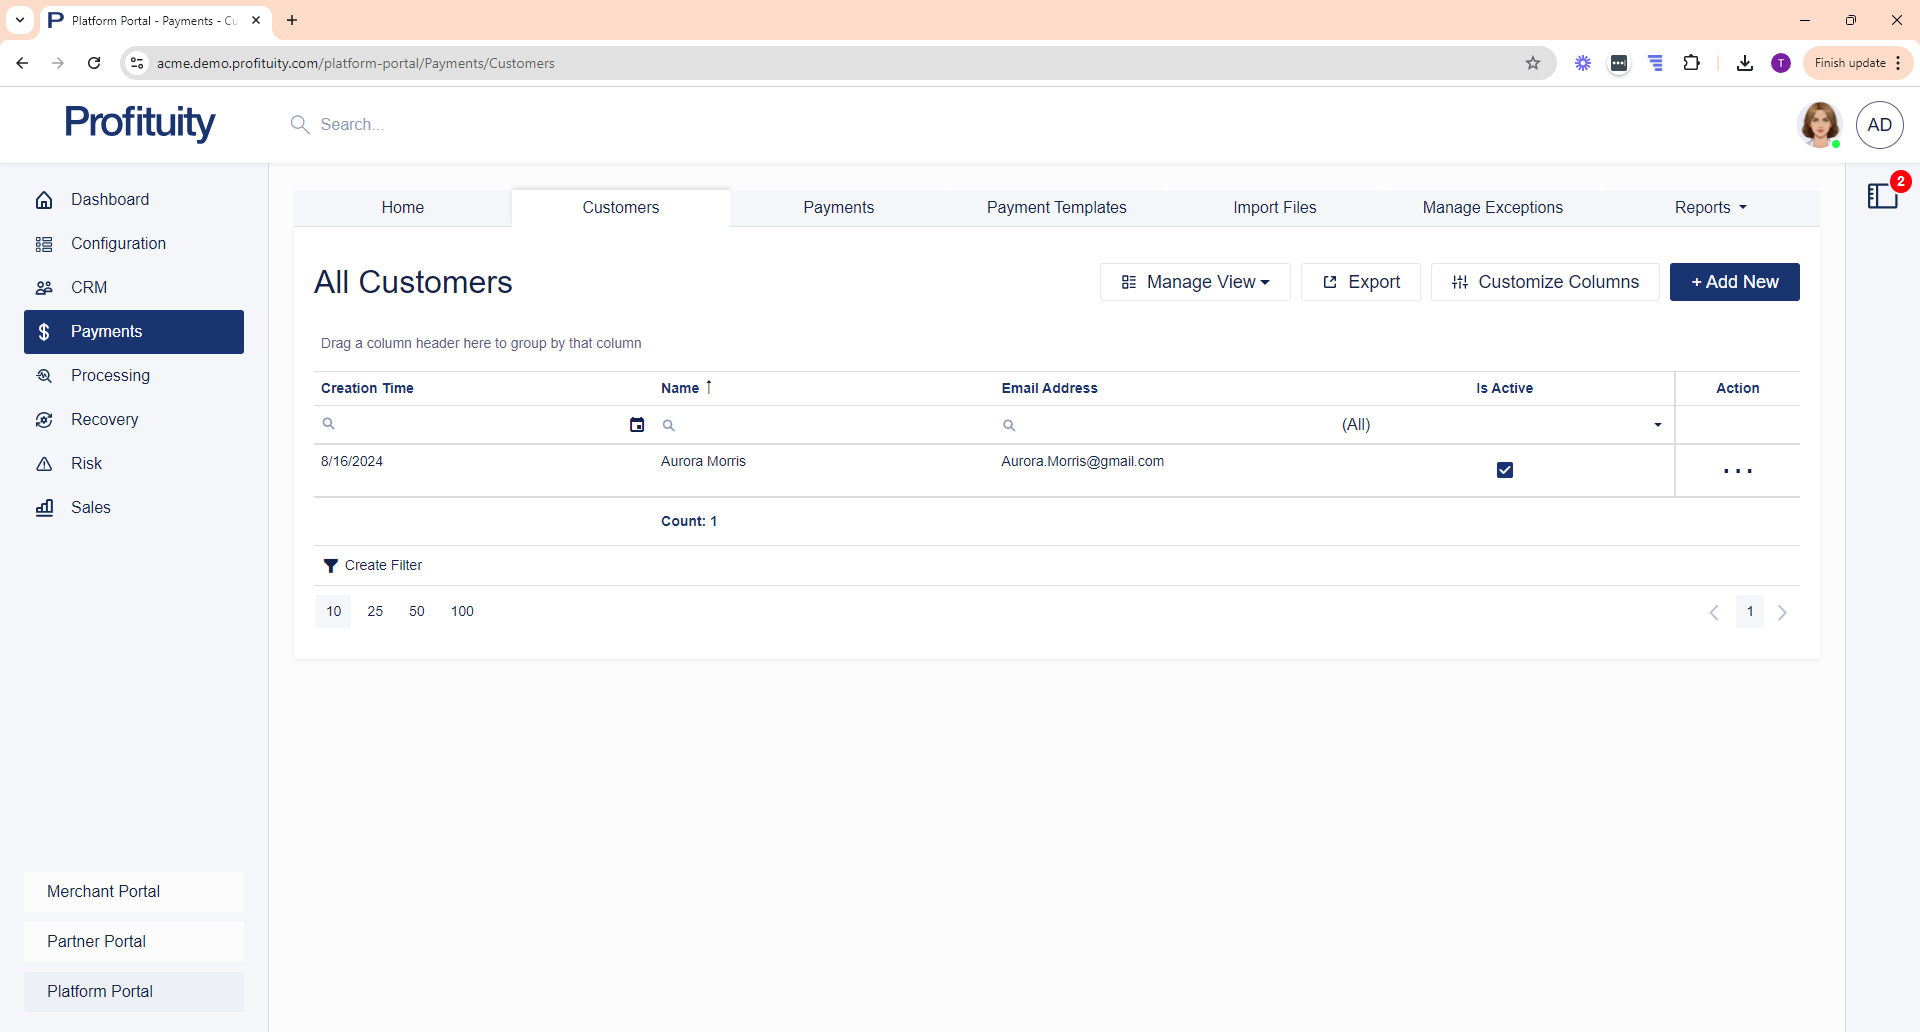
Screenshot: Customers
Payments
You can manage your Payments in the Payments module. A payment refers to a transaction initiated by a Merchant, which can either be a 'debit' or a 'credit'. A 'debit' is an operation to withdraw funds from a customer's account, while a 'credit' adds funds back.
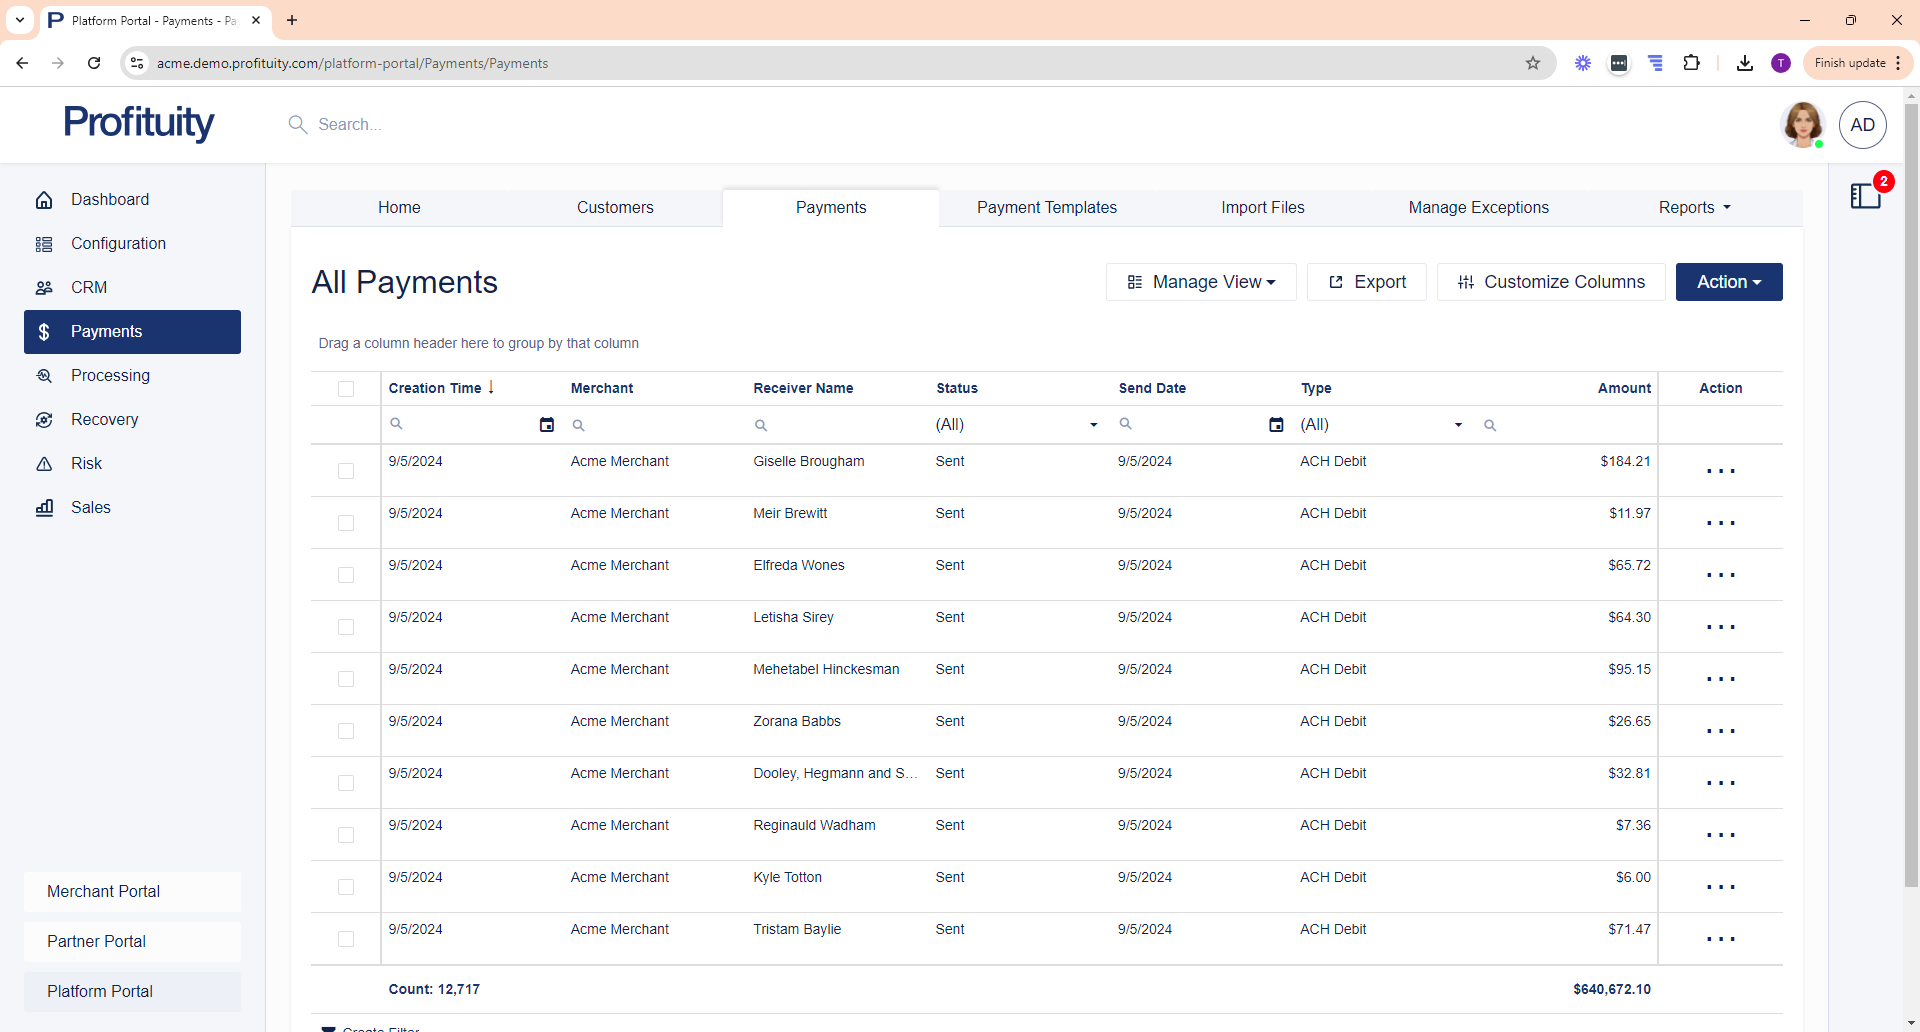
Screenshot: Payments
Payment Templates
You can manage your Payment Templates in the Payments module. A payment template can be used in two scenarios:
Store Payment Information: A payment template can store payment details that you can easily reference when creating new payments, ensuring consistency and saving time.
Create a Recurring Payment Schedule: By setting up a recurring payment schedule within the template, you automate the process of creating subsequent payments. The system will automatically generate these payments based on the defined schedule, eliminating the need to manually create each one.
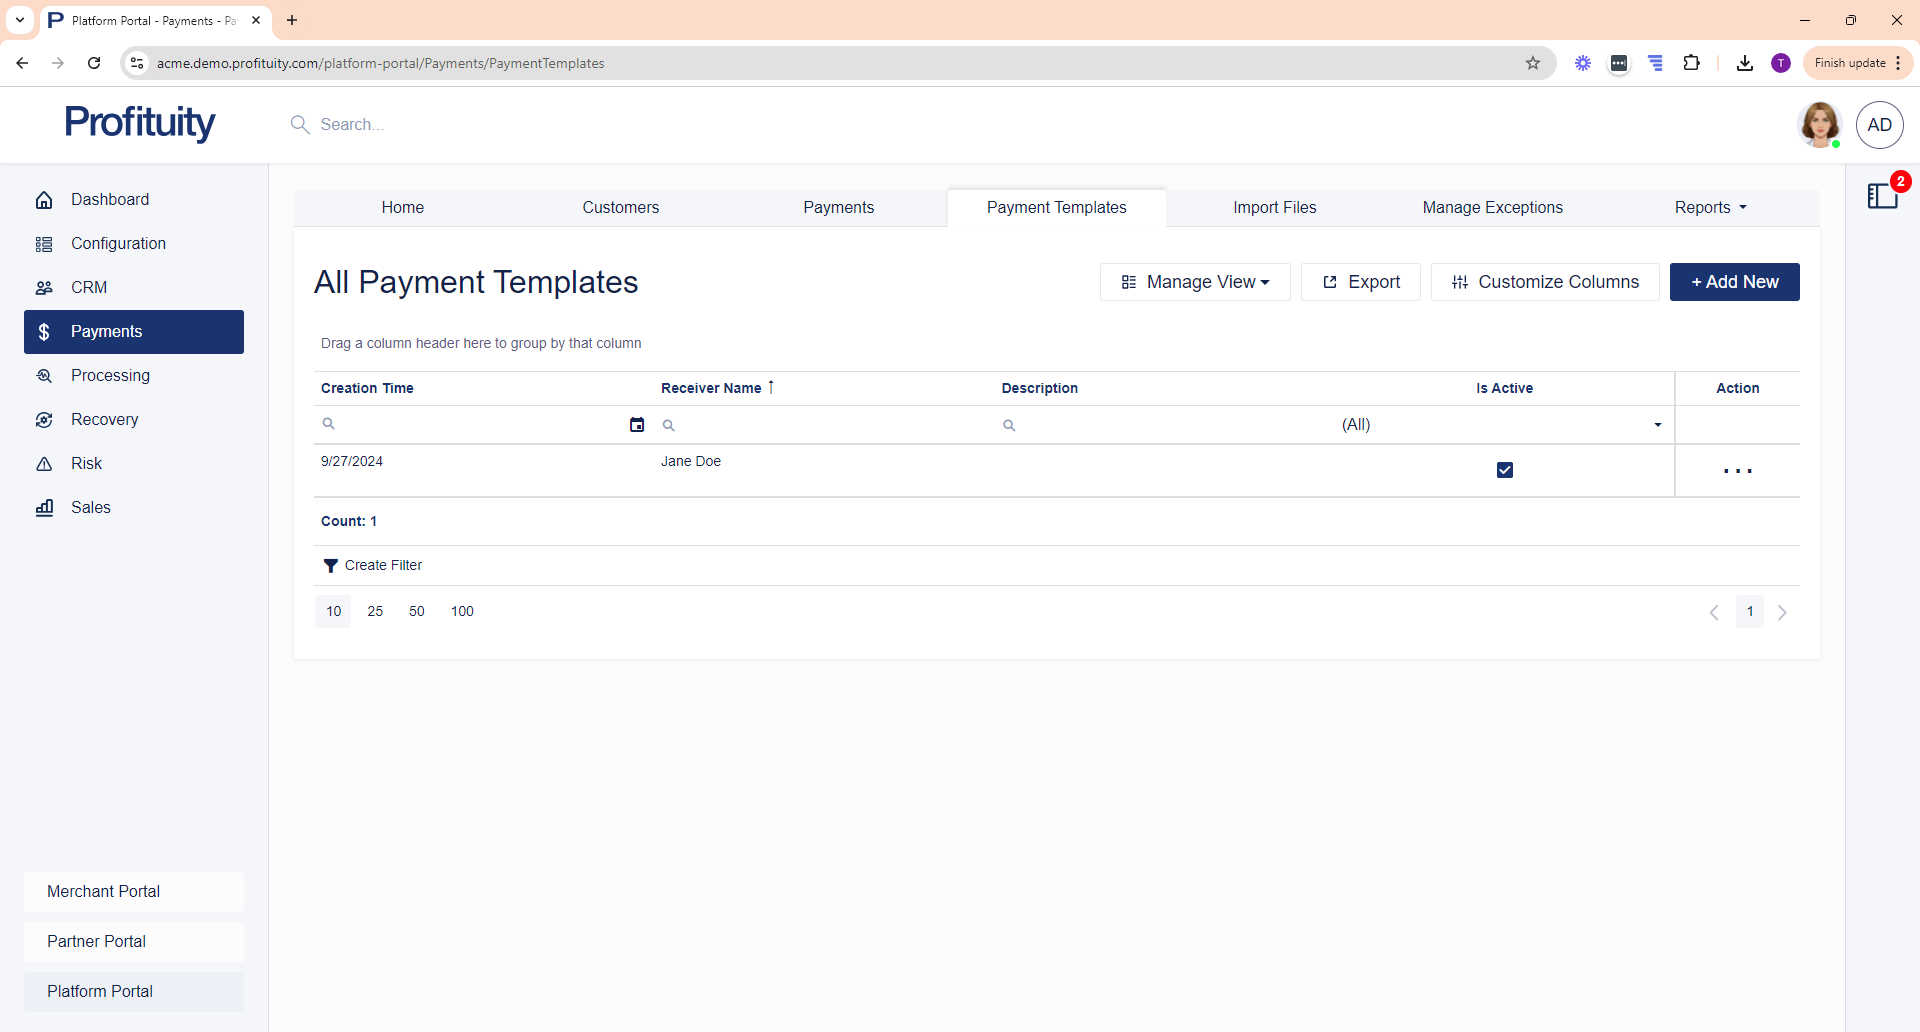
Screenshot: Payment Templates
Import Files
You can upload your Payment Files in the Payments module. The import files area is where you can go to bulk create, update, or delete Customer records or bulk create and update Payment records.
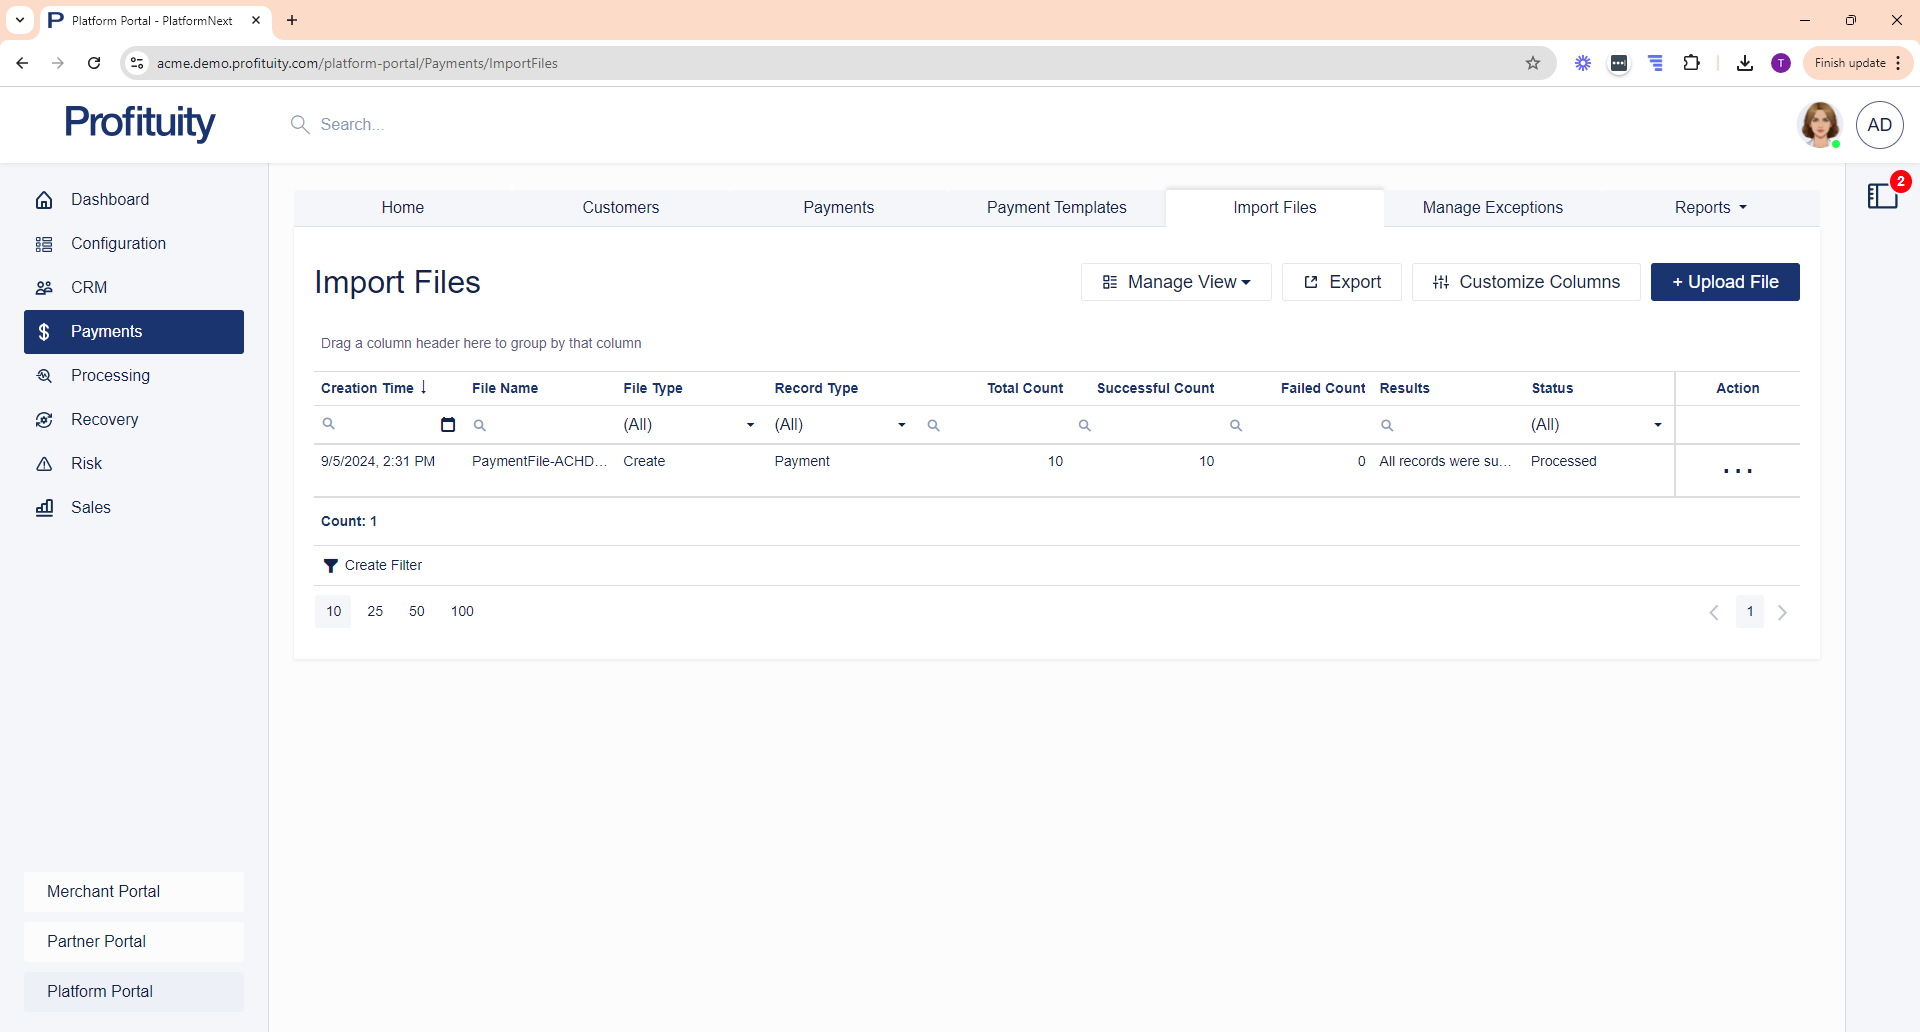
Screenshot: Import Files
Manage Exceptions
You can manage your Exceptions in the Payments module. Currently, only Image Cash Letter payments can result in an exception. If your image does not pass guidelines, then the payment will be flagged for image review.
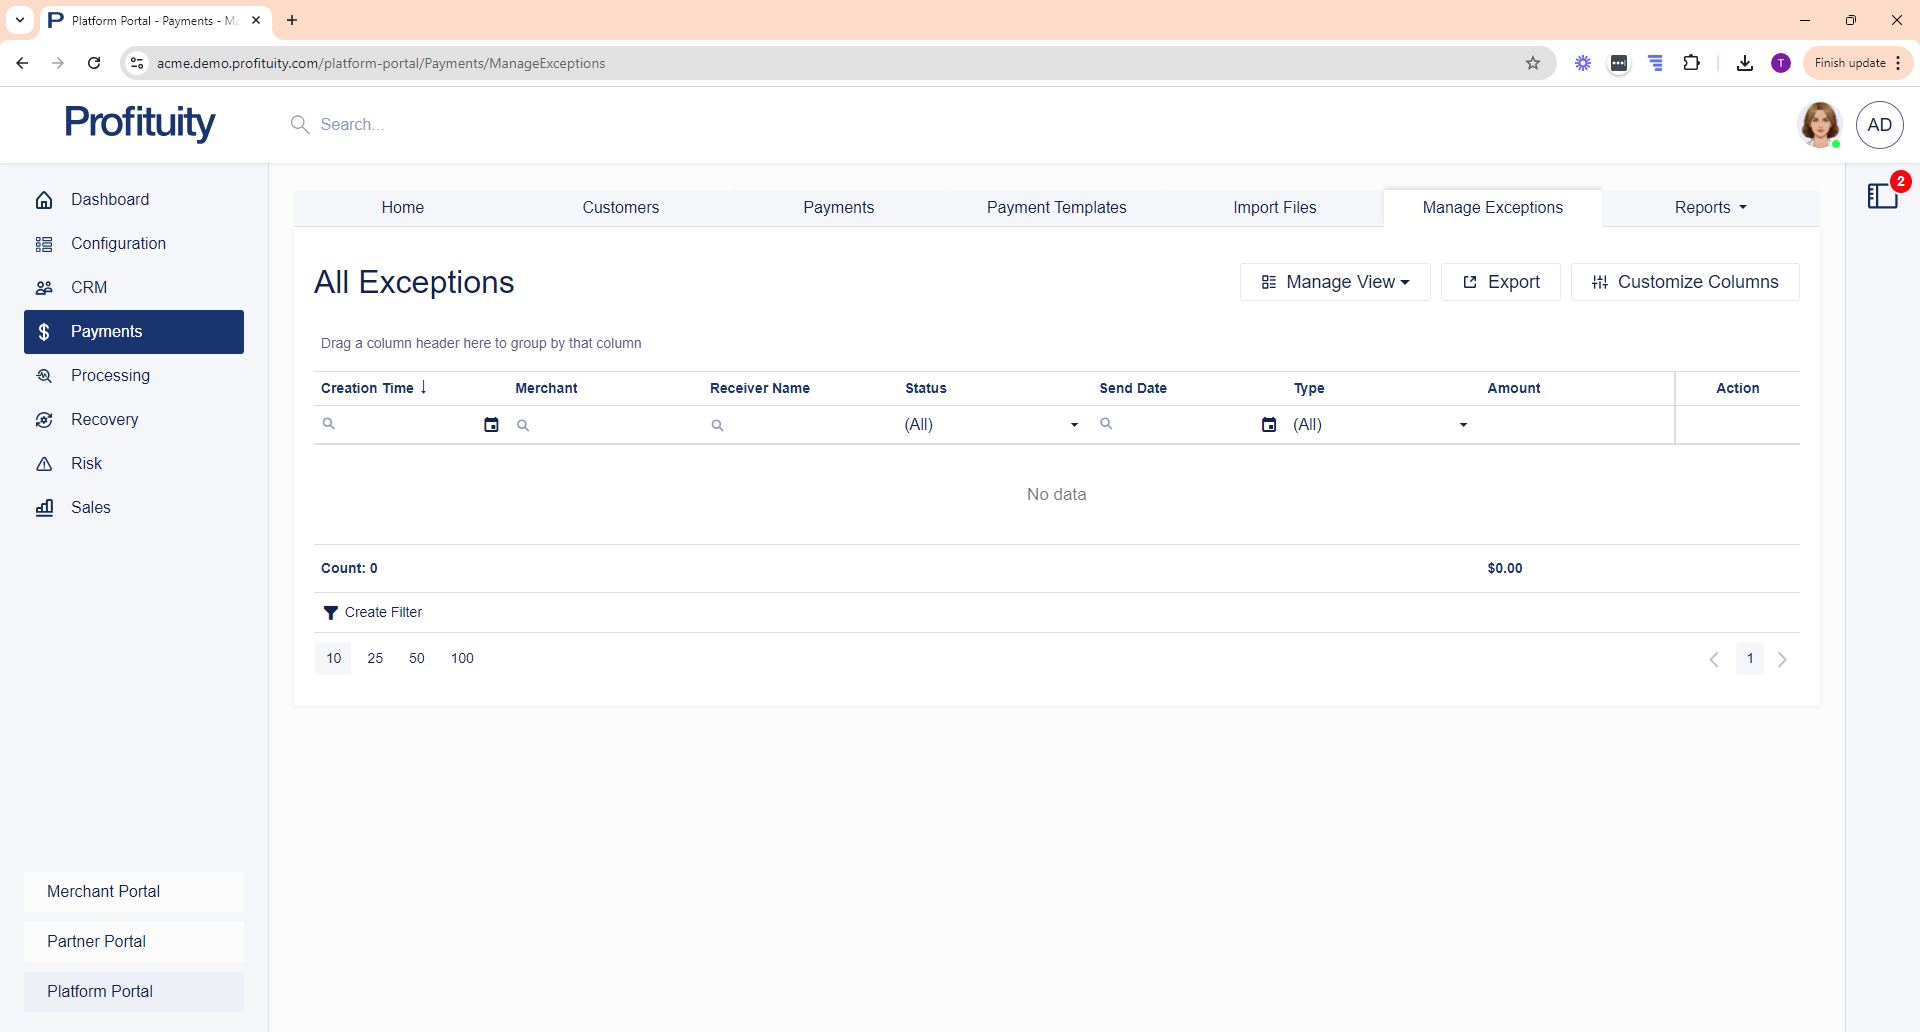
Screenshot: Manage Exceptions
Reports
You can view various Payment Reports in the Payments module.
Payment Activity
The Payment Activity report shows all submitted payment activity by date created and by Merchant during the specified time period. This report is helpful for Merchants when they are trying to reconcile against the Settlement Report as it can show them how many items paid versus returned/reversed or were rejected.
Returned Payments
The Returned Payments report shows payments that were returned during the specified time period. See also: Return Codes.
Unsuccessful Payments
The Unsuccessful Payments report shows payments that were not successful. This could be because of a return or a reversal, or because the payment was canceled, rejected, or skipped.
Processing Module
Transactions
You can view your Transactions in the Processing module. Transactions are created from a variety of sources. Transactions are debits and credits that are sent from the system to a Receiver (the individual or company that is to be credited and/or debited).
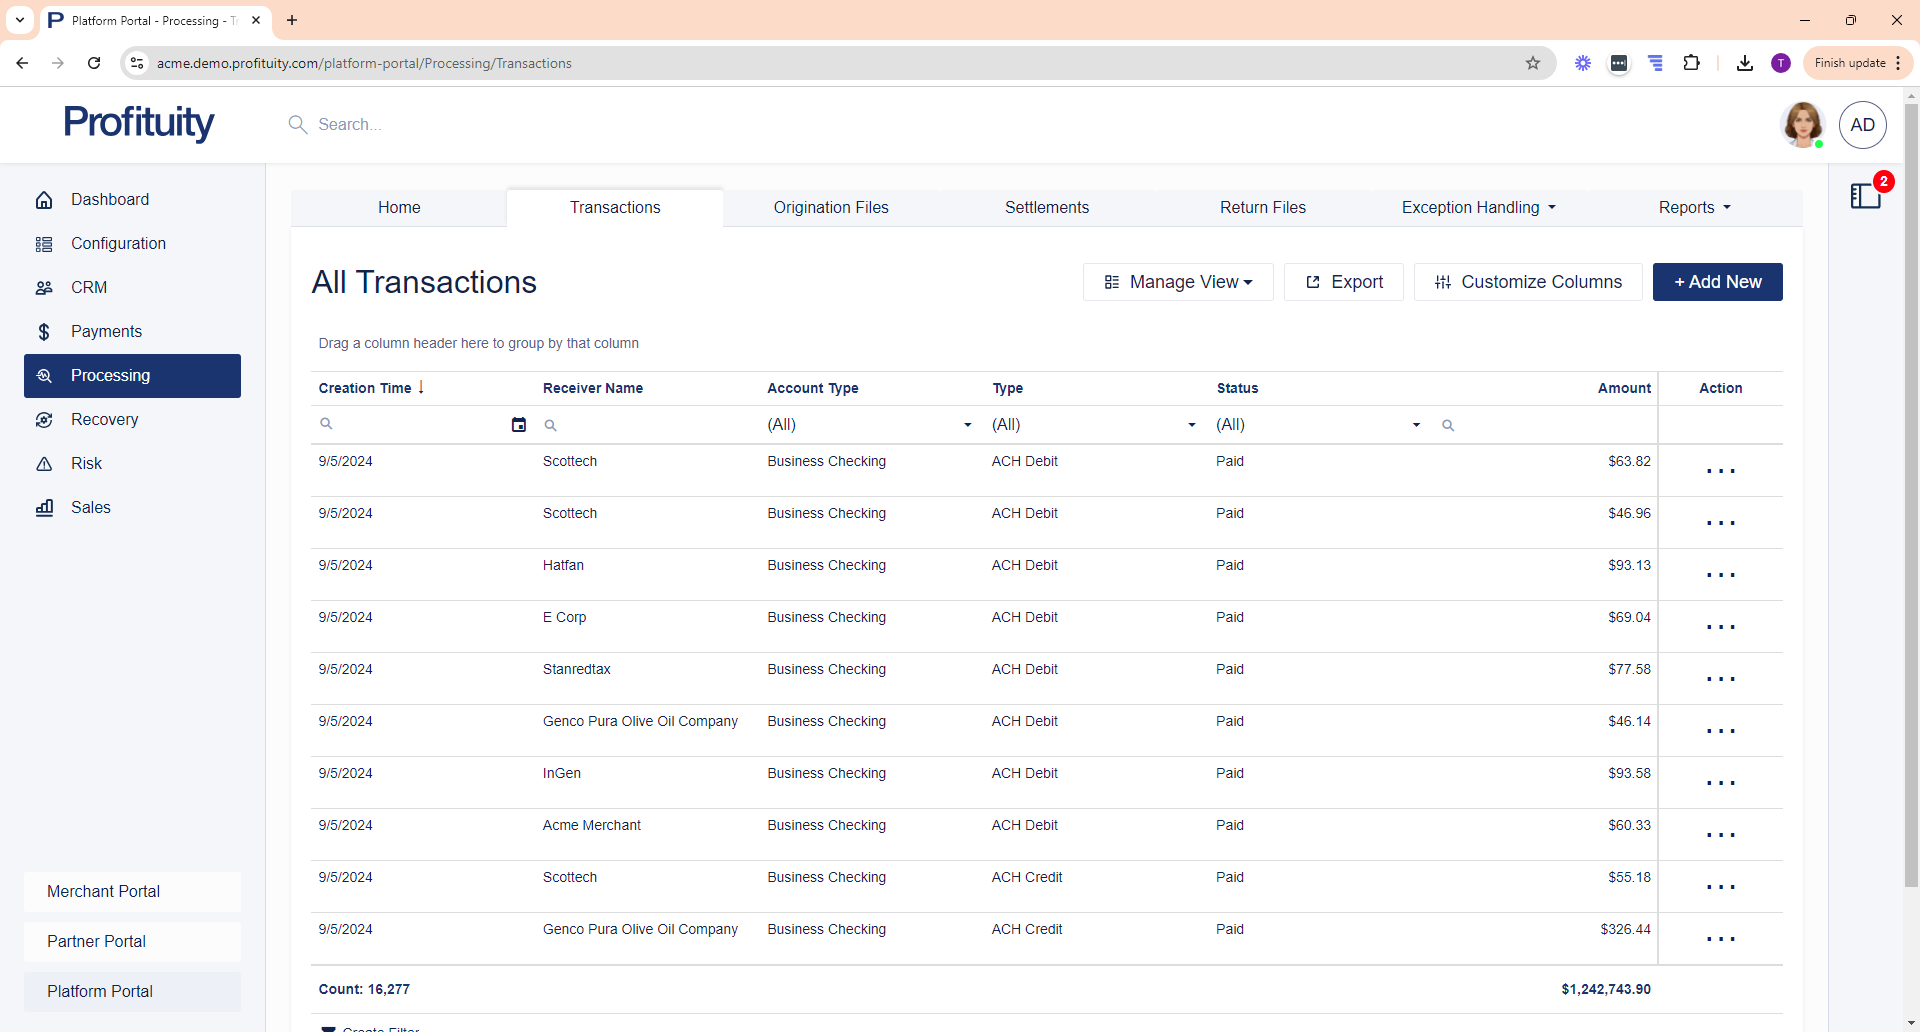
Screenshot: Transactions
Origination Files
You can manage your Origination Files in the Processing module. From here you can build and send origination files. An origination file represents a file that is built and expected to be sent to one of your bank partners (e.g. Processing Configurations). Origination files include all the transaction types that the system may create as necessary.
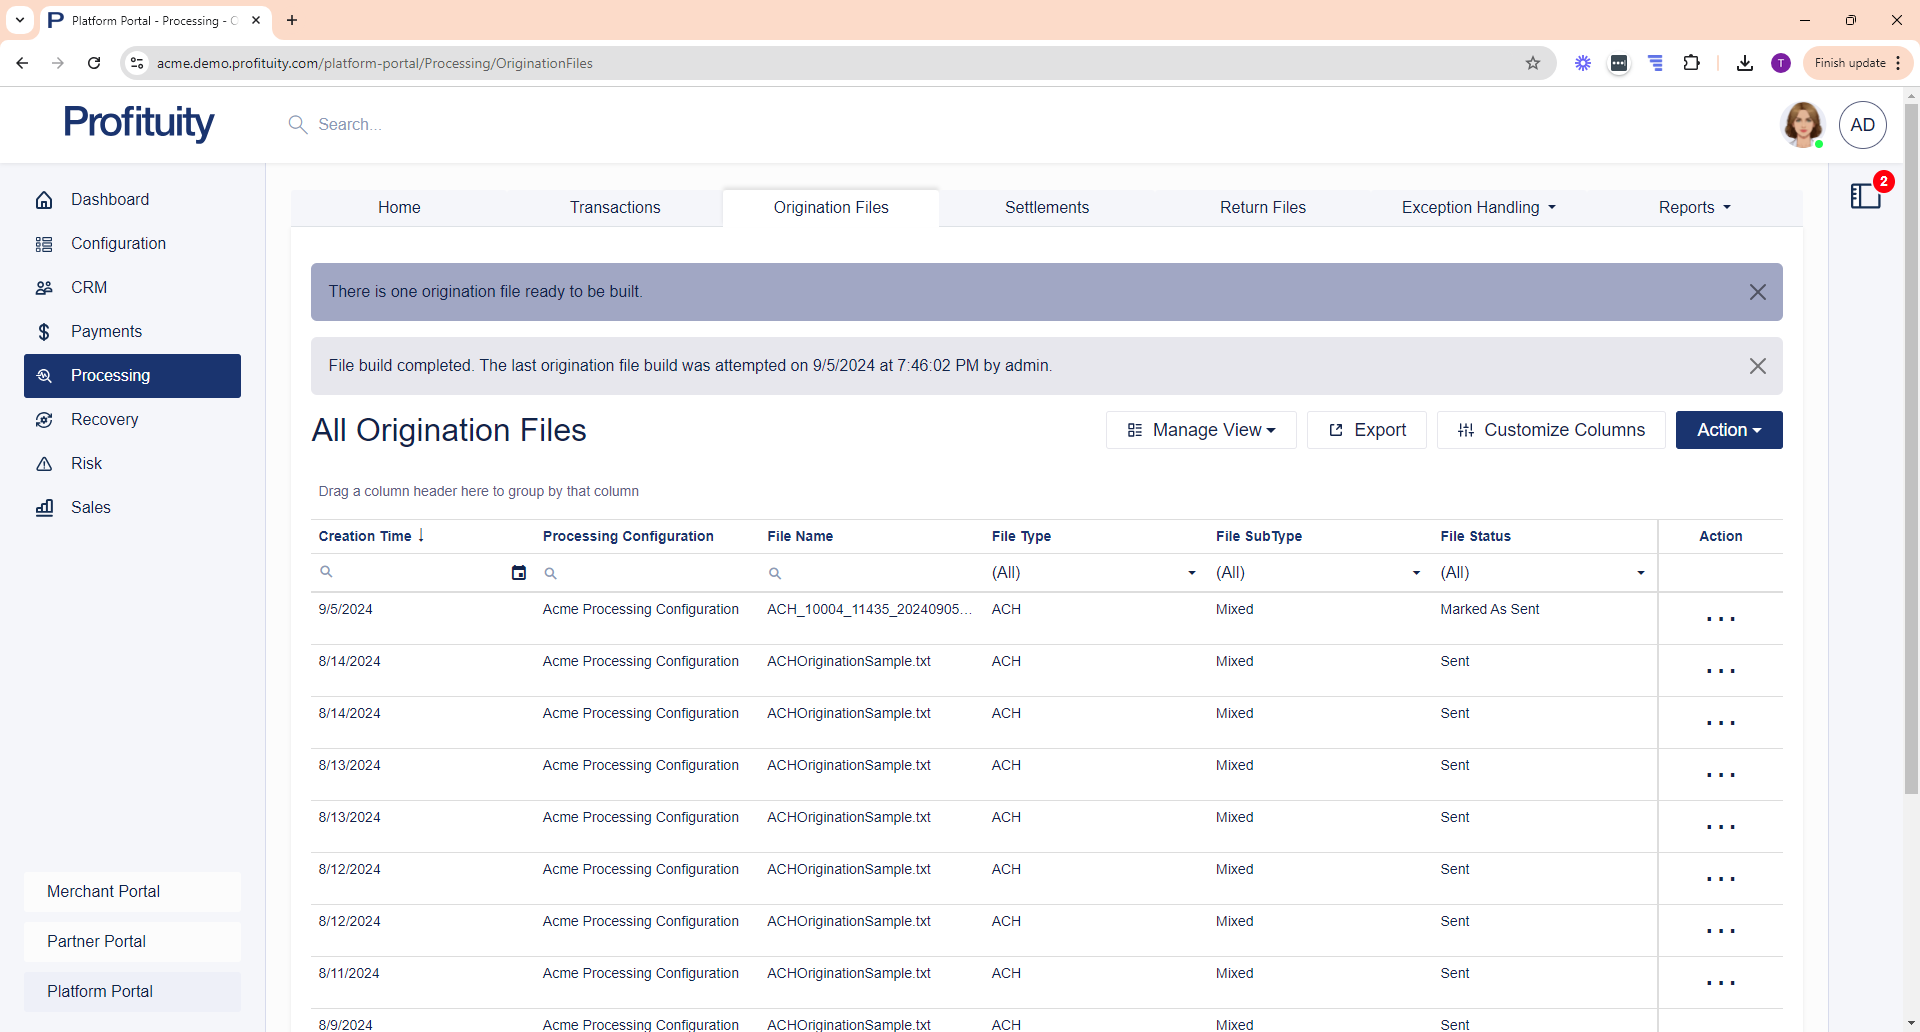
Screenshot: Origination Files
Settlements
You can manage your Settlements in the Processing module. From here you can process outstanding settlements. A settlement is a debit or a credit to an entity (e.g. Merchant, Sales Rep, or Company).
Credit settlements are typically for the clearing of funds (e.g. Debit Payment Cleared, Recovery Item Cleared, etc.) while Debit settlements are typically for reversals (e.g. Debit Payment Reversed, Recovery Item Reversed, etc.).
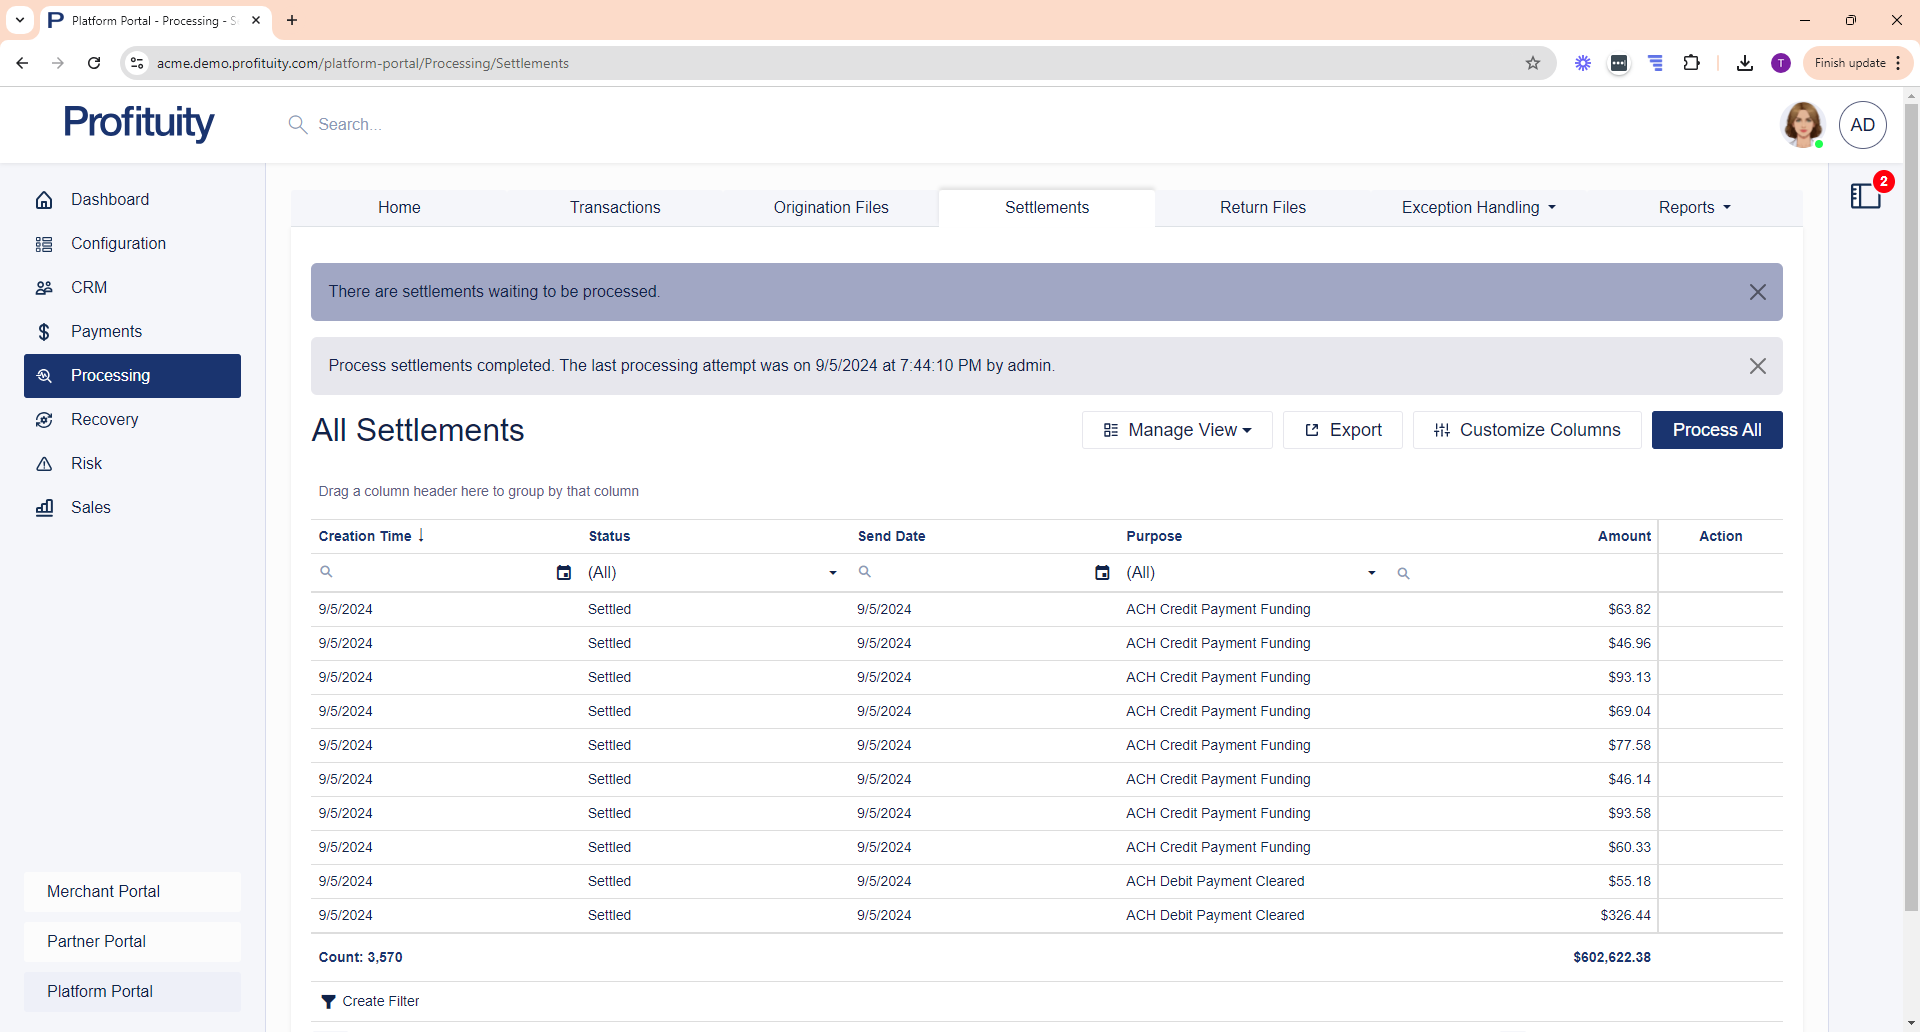
Screenshot: Settlements
Return Files
You can manage your Return Files in the Processing module. From here you can retrieve and process return files. A return file is made up of one or more transaction updates. A transaction update can be a return or a Notification of Change (NOC) for an existing transaction.
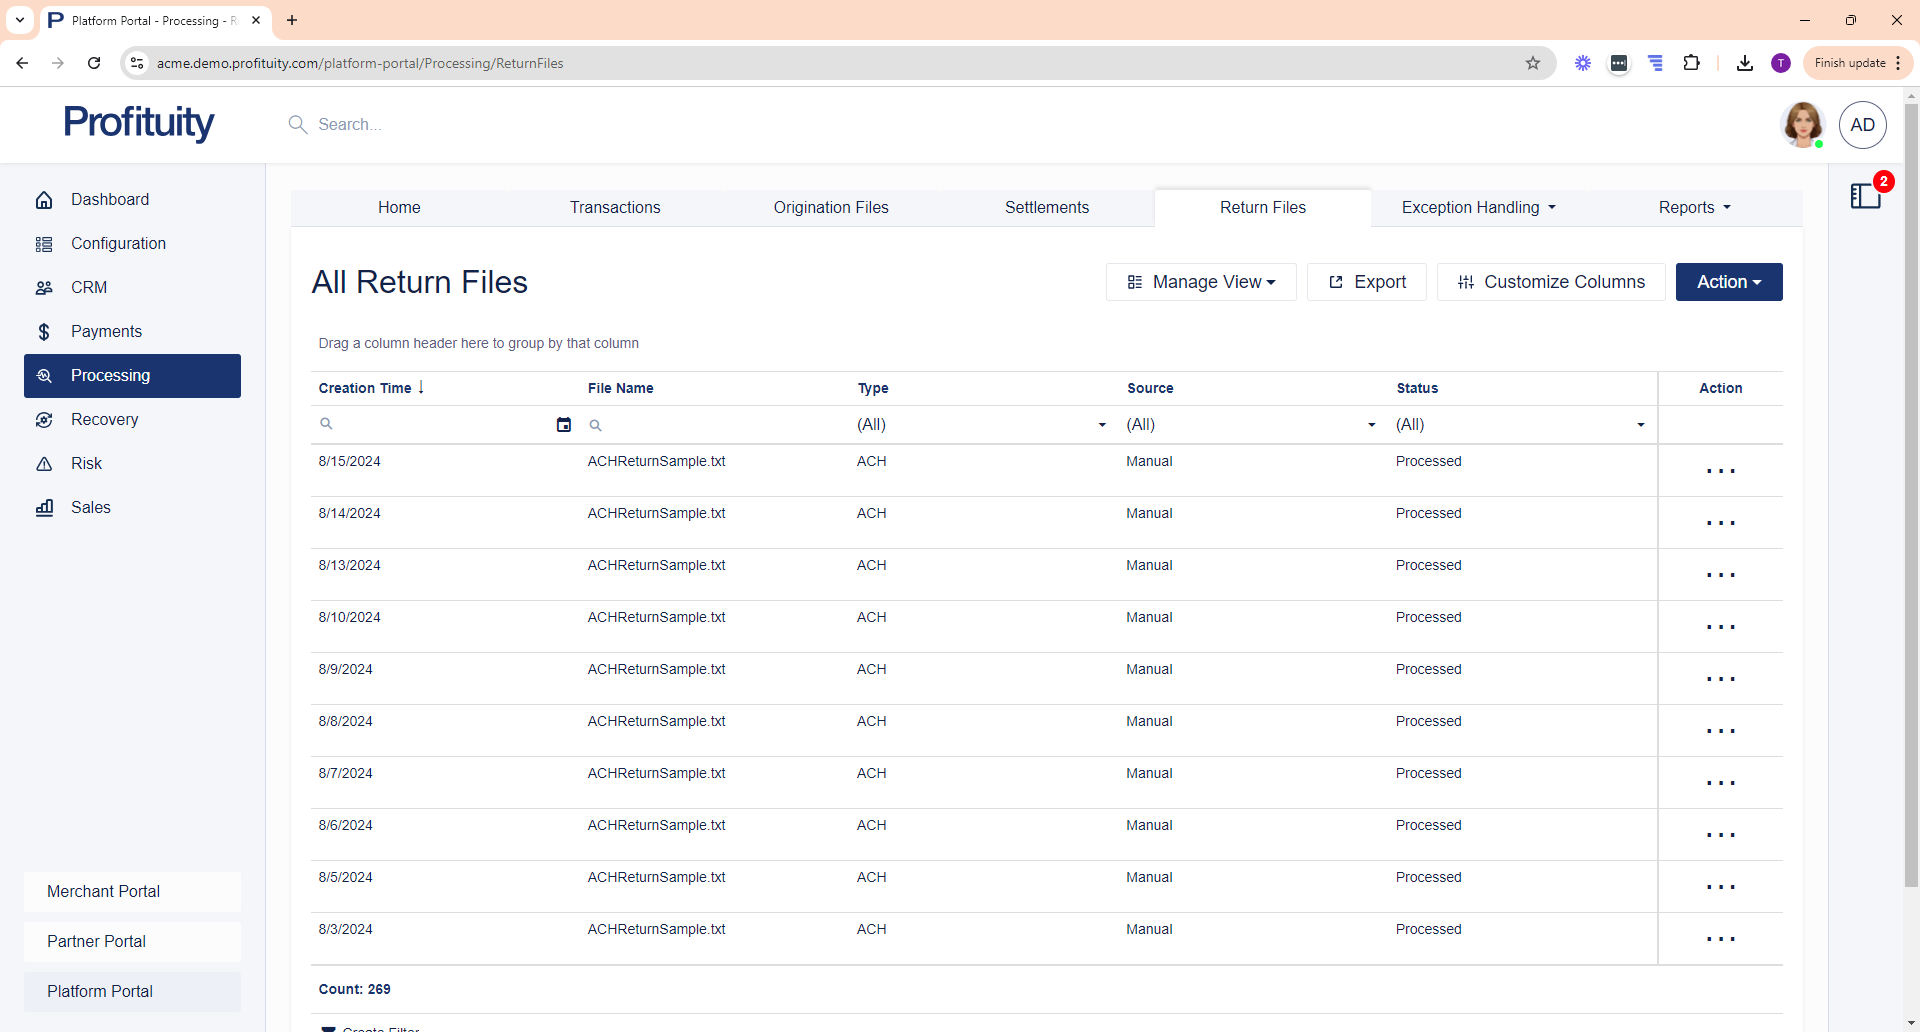
Screenshot: Return Files
Exception Handling
You can manage your Processing Exceptions in the Processing module.
Administrative Returns
An administrative return is a transaction that was returned due to an administrative reason (e.g., Unable to Locate, Invalid Account, etc.).
Blocked Accounts
When an account is on the blocked accounts list, it prevents future transactions from going through. These transactions will end up with a “Blocked Account” status. Accounts can be added to the blocked accounts list in one of the following ways:
Account is manually added to the blocked account list.
A transaction sent to the account is returned and the return reason has a Return Action of Block Account Originator.
A transaction sent to the account is returned and the return reason has a Return Action of Block Account Global.
Notifications of Change
A Notification of Change (NOC) is a Transaction Update received in an ACH Return File for the purpose of identifying incorrect information on a previously sent transaction and providing corrected data to be used on future transactions.
Return Exceptions
A return exception is a transaction update (return or NOC) that could not be matched automatically to an existing transaction.
Reports
You can view various Processing Reports in the Payments module.
Account Reconciliation
The Account Reconciliation report shows reconciled bank accounts and amounts for a specific date.
Activity Metering
The Activity Metering report shows activity for merchants during a specified time period.
Origination Activity
The Origination Activity report shows origination activity for specified time period
Outstanding Settlement
The Outstanding Settlement report shows the outstanding settlements the merchant has during a specified time period.
Pre-Origination Build
The Pre-Origination Build report shows pre-origination files during a specified time period.
Return Activity
The Return Activity report shows activity returned during a specified time period.
Recovery Module
Customers
You can manage your Customers in the Recovery module. Customer records allow you to store important details about the person or business associated with the given Recovery Item. You can include information such as phone numbers and addresses, which may not be directly related to the recovery item itself but may be helpful to have for future reference.
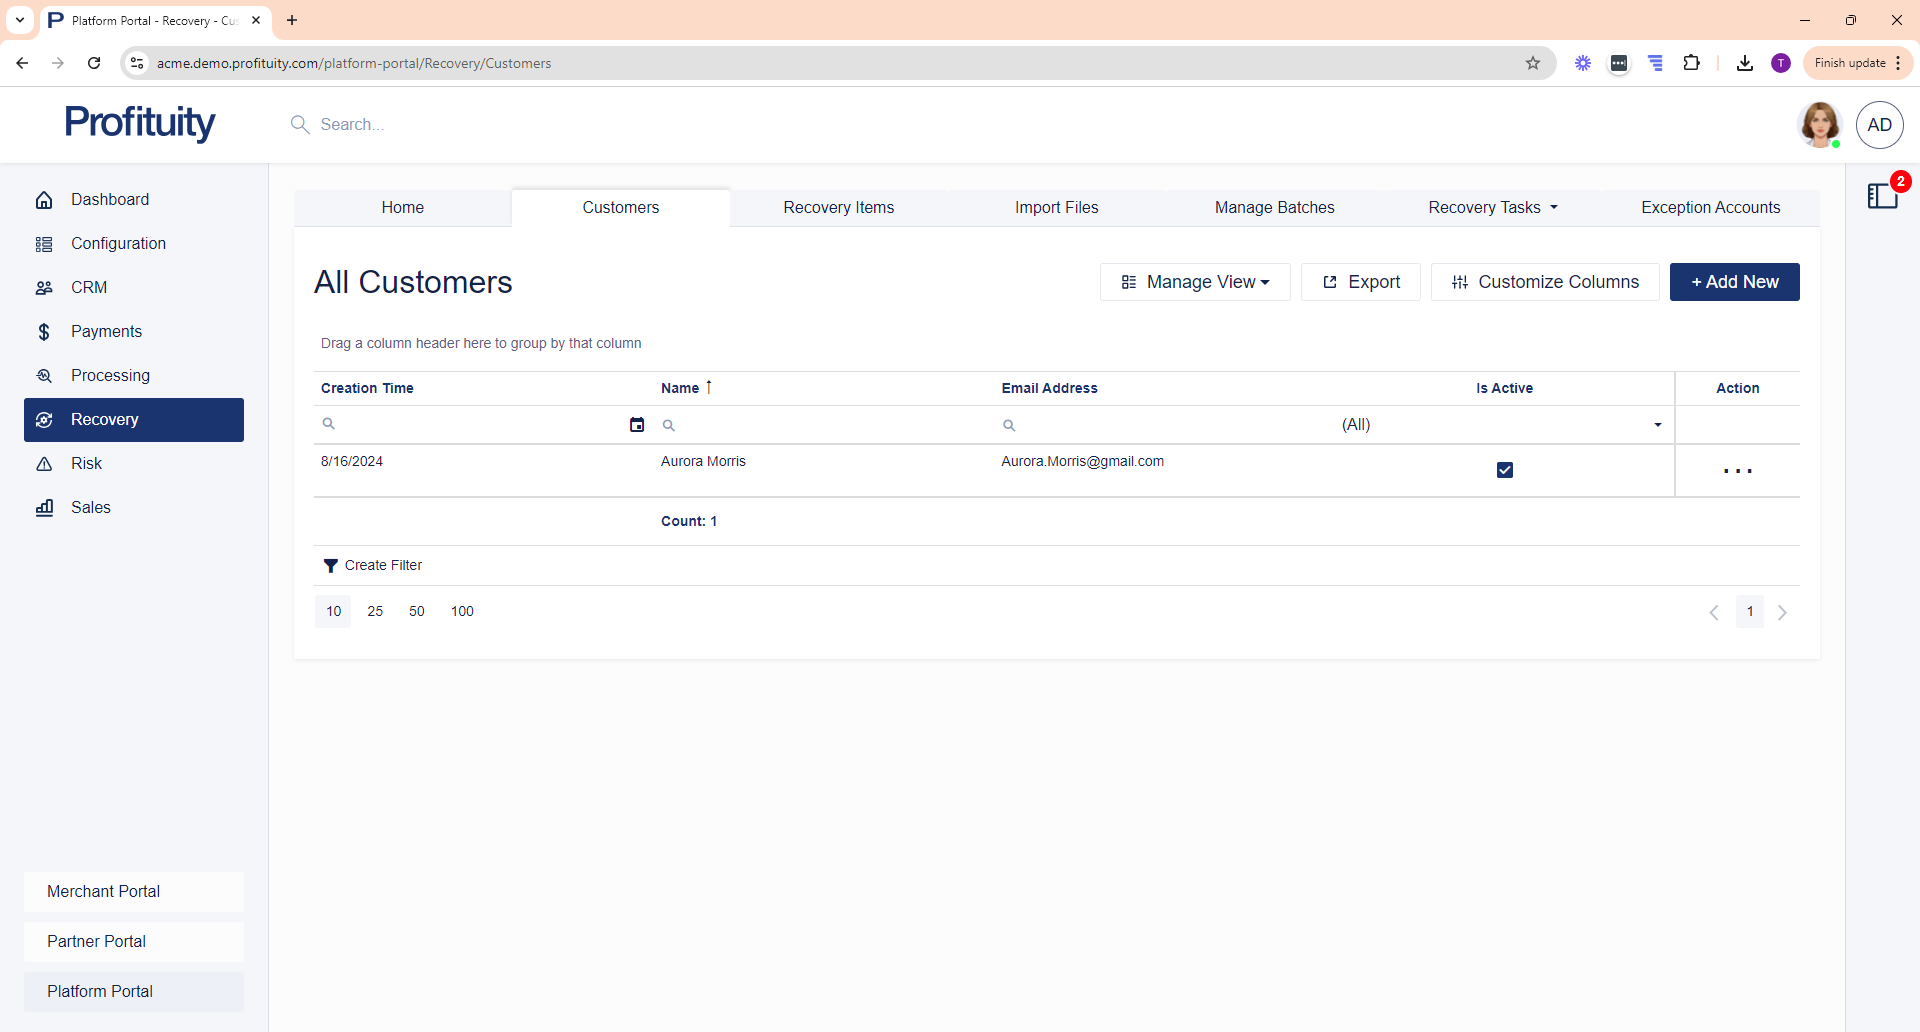
Screenshot: Customers
Risk Module
Risk Review
You perform Risk Review in the Risk module. This is where you go to manage Merchants and Processors who have exceeded one or more risk limit (e.g. Min Single Debit, Min Single Credit, Max Single Debit, Max Single Credit, Min Daily Debit, Min Daily Credit, Max Daily Debit, or Max Daily Credit).
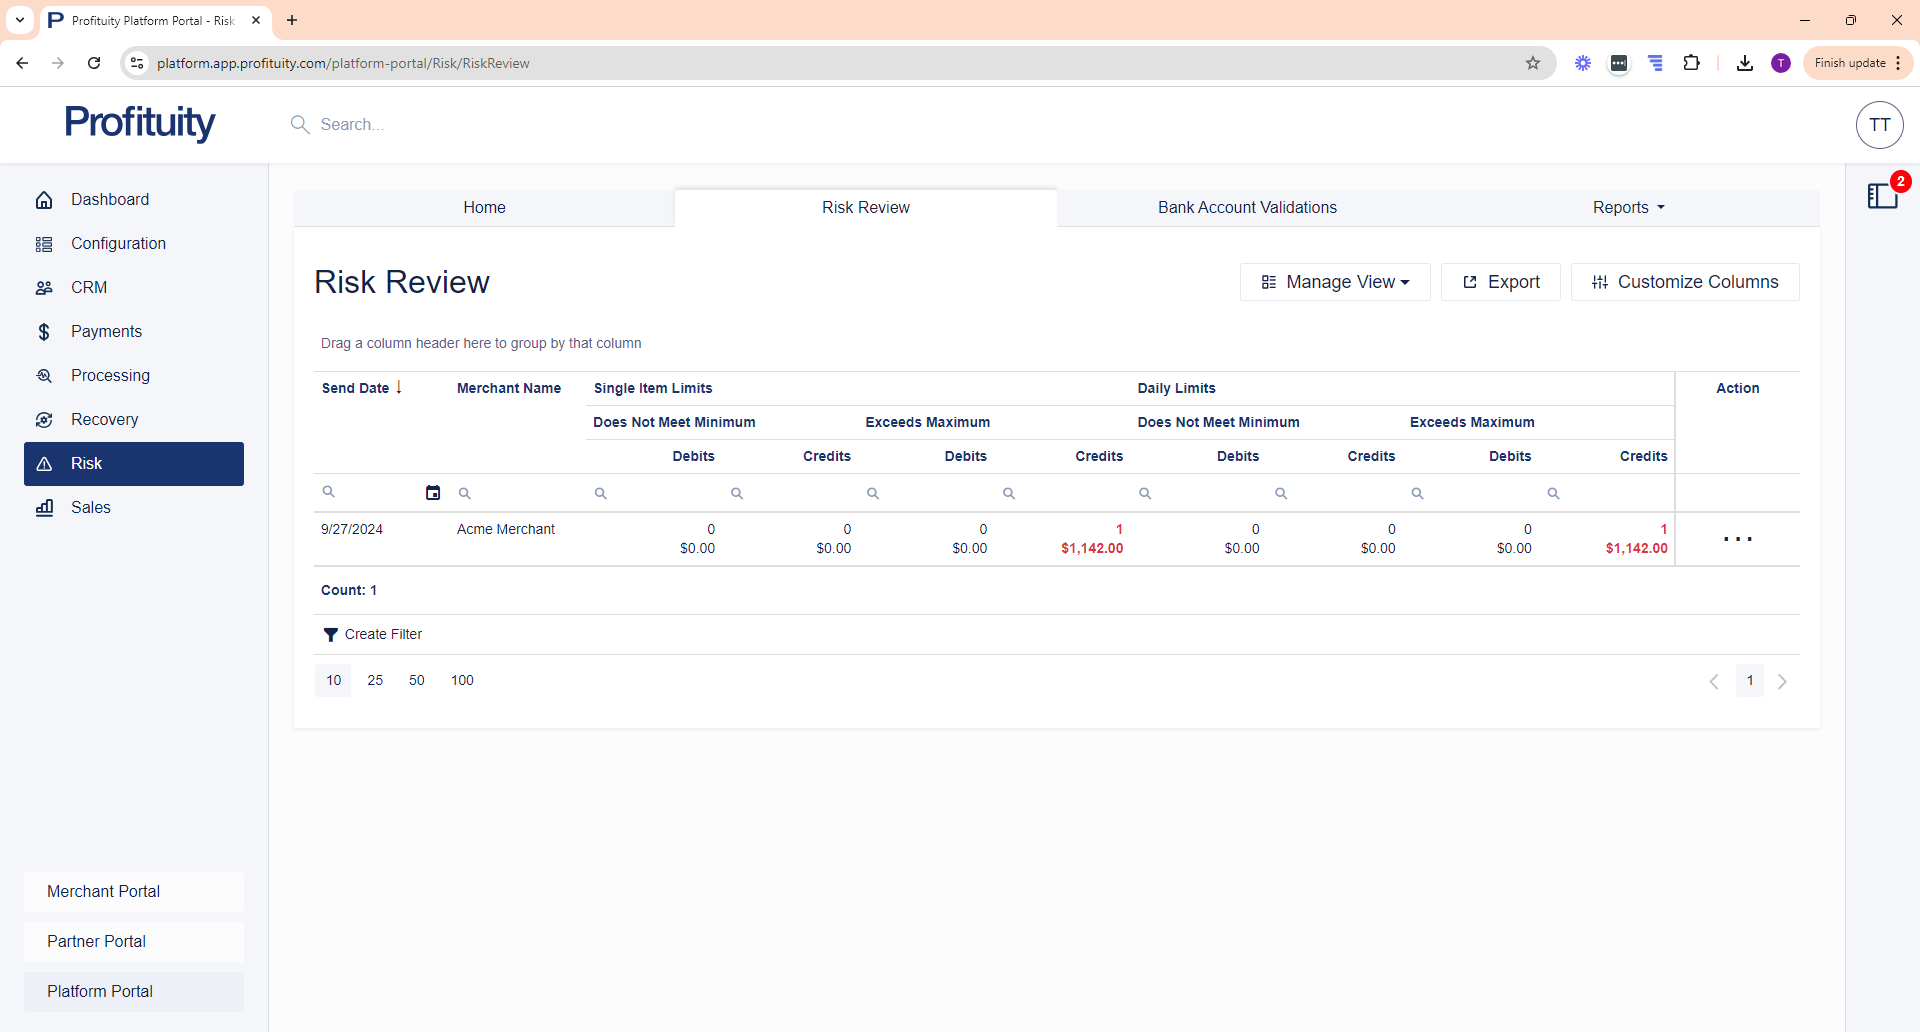
Screenshot: Risk Review
Bank Account Validations
You can perform Bank Account Validations in the Risk module. A bank account validation is when a bank routing number and account number is verified against an external provider (the provider that you configured in the Configuration > Risk > Bank Account Validation Configurations area).
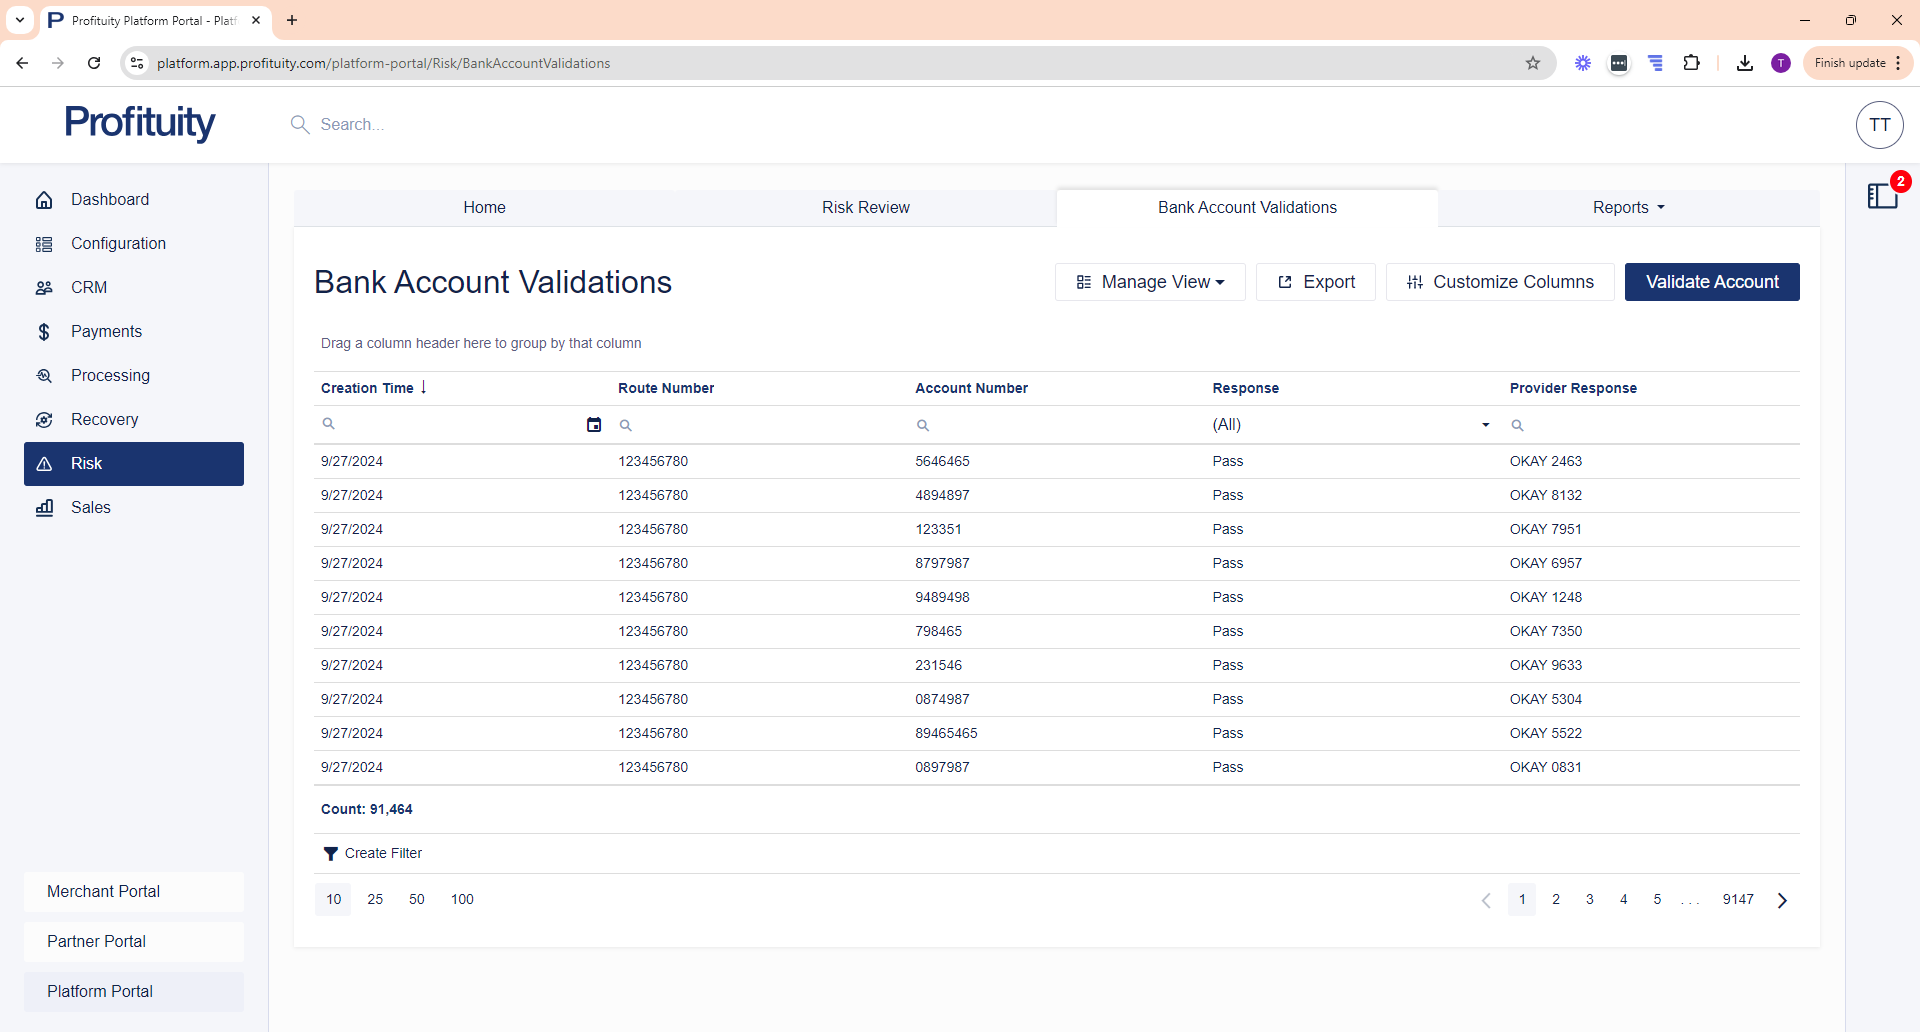
Screenshot: Bank Account Validations
Exception Handling
You can manage your Exceptions in the Risk module. Currently, only OFAC screenings can result in an Exception.
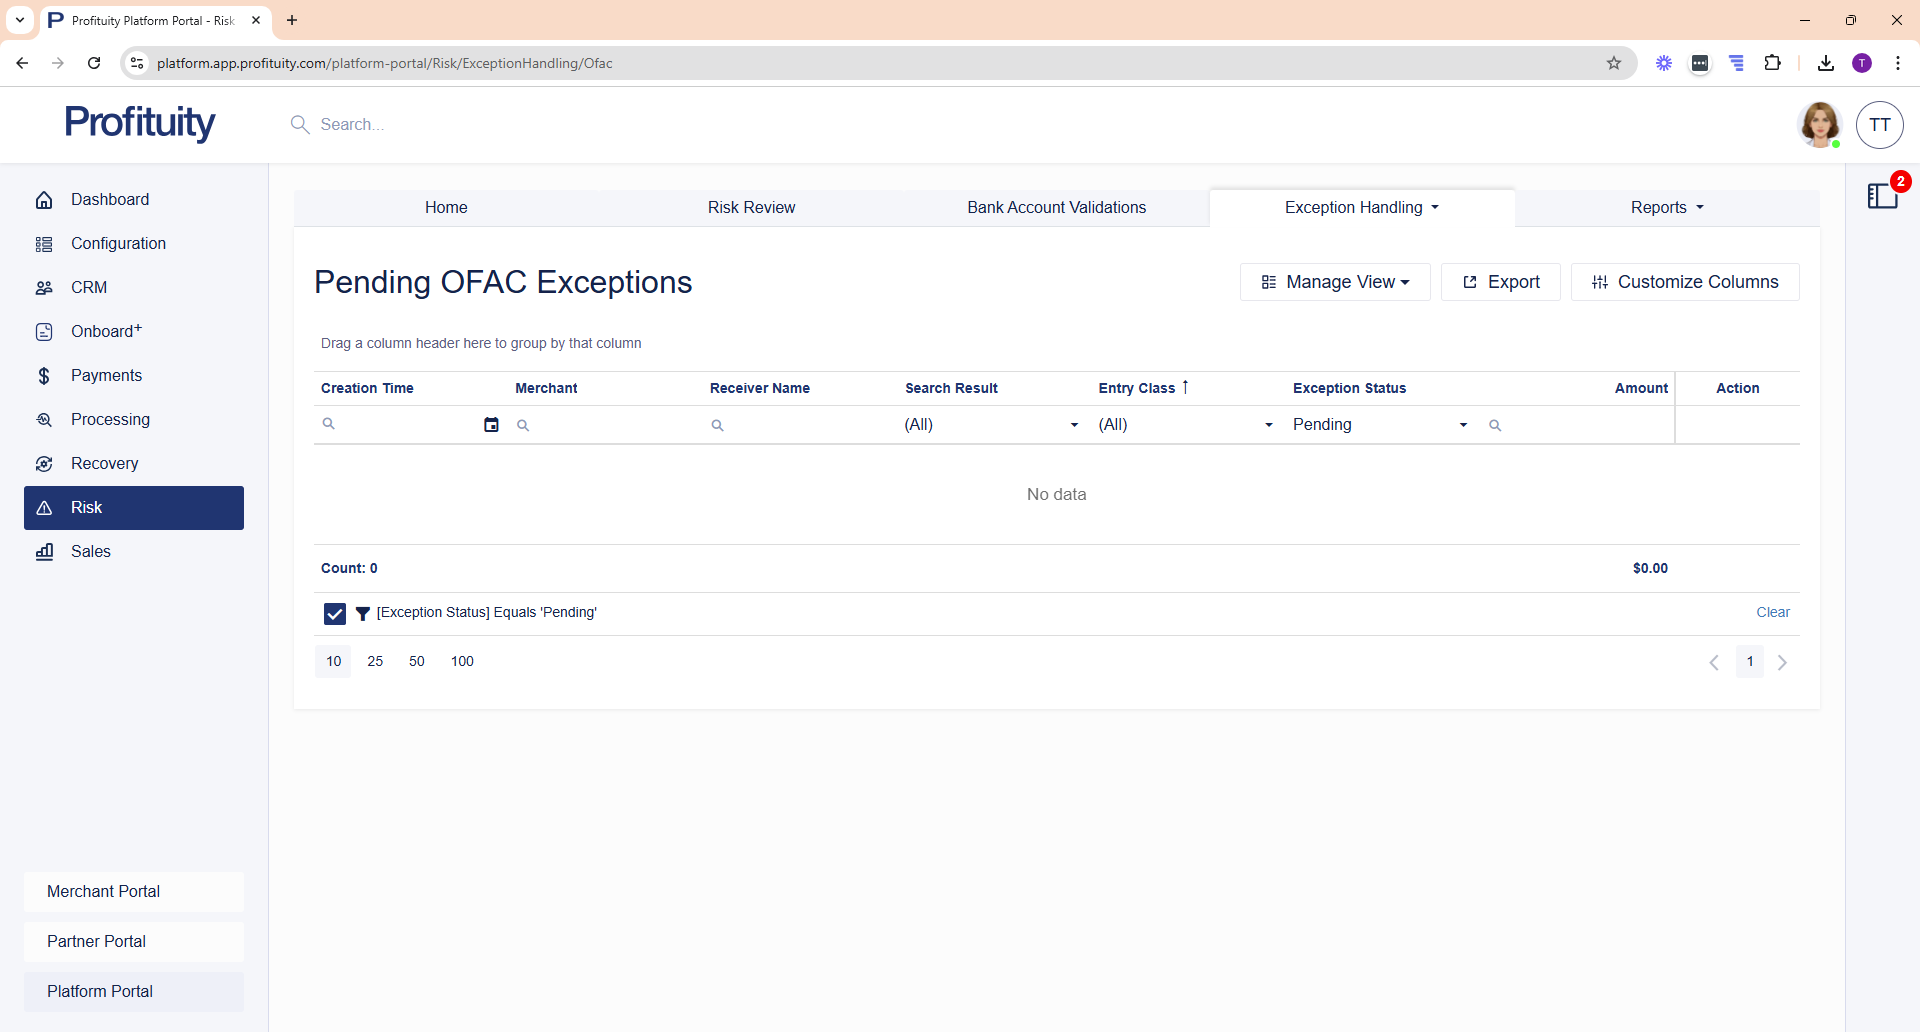
Screenshot: OFAC Exceptions
Reports
You can view various Risk Reports in the Risk module.
Administrative Return Rate
This report shows originators (Company and Merchants) who have exceeded the Nacha allowed return threshold (3%) within the last 60 days.
Exposure Limits
This report shows Merchants who have exceeded their risk limit (e.g. Min Single Debit, Min Single Credit, Max Single Debit, Max Single Credit, Min Daily Debit, Min Daily Credit, Max Daily Debit, or Max Daily Credit) and the total number of times that the given merchant has exceeded their risk limit.
Originator Activity
This report shows origination activity broken down by Date and by Merchant. It breaks down totals for both debits and credits.
Overall Return Rate
This report shows originators (Company and Merchants) who have exceeded the Nacha allowed return threshold (15%) within the last 60 days.
Risk Review History
This report shows a history of risk decisions that have been made during the specified time period. Any Merchants that were flagged for exceeding their risk limit (e.g. Min Single Debit, Min Single Credit, Max Single Debit, Max Single Credit, Min Daily Debit, Min Daily Credit, Max Daily Debit, or Max Daily Credit) during the specified time period will be shown here.
Transactions by Type and Entry Class
This report shows origination activity broken down by originator (Merchants only). It breaks down the totals for each Entry Class Code.
Unauthorized Return Rate
This report shows originators (Company and Merchants) who have exceeded the Nacha allowed return threshold (0.50%) within the last 60 days.
Sales Module
Commissions
You can view Commissions in the Sales module. Commissions are credits that can be paid to the Company (your company), Sales Reps, or Merchants. Commissions are paid on Recovery Fees related to Recovery Items that successfully cleared.
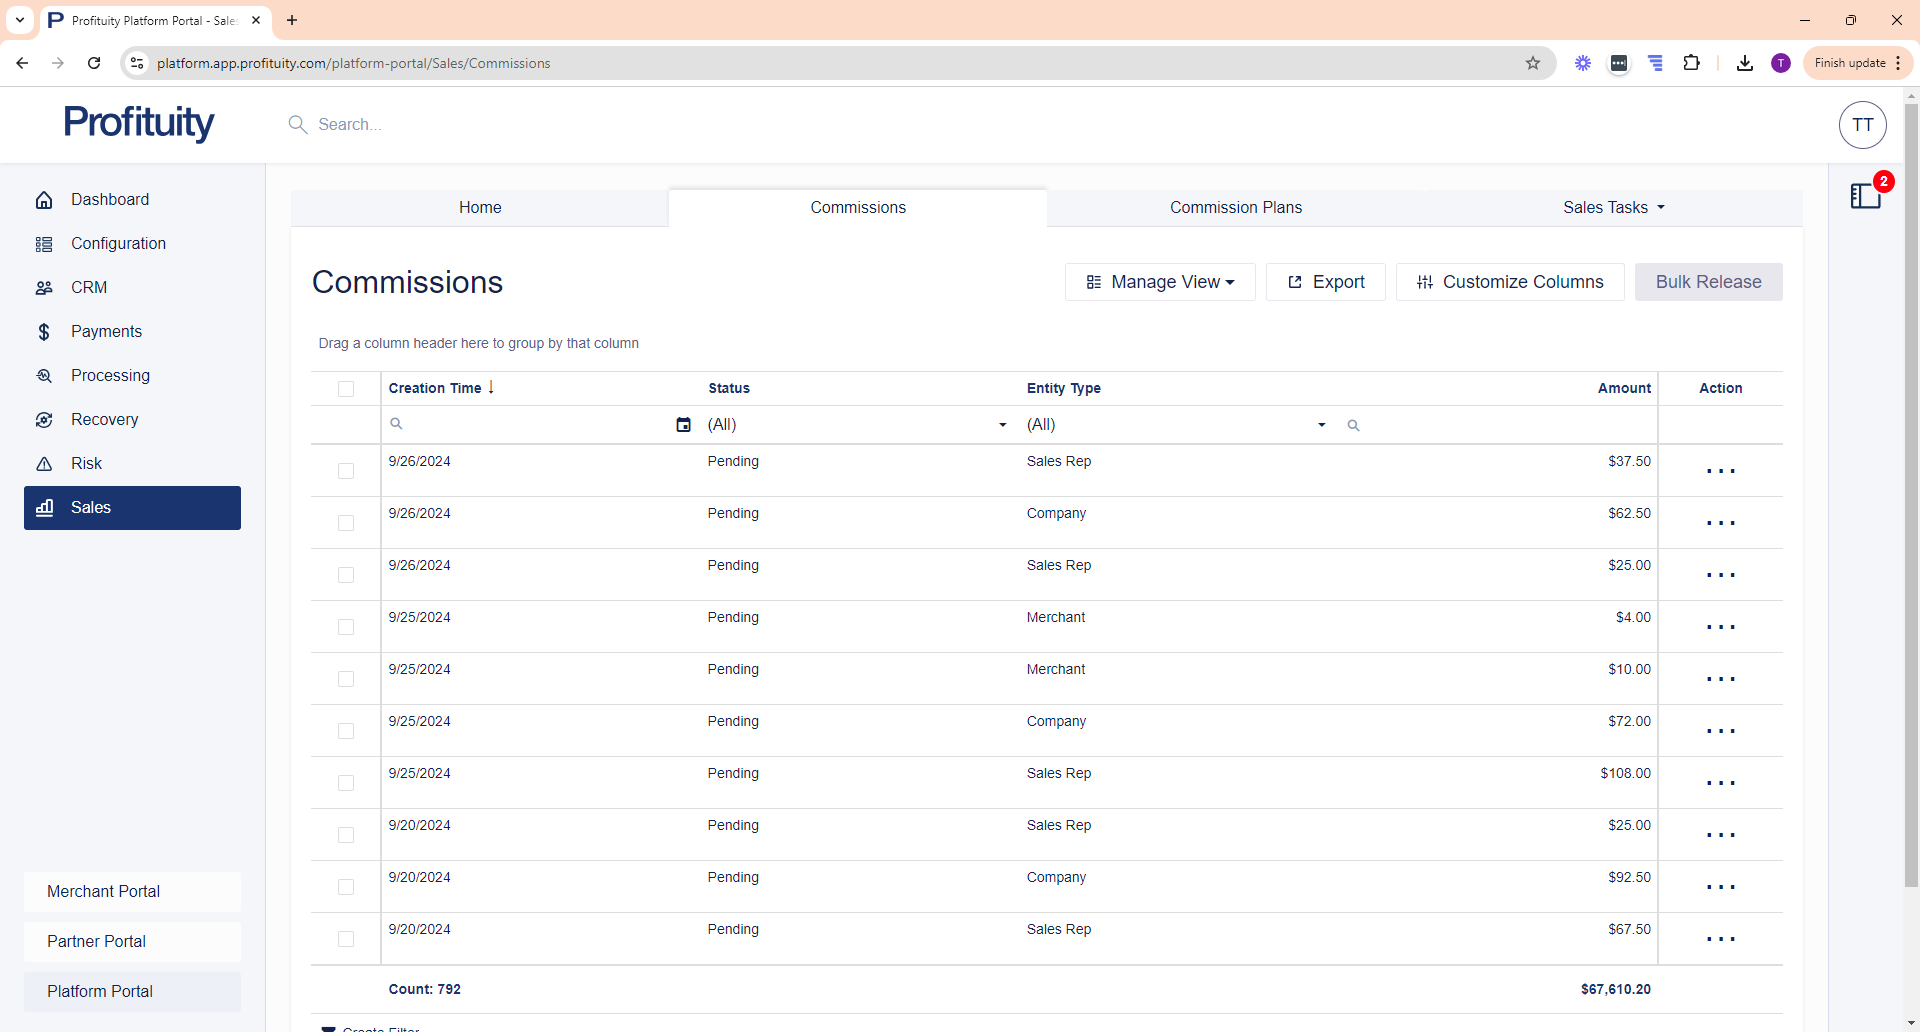
Screenshot: Commissions
Commission Plans
You can manage your Commission Plans in the Sales module. A commission plan is a configuration on how to distribute successfully recovered fees for a given recovery item. Commissions can be distributed to the Company (your company), a Sales Rep, or the Merchant.
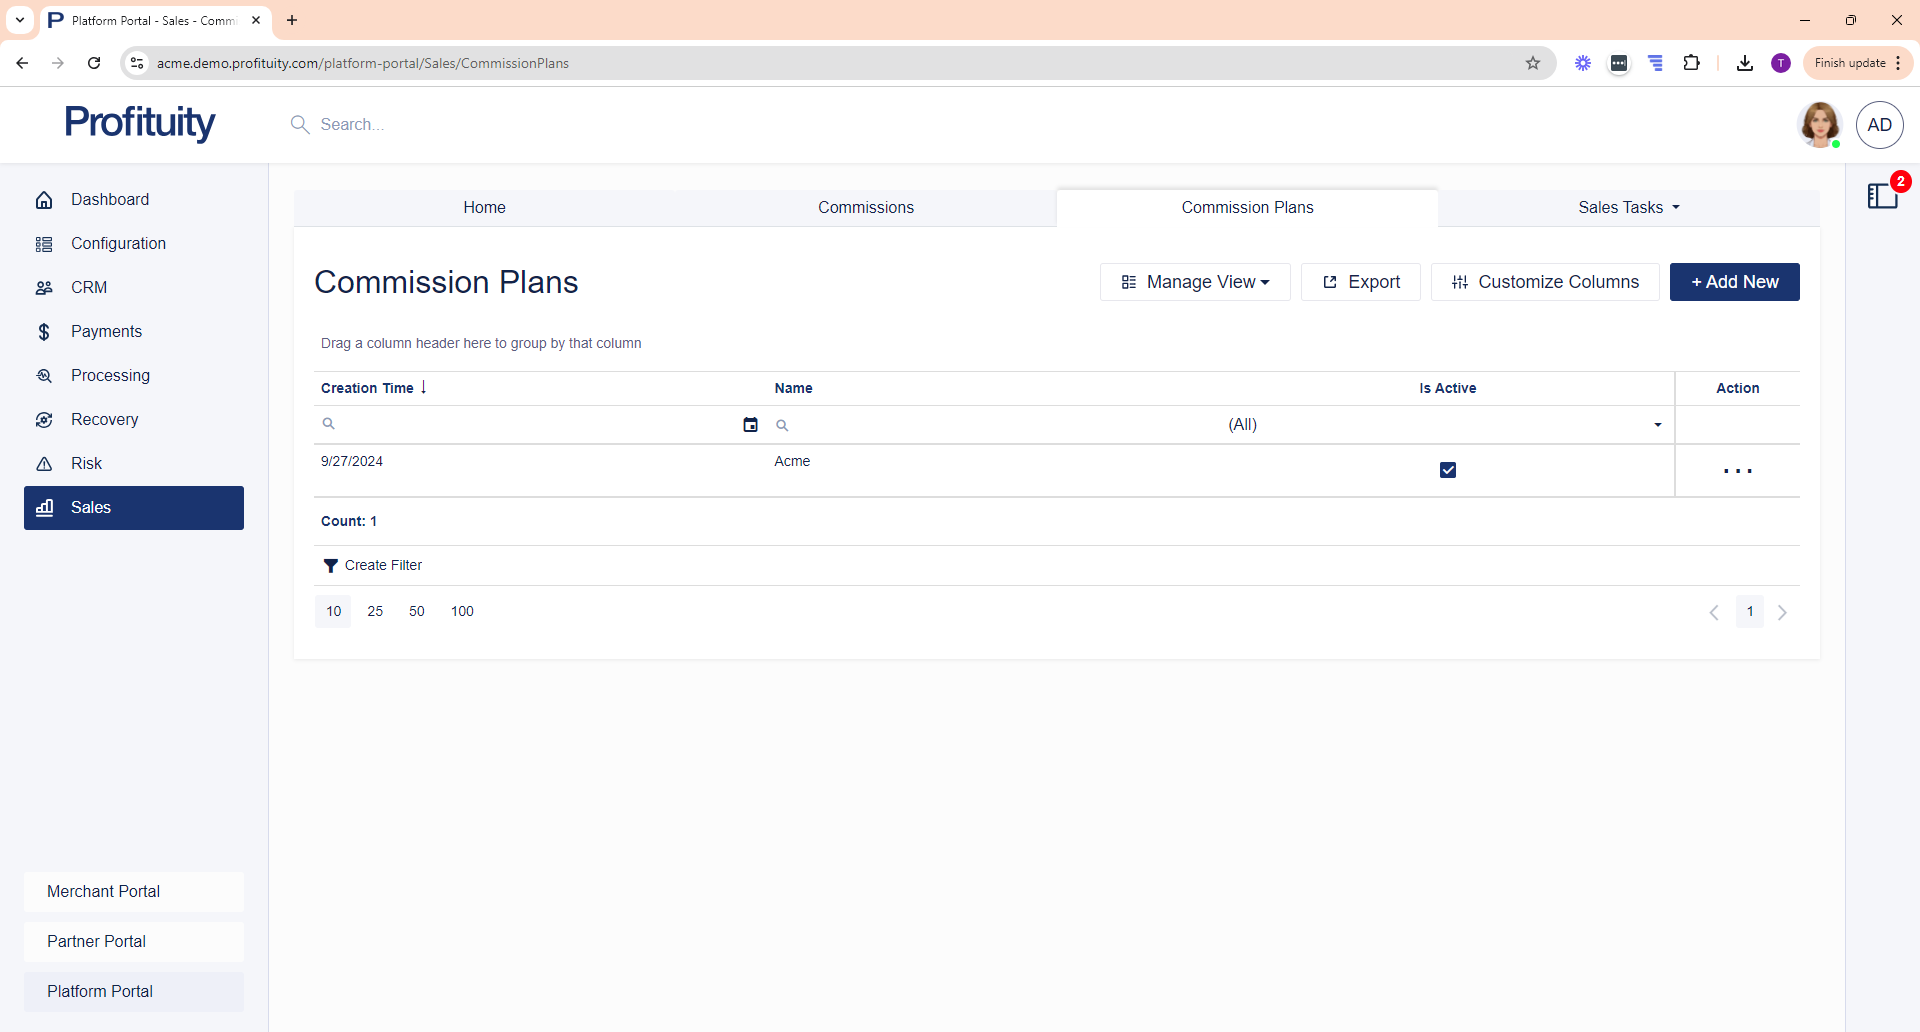
Screenshot; Commission Plans
Sales Tasks
Manage Reports
You can manage your Sales Reports in the Sales module. From here you can generate and send Commission Reports to your Sales Reps.
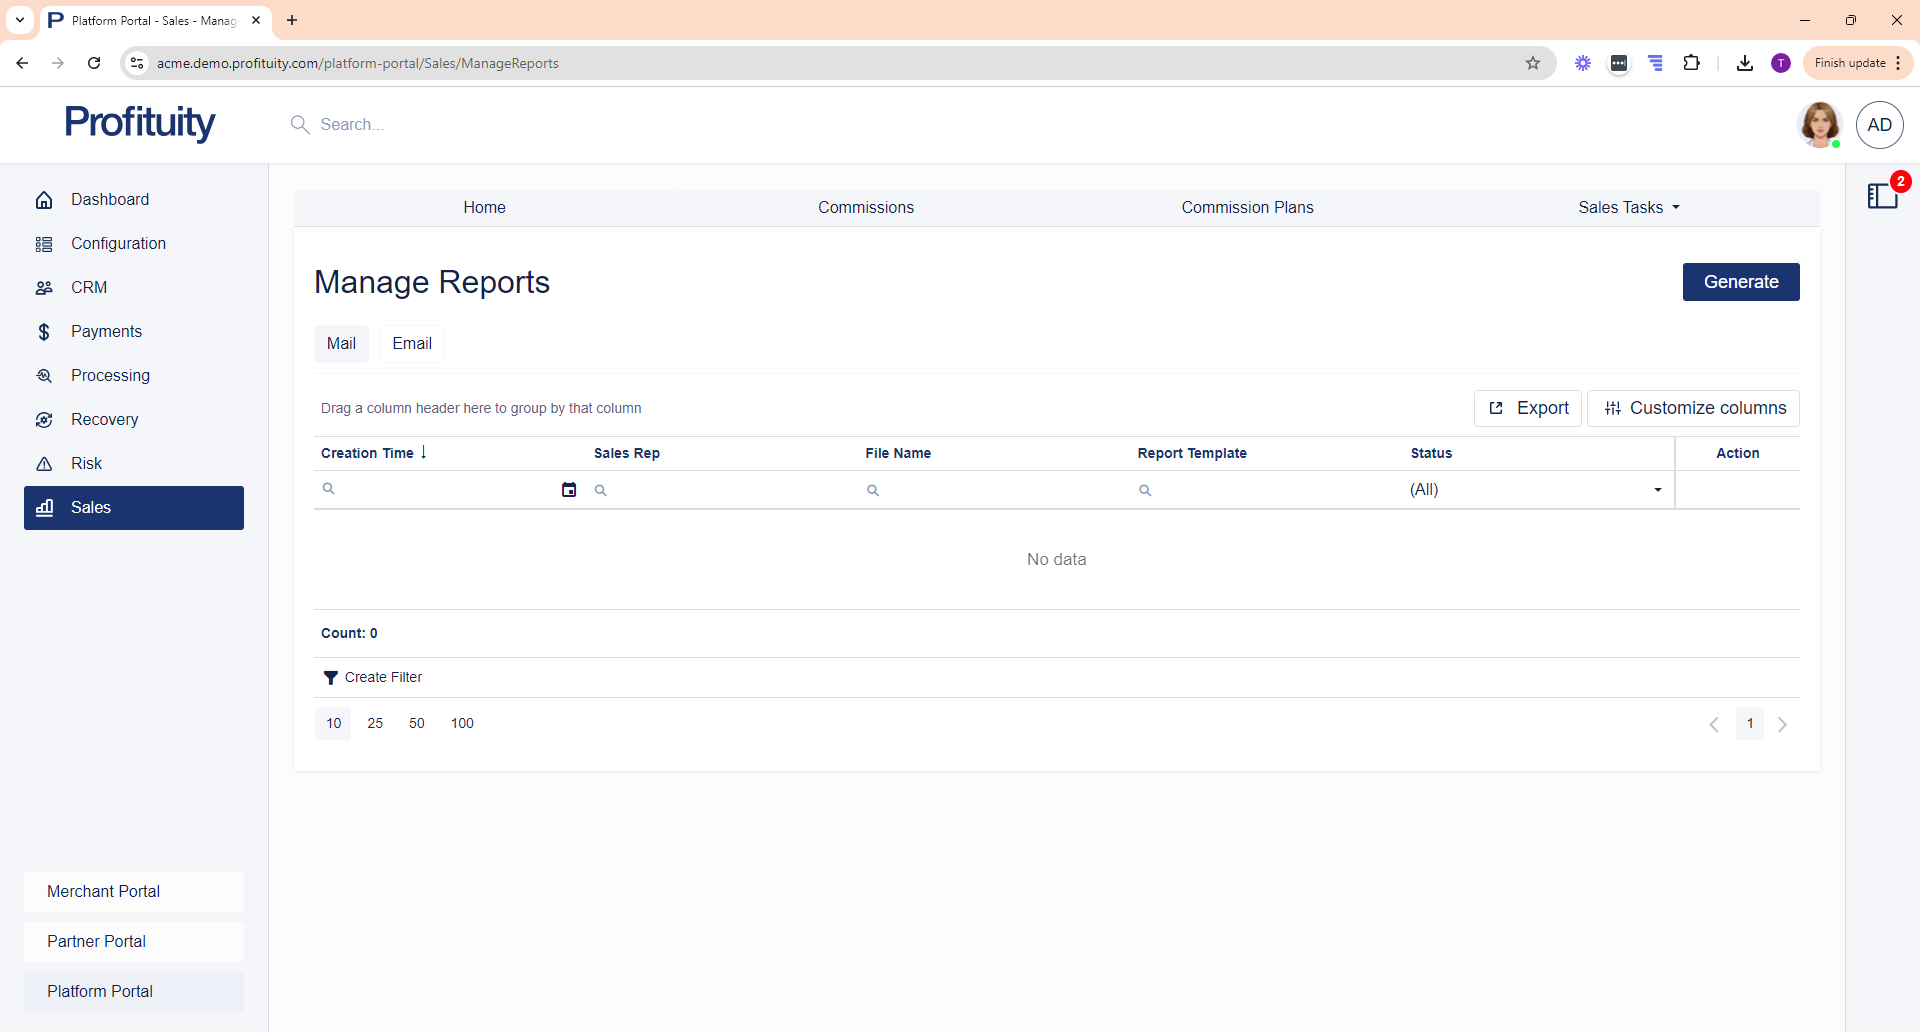
Screenshot: Manage Reports
.png)